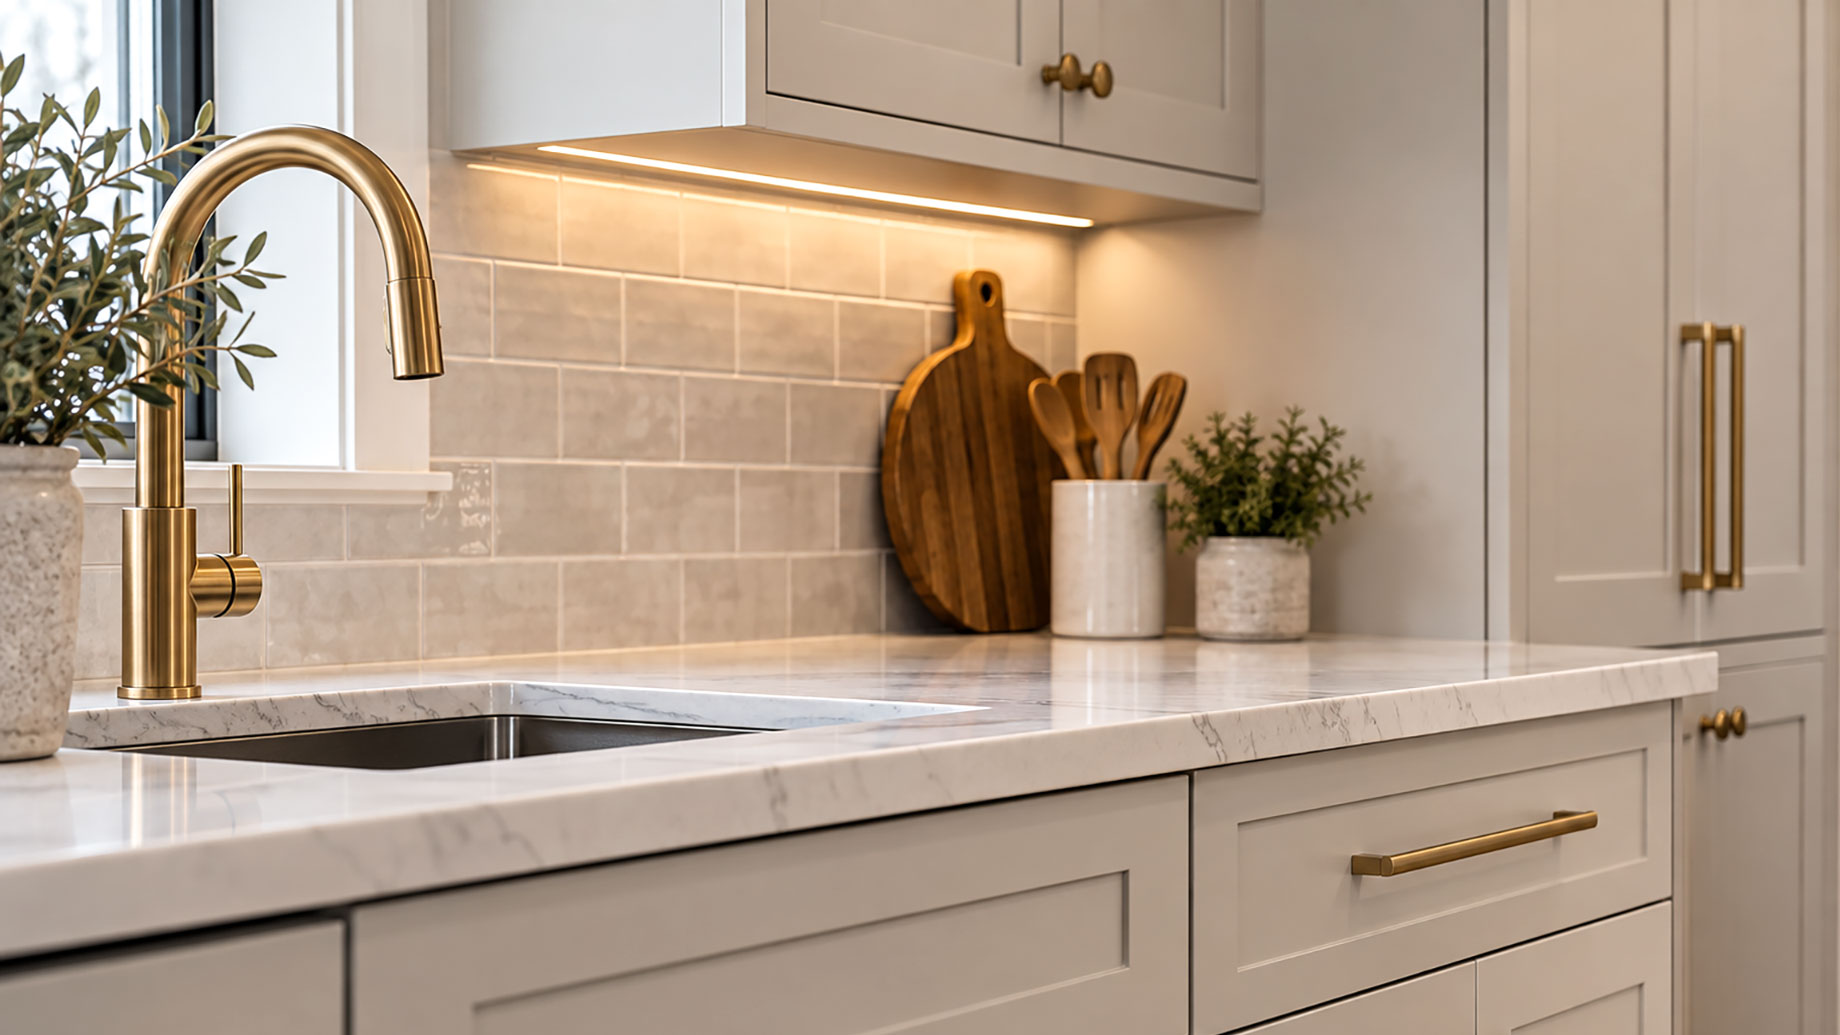
A kitchen rarely looks expensive because every material in it carries a premium price. More often, the impression comes from proportion, consistency, good lighting, and details finished cleanly enough to disappear into the room.
This is useful news for anyone renovating on a controlled budget. Instead of spreading money evenly across every surface, concentrate it where construction quality is visible or repeatedly handled. Cabinet doors need to align. Drawers need to run smoothly. Countertop edges should suit the material. Lighting should reveal finishes rather than flatten them.
The following seven upgrades can give a kitchen considerably more presence without turning the project into a custom-build budget.
1. Choose cabinets by construction, not by the showroom label
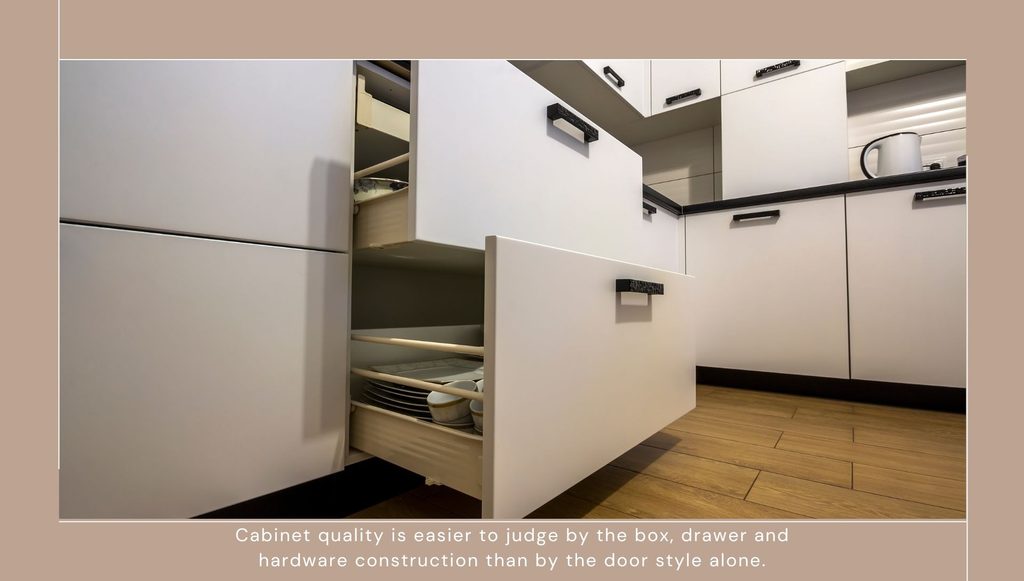
Cabinetry occupies so much visual space that weak construction is difficult to disguise. Fortunately, spending more is not automatically the answer.
Start behind the door. Plywood cabinet boxes are generally a more reassuring specification than low-density particleboard in a hard-working kitchen. Look at drawer construction, hinge adjustment, shelf support and the way the cabinet back is assembled. Dovetail drawer boxes, full-extension slides and soft-close hardware are useful indicators of a cabinet designed for repeated daily use.
Door construction deserves equal attention. With painted cabinetry, inspect corners and joints for clean machining and a consistent coating. With stained wood, look at grain direction and color variation across neighboring doors. Real wood naturally varies, so the aim is visual balance rather than artificial uniformity.
Ready-to-assemble cabinetry can be particularly useful when the budget does not extend to bespoke millwork. RTA Wood Cabinets, for example, offers affordable RTA cabinets with plywood boxes and, across most of its RTA ranges, solid-wood face frames, dovetail drawer construction and soft-close doors and drawers.
The company also offers sample doors and one-to-one kitchen design assistance, including 3D layouts and itemized quotes. This more personalized planning approach helps homeowners resolve cabinet sizes, appliance locations and awkward gaps before an order reaches the installation stage.
A good cabinet plan can look far more tailored once fillers, end panels, crown details and toe kicks are handled carefully.
The expensive appearance often comes from those transitions rather than the price of the cabinet itself.
2. Upgrade the hardware, but keep the spacing disciplined
Changing cabinet hardware is inexpensive compared with replacing cabinetry, yet it affects almost every elevation in the room.
Choose pulls with enough weight and projection to feel comfortable in the hand. Brass, bronze, polished nickel and dark finishes can all work, but consistency matters more than chasing a fashionable metal.
Installation is where the upgrade succeeds or fails. A drilling template helps keep pulls at matching heights and distances from door edges. On banks of drawers, check how the handles align across the entire elevation rather than centering each one in isolation without considering its neighbors.
If existing doors already have drilled holes, select new hardware with the same center-to-center measurement unless refinishing or replacing the fronts is part of the project.
2. Take cabinetry closer to the ceiling
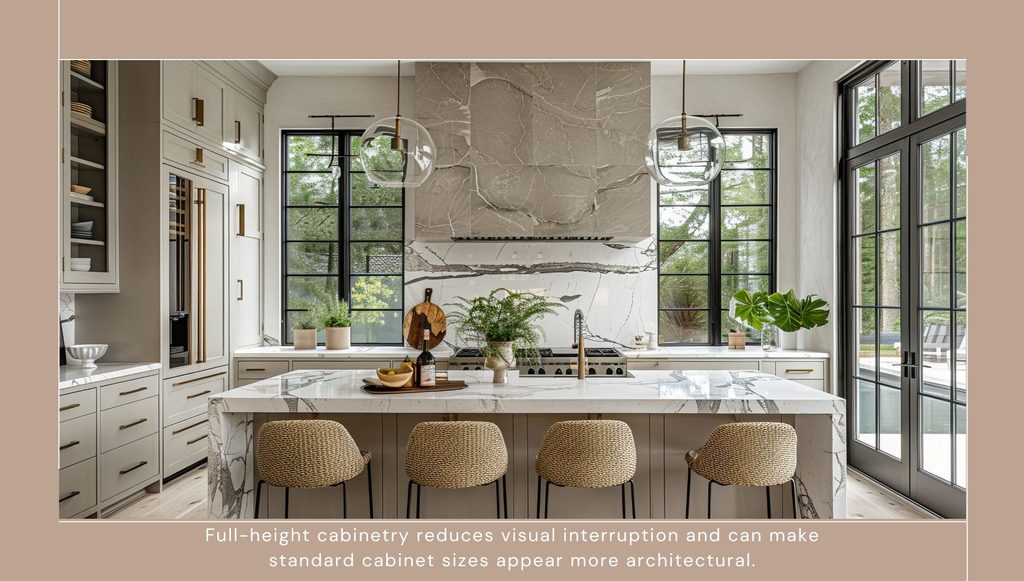
A short row of wall cabinets with an unused strip above can make even attractive cabinetry feel less resolved. Where ceiling height and available cabinet sizes permit, extending the composition upward creates a stronger built-in effect.
This does not necessarily require custom cabinets. Standard wall units can often be combined with stacked cabinets, appropriately sized fillers or a restrained crown treatment.
Before ordering, measure the ceiling at several points. Floors and ceilings are not always perfectly level, particularly in older homes. A small scribe or filler zone gives the installer room to compensate for those variations without forcing the cabinet out of level.
This attention to proportion reflects a broader principle found in well-resolved luxury kitchens: expensive materials have less impact when the layout, cabinetry and architectural lines feel disconnected.
4. Use lighting to bring out the materials you already have
Poor lighting can make good wood, stone and tile look flat. Improving illumination is therefore one of the most effective ways to elevate an existing kitchen.
Under-cabinet LEDs are especially useful because they wash light directly over the backsplash and worktop. For a polished result, use a diffuser or recessed profile so individual LED points are not reflected in a glossy countertop.
Color temperature also affects finishes. Very cool light can make warm timber appear washed out, while excessively warm lamps may distort pale paint colors. Test the light against cabinet and countertop samples before committing throughout the room.
A successful scheme combines task, ambient and decorative illumination rather than asking one central fixture to do everything. Our guide to layering kitchen lighting for cooking, dining and everyday life explores how those layers work together.
5. Give the backsplash more visual authority
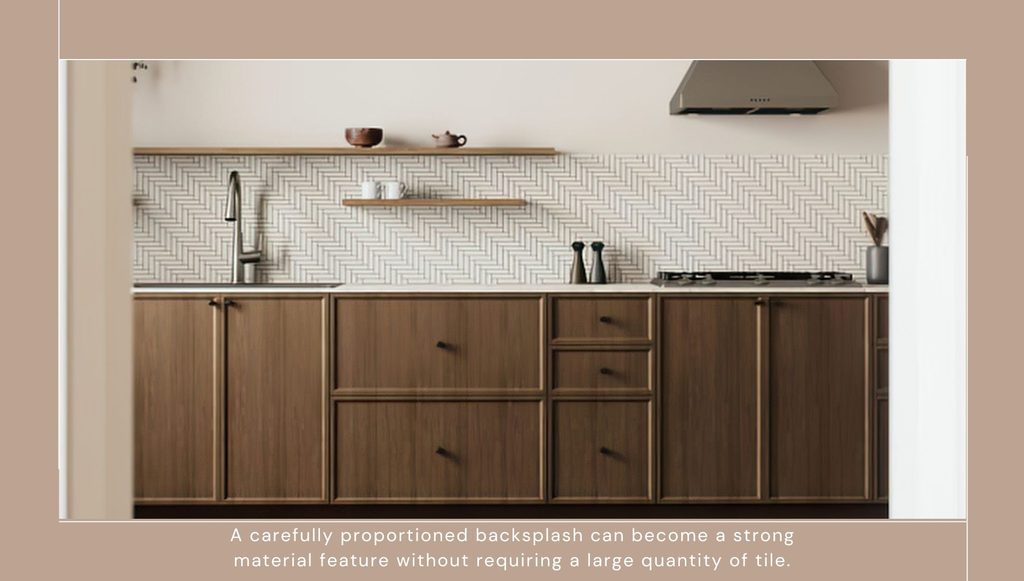
A backsplash occupies relatively little square footage, making it a sensible place to use a more distinctive material.
Instead of adding several decorative elements, consider one tile with convincing texture, variation or scale. Handmade-look ceramic, stone mosaics and elongated formats can introduce depth even when the surrounding cabinetry is deliberately simple.
Layout is crucial. Before setting tile, establish where cuts will fall around outlets, windows and cabinet edges. Narrow slivers at visible terminations immediately weaken an otherwise expensive-looking installation. Dry-layout planning can often shift the starting point enough to produce fuller, calmer cuts.
If the material has meaningful shade variation, open several boxes and blend pieces during installation rather than completing one box at a time.
6. Make the countertop edge work harder
A dramatic stone slab is not essential for a refined kitchen. A quieter countertop can gain considerably more presence from good fabrication.
Edge thickness should relate to the cabinet style and scale of the room. In some designs, a mitered edge can create the appearance of a thicker slab without requiring solid material at the full depth. In others, a simple eased edge looks more convincing because it suits the restrained cabinetry below.
Pay particular attention to sink cutouts, seams and exposed ends. These small fabrication details sit at eye and hand level, so inaccuracies remain noticeable long after the novelty of the new surface has worn off.
Where countertops meet tall cabinets or finished panels, coordinate tolerances before installation. It is easier to resolve those junctions on drawings than on site after stone has been cut.
7. Finish the kitchen like millwork, not a collection of boxes
One of the clearest differences between an ordinary cabinet installation and an expensive-looking one appears at the edges.
Finished end panels should look intentional. Fillers should be sized and scribed cleanly where walls are uneven. Toe kicks should run consistently through cabinet banks, and adjacent doors and drawer fronts should maintain even reveals.
Installers also need to level and fasten cabinet runs before countertops are templated. Trying to correct a poorly aligned base run with the countertop creates problems rather than solving them.
The same principle applies around appliances. Refrigerator panels, range clearances and dishwasher openings should be planned from actual appliance specifications, not assumed dimensions. Even relatively modest cabinetry can look highly considered when every termination has been resolved before installation.
Spend on precision before prestige
A kitchen with a controlled budget does not need to imitate an ultra-luxury project. It needs to avoid the details that make an installation look careless.
Strong cabinet construction, balanced proportions, properly placed hardware, layered lighting, thoughtful tile layouts and clean millwork transitions all contribute more than a collection of expensive finishes installed without coordination.
For homeowners deciding where to allocate money, prioritize the components touched every day and the details difficult to change later.
Good hinges, drawer slides, cabinet boxes, countertop fabrication and careful installation earn their keep for years. Decorative pieces can evolve much more easily.
The most convincing kitchens tend to share this discipline: fewer arbitrary upgrades, more attention to how materials meet, align and perform.