Shaker-style furniture hasn’t gone out of style since it was created in the 1700s.
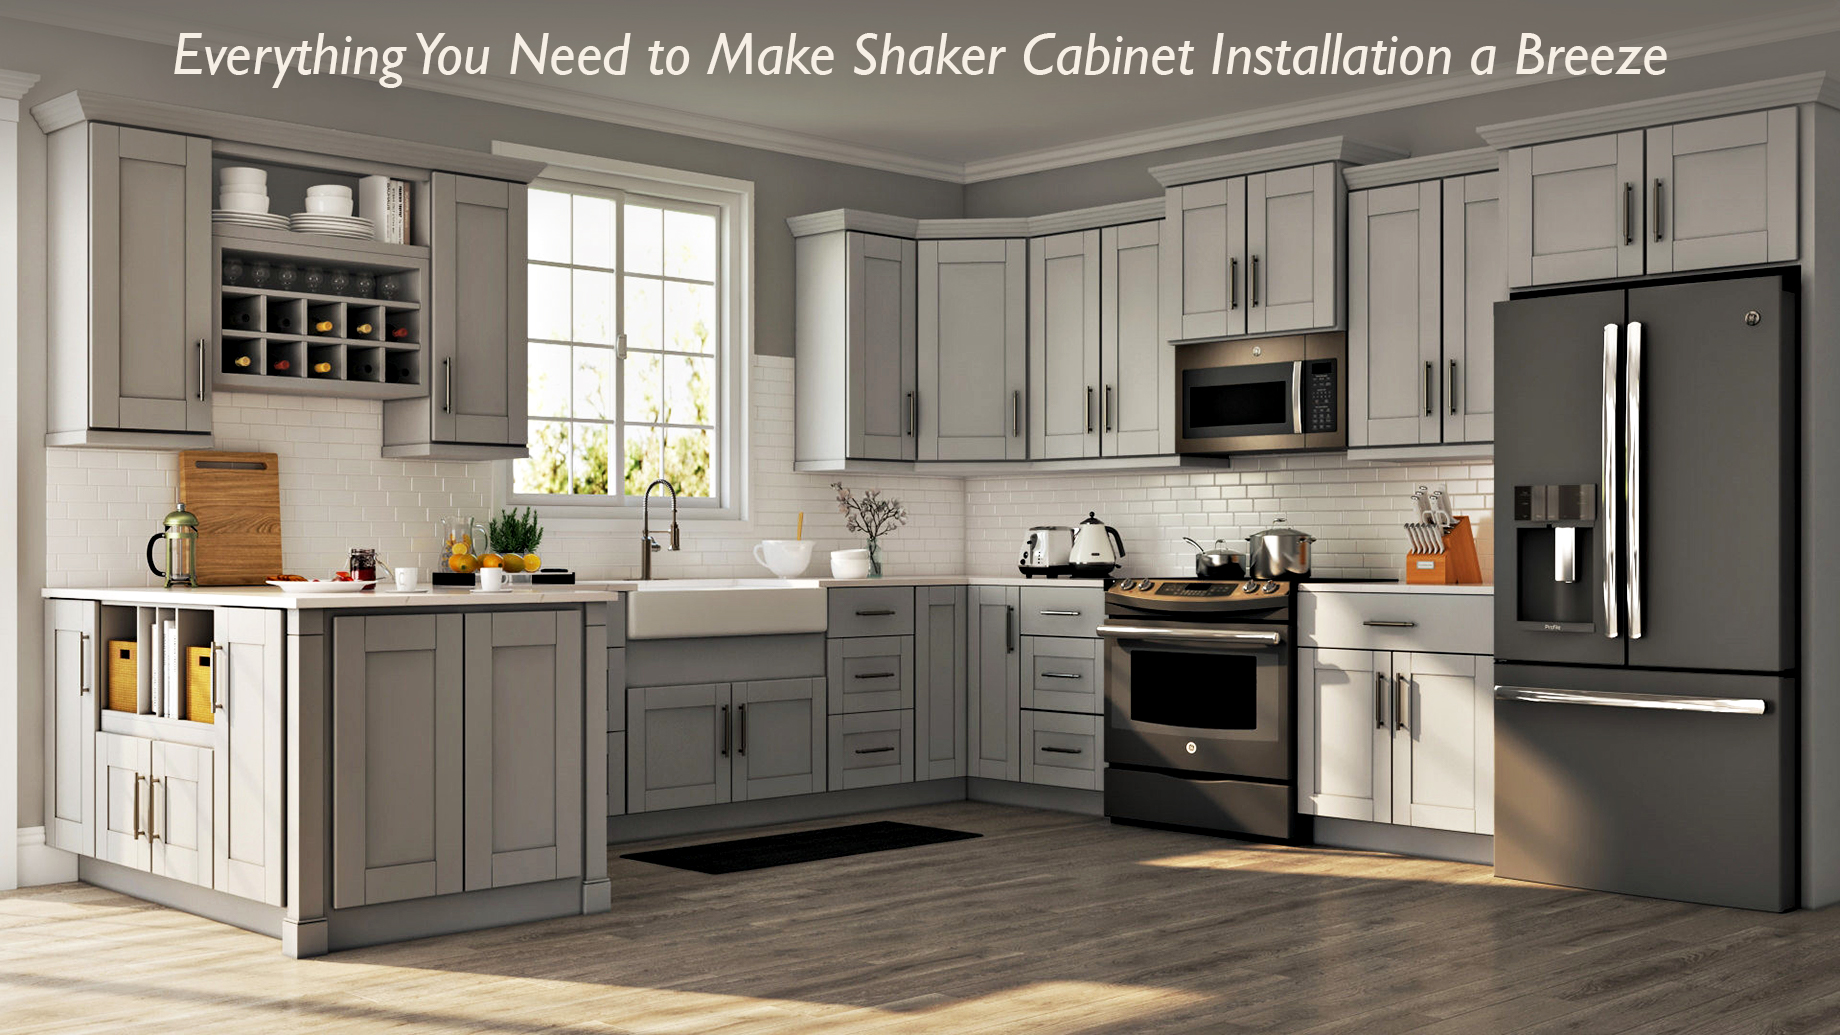
The clean, simple style is a hit for homeowners who hate clutter. A neutral color palette ensures shaker cabinets fit into any decorating scheme.
Shaker cabinets are a solid investment when you renovate your kitchen. This timeless style uses real wood that stands the test of time. To update the cabinets, all you need to do is sand and stain them.
Save money on your kitchen renovation and do your own shaker cabinet installation.
Strap on your tool belt, and let’s get started.
Gather Your Tools
To make installation easier, have all your tools and materials nearby.
For this project, you’ll need the following:
- Tape measure
- Pencil
- Standard level
- Stud finder
- Clamps
- Screw gun
- Wood shims
- 2-1/2″ screws
- 1×2 ledger board
Before you proceed, clean the areas where you’re installing the cabinets. If you need to fix any outlets, this is also the time to take care of that.
Assemble your cabinets before moving on to the next step. Make sure all the parts are included.
Tip: Leave the doors and hardware off of the cabinets to make it easier to handle them.
Measure and Mark the Wall
Measure the height of the bottom cabinets. Add 1-1/2″ for the countertop and another 20″ for the backsplash. This will tell you where the bottom of the upper cabinets will rest.
With a level, draw a straight line across the wall using this measurement. Use the stud finder to mark the studs where you’ll secure the cabinets.
Make sure you also mark where any electrical wiring is within the wall to avoid an accident.
Install the Upper Cabinets
To make installation easier, start by securing a ledger board to the wall. Place it along the line you marked. The board will help hold up the cabinets while you drill.
Screw together two cabinets where the vertical pieces meet. One screw in each corner will suffice.
Set the joined cabinets on the ledger board. Check to make sure the cabinets are level and plumb.
Secure your new modern shaker kitchen cabinets to the wall by drilling into the top framing piece. Make sure you’re drilling into the studs.
Install the Lower Cabinets
Find the highest point on your floor where the cabinets will sit. Start from this point so you won’t have to trim the cabinets to make them level.
Mark a level line from the high point for the bottom cabinets. Be sure to mark the studs, as well.
Slide the cabinets into place and check to see if they’re level. If they aren’t, slide a shim under them.
Secure the cabinets to the wall at the studs. Check the level one more time to make sure it didn’t shift during the drilling.
Once the cabinets are installed, attach the doors, drawers, and hardware.
Shaker Cabinet Installation Is a Great DIY Project
Kitchen renovations don’t have to break your budget. Doing your own shaker cabinet installation saves you about a thousand dollars.
Shaker cabinets are a great investment. This timeless style will wow potential home buyers. You’re guaranteed a strong return on investment (ROI). Browse The Pinnacle List for more real estate tips to boost your ROI.