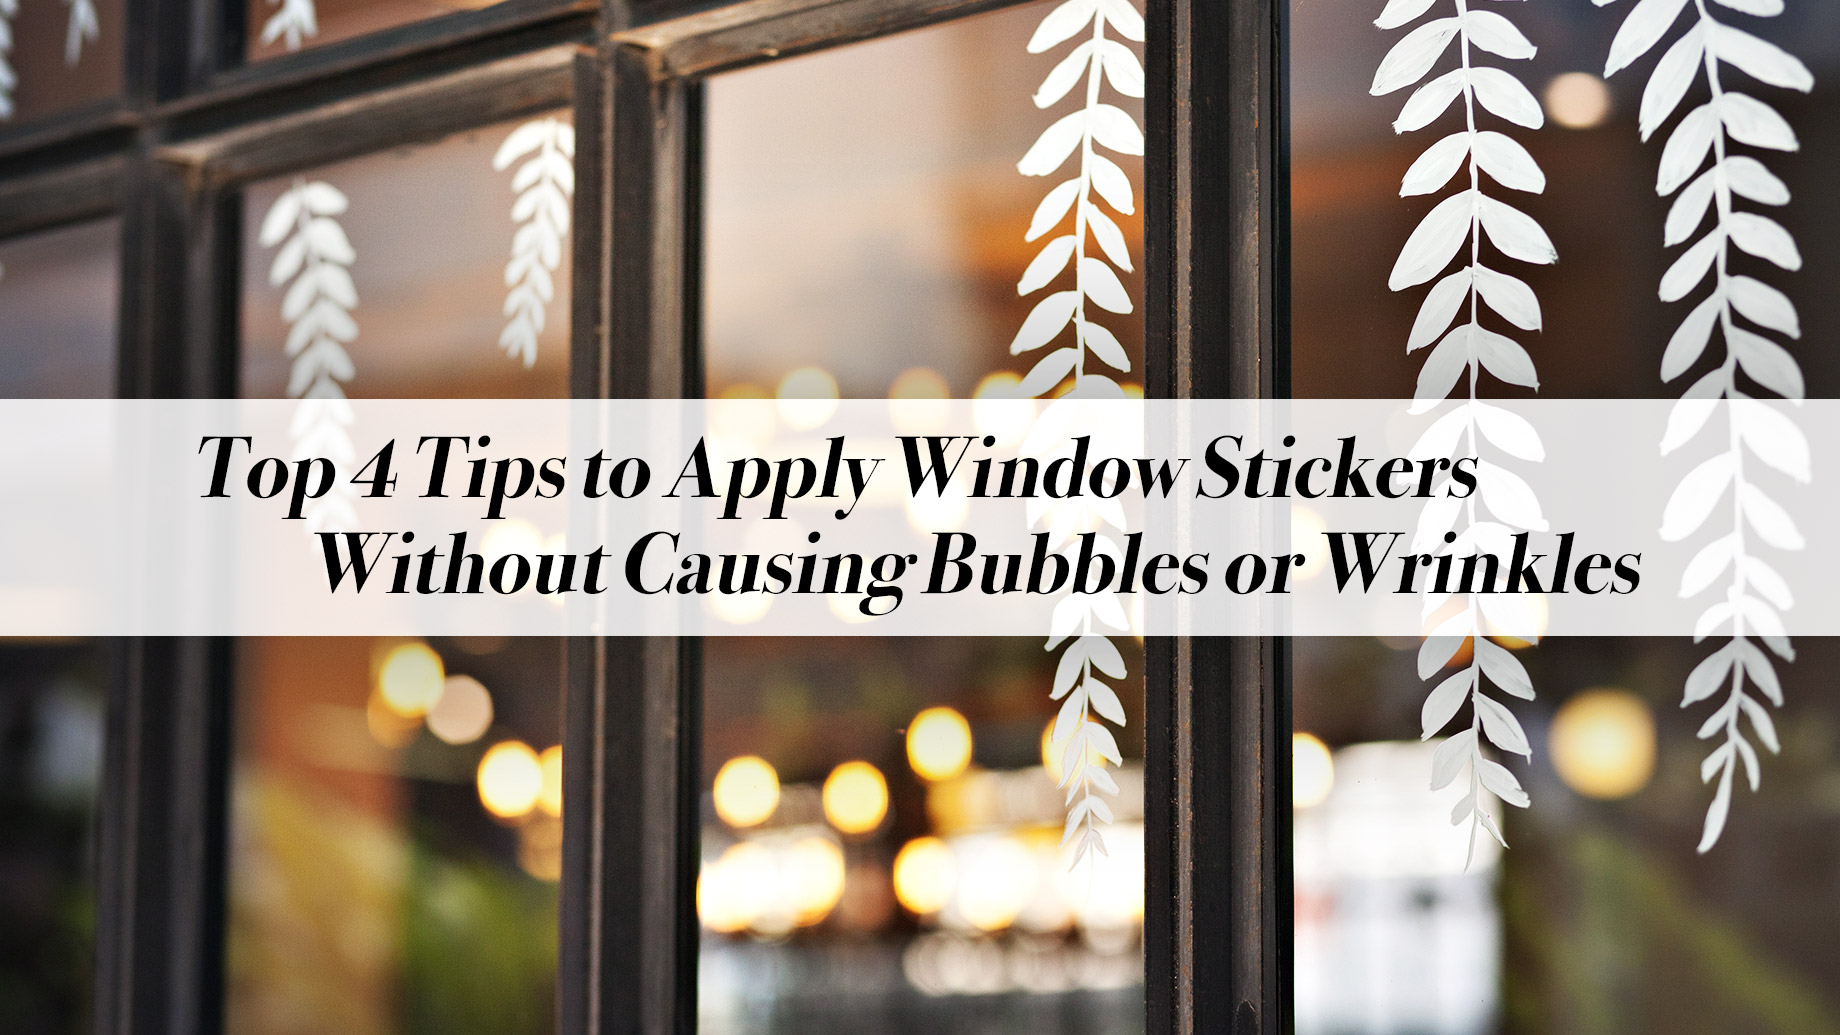
No matter whether you want to purchase window graphics, window covers, or window stickers, they have to stick perfectly on a window. These cost-effective promotional tools will help you to convey your brand message to potential customers. You can reinstall them easily and they won’t leave any residues behind. This is the main reason why different types of restaurants, schools, businesses, and retailers choose window stickers. You can choose them in subsurface form or standard form. Apart from that, the adhesive part of window stickers remains on the viewing side or the readable side. You can also apply the stickers inside out so that visitors can read them from outside. However, even though the installation process is easy, sometimes you might end up causing bubbles or wrinkles while installation your window stickers.
In this article, we will discuss the top 4 tips that will help you to install window stickers without causing any bubbles or wrinkles.
1. Keep the Surface Clean
Many business owners make this mistake while applying window stickers. They often forget to clean the surface. Remember that the environment puts a lot of debris and dust particles on the surface of the window. This is especially true for outdoor windows that suffer from lots of dust. Additionally, if you’re installing a sticker on the inner side of the window, don’t assume that it’s free from debris.
Whether you’re planning to stick your window graphics outdoor or indoor, you need to clean the surface thoroughly. Cleaning will remove all the debris and dust particles. A clean surface will also allow the adhesive to stick perfectly. However, don’t use any ammonia-based cleaning products on the glass. It may lead to bubbles. As per Bond Tech Industries, the condition of the adhesive will suffer in dusty environments.
2. Take the Masking Tape
Once you’ve found a suitable location, you need to use masking tape so that you can perfectly position the sticker. Leave the white back paper behind and notice the preferable surface of the sticker. Apply one small part of the masking tape on the upper side of the sticker for appropriate positioning. After this, you need to lift the sticker slowly and remove the backing paper. Don’t forget to apply a grip on the bottom edge while lowering the sticker. Meanwhile, keep pressure with your thumb on the center of the sticker and move your way down to the bottom.
3. Use the Wet Technique
If you’re installing small window stickers, you don’t need to use the wet technique. But, it’s very effective for large window stickers. The liquid solution contains 95% water and 5% soap. Apply the liquid solution on the surface and install the sticker while the surface remains moist. Since the sticker won’t stick immediately, you can position it easily. You can also squeeze the bubbles out. Your sticker will automatically sit firmly once the soapy mixture dries out.
4. Clear the Tape
If you’re happy with the position of your window sticker, you can remove the tape. However, make sure there are no wrinkles or bubbles before you start clearing the tape. If you notice your window sticker is coming out, wait for some time and it will stick automatically.
Conclusion
These are the 4 steps to install window stickers. Window stickers are an affordable advertising solution for both small and large businesses. At the same time, the process is easy. So, you don’t need to hire a professional to install window stickers.