Having a reliable supply of water is essential for any home. A well is a rather common household water supply system. About 23 million households in the US source their water from private well systems. For houses with a well system, installing a water storage tank is one of the best ways to ensure constant water pressure and availability.
Getting a tank for your well also has some other useful benefits. A tank acts like a reservoir, storing excess water pumped from your well for peak demand periods. They help maintain steady water pressure through your pipes and give you a supply of water even if electricity is interrupted. Furthermore, as per the US Environmental Protection Agency, storage tanks increase well pump life by reducing pump cycling.
With the proper setup, you and your family can enjoy reliability and consistent pressure at all your faucets. In this step-by-step guide, you’ll find the processes of installing a well water storage tank in your home, from preparation to completion.
Determine the right tank size
Picking the correct tank size for your needs is especially important. As a general guideline, your tank should be big enough to supply your household’s full daily water usage for at least 24 hours. For a typical family of four with two to three bathrooms, a 500–800-gallon tank is usually adequate.
Think about how much water your family uses during peak demand times, like busy morning routines or dinnertime when multiple sinks are running. Consider occasions like holidays or parties when extra guests may be around. Also, factor in things like hot tubs, in-ground sprinkler systems, and the number of teenagers you may have taking extra-long showers. Undersizing your tank can lead to water pressure issues whenever demand spikes.
Ultimately, the goal here is to ensure your chosen tank is large enough to supply your home’s full day-to-day needs, with a 10% to 20% cushion for safety. If you’re unsure of which tank size to get for your home, you may consult professionals from reputable water tank providers, such as EPP Well Solutions. With their assistance, they’ll help analyze your needs and ensure you invest in the right water tank size. Lastly, check local building codes, as some jurisdictions have minimum tank-size requirements.
Choose the tank material
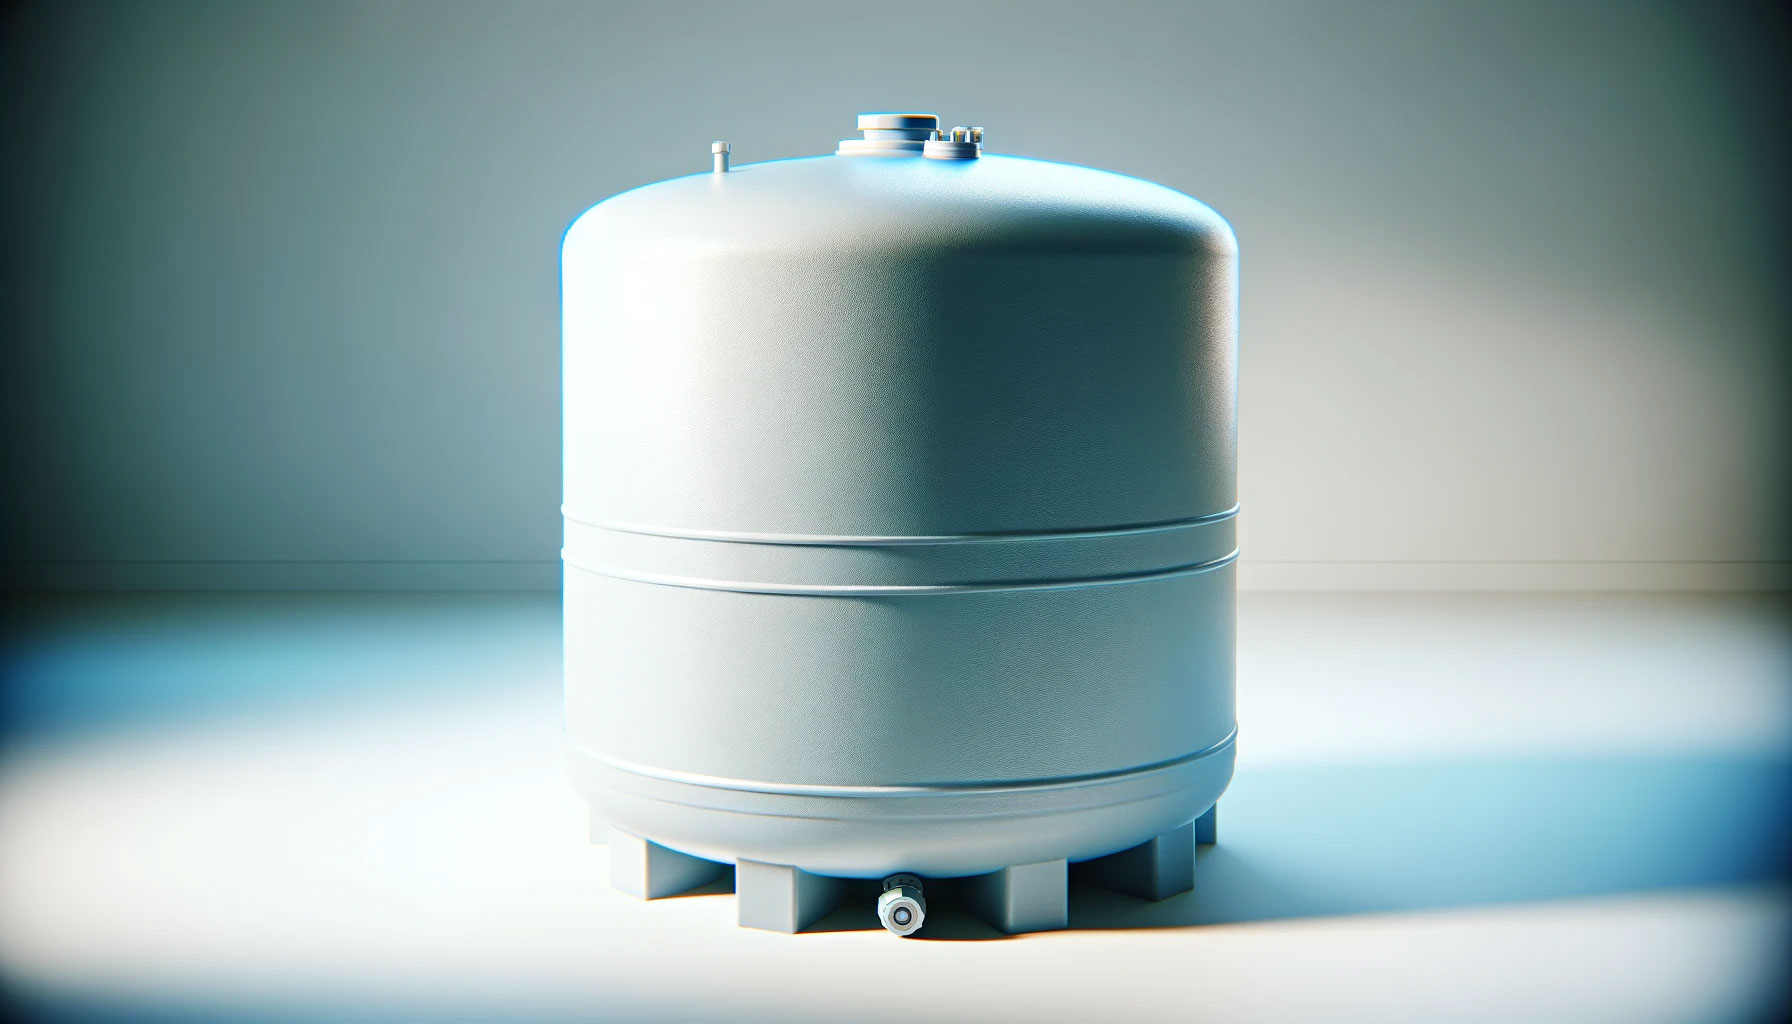
You’ve got options when it comes to what your water tank is made of. For residential use, plastic polyethylene or fiberglass tanks are popular choices. They’re durable, corrosion-proof, and lighter weight than old-school steel models. Concrete tanks are particularly sturdy but heavy and hard to install.
For your home, it’s best to opt for a polyethylene or fiberglass tank. Polyethylene is a tough plastic that won’t rust or corrode over time, such as steel. It also has an average lifespan of 15 to 20 years. Fiberglass is also a good option; it’s strong yet fairly lightweight. Both materials are NSF-certified for safely storing drinking water.
Make sure to get quotes for tanks in the size you need and compare prices for different brands and materials. Also, confirm any tank you’re considering has the necessary fittings and accessories included, like a pressure gauge, inlet and outlet ports, valves, and an air volume control system. These parts are vital for your tank’s proper operation.
Prep the perfect installation site
A poorly planned site can spell disaster down the road, so it’s important to plan and prepare the installation site thoroughly. The ideal site for your water storage tank is close to your well pump, usually in a basement, garage, or utility area. The foundation must be solid and level, as tanks need a perfectly flat surface to prevent settling and cracks.
Check that your selected spot allows enough clearance on all sides for servicing the tank. Most experts recommend at least 18 inches of space all around. Also, ensure the floor has sufficient strength to handle the tank’s weight when filled. Remember, preparing the installation site right from the start prevents major headaches down the road and ensures your tank will safely supply water for many years to come.
Install the tank foundation to create a sturdy base
Now that you’ve prepared the perfect spot, it’s time to install a solid foundation to support your tank.
For above-ground tanks, the standard base is a 4- to 6-inch-thick concrete slab. Remember to follow your tank manufacturer’s specifications for thickness and construction. The concrete should be poured on top of packed gravel fill, elevated slightly, to allow drainage underneath. Then, allow the concrete to fully cure for at least seven days before placing your tank.
For underground tanks, you’ll need to excavate a hole about 12 inches deeper and wider than the tank size. Add a 6-inch layer of gravel, pack it down, and make sure the base is perfectly level before lowering in your tank.
Hook up the pipes
Now for the fun part—connecting all the pipes! Start by attaching the outlet pipe near the bottom of the tank. This line carries water to your home’s plumbing system.
Next, install the inlet pipe coming from the well pump near the top of the tank. Then, mount the pressure gauge and switch assembly per the manufacturer’s specifications to monitor tank water levels.
Don’t forget to add a drain valve at the bottom to drain the tank periodically for maintenance. Lastly, see to it that you’re only using code-approved fittings and pipe types for all connections to ensure water safety and integrity.
Install support components
Your tank needs some extra fittings and hardware to operate properly and safely. Don’t worry; installing these parts is pretty straightforward.
First, add a pressure relief valve near the top of the tank. This provides a critical safety release if excess pressure builds up. Next, mount an air volume control to maintain the right-sized air cushion. This helps the tank function optimally. Also, install shut-off valves to isolate the tank if service is needed down the road.
Finally, secure the tank with support straps, brackets, or saddles. This keeps the unit firmly in place and prevents shifting or movement over time. Taking a few extra minutes to bolt on these components ensures your tank will operate safely for maximum life.
Test the tank
At this point, you can finally start testing your tank and get it running! First, inspect all those pipe connections you made for any leaks. Then, slowly pressurize the tank and check again while it’s under pressure. Verify that the pressure gauge is reading accurately when pumped to the tank’s working pressure.
Next, fill it up with water and check around all fittings, valves, and pipes for any drips or weeping. Also, confirm your drain valve and overflow pipe don’t leak when full. Finally, run some water and monitor the pressure. Turn on multiple faucets and flush a few toilets to simulate peak usage. The pressure should remain steady, not bounce around. If no issues are detected, then your tank is now ready for action!
Taking the time to test everything ensures your system functions right the first time. And after all your hard work, it’s pretty sweet when that first faucet turns on, and clean water comes gushing out.
Wrap up
Well, there you have it—all the nitty gritty details on selecting, prepping for, and installing your own water storage tank. While it’s not rocket science, it does take some planning, patience, and prep work to do it right. But the payoff is huge—reliable, consistent water whenever you need it.