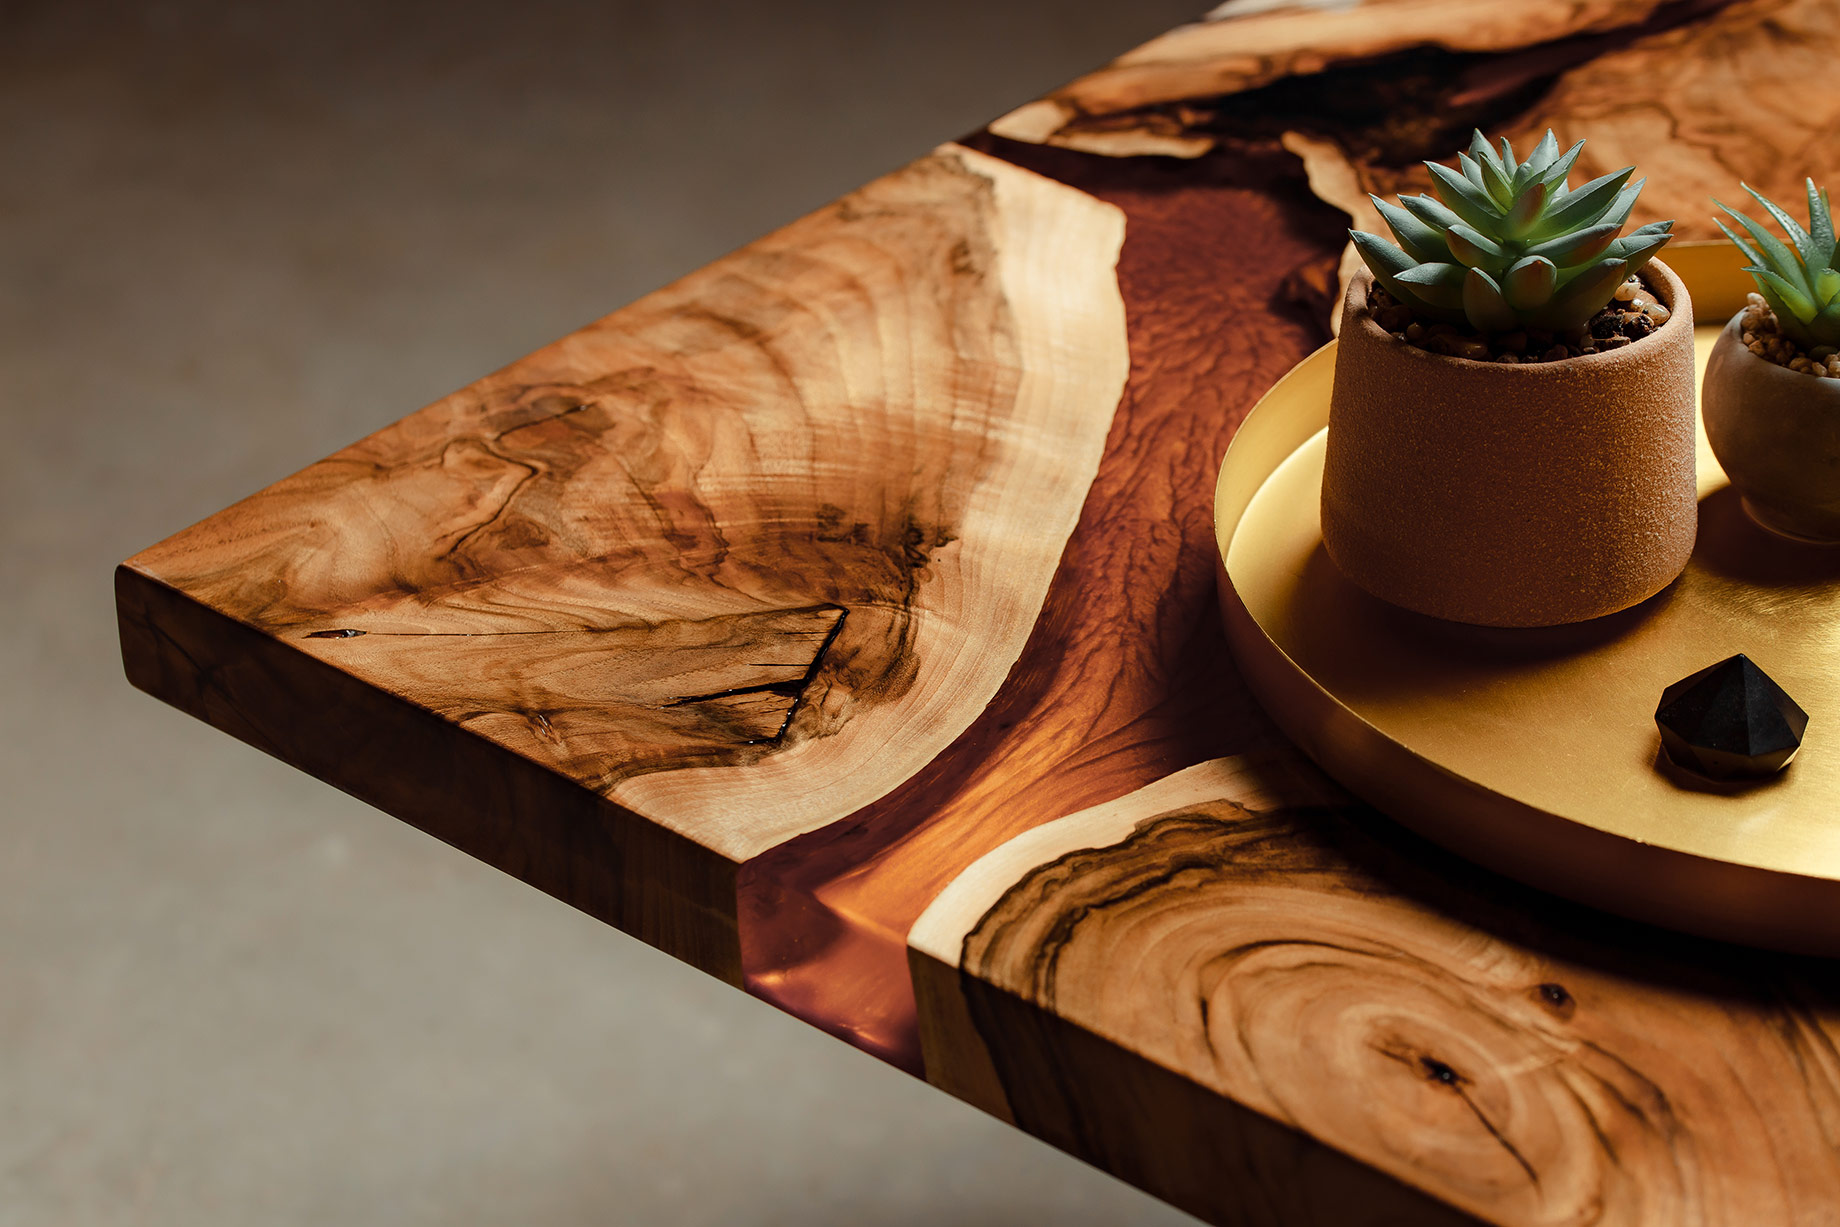
A finished wood-and-resin table can look almost too perfect. The surface is smooth, the color seems to flow exactly where it should, and every natural crack appears to have found a purpose. Looking at the final piece, it is easy to imagine that the process is mostly about pouring resin into a gap and waiting. In a real workshop, things are rarely that tidy. The work begins long before the resin container is opened.
That is true even when the project appears simple. A handcrafted solid wood coffee table still requires decisions about which face of the board should remain visible, where the legs will sit, and whether a knot deserves to be filled, reinforced, or left alone. Add resin and the number of choices grows quickly. Some are artistic. Others are practical. A good piece depends on both.
The Wood Usually Speaks First
Furniture design is often described as if it begins with a finished drawing. A designer imagines a table, chooses measurements, and then searches for material that fits the plan. Wood-and-resin work often moves in the opposite direction.
A slab arrives with its own history. One edge curves inward. A long crack crosses the grain. There may be a pale patch near the center or a knot that immediately catches the eye. These features can spoil a rigid design, but they can also suggest a better one. A split might become a dark resin seam. Two irregular boards may frame a clear channel. A hollow section could turn into a small pool of color.
Turning the Idea Into a Plan
Once the wood suggests a direction, the idea has to become practical. Measurements are taken. The resin area is marked. The maker considers where people will sit, whether knees will hit the base, and how the weight will be supported.
A sketch helps, but it is not a promise. A crack may be deeper than expected. The wood may move slightly during preparation. Resin can also look different at full depth than it did in a small test. Experienced makers leave room for adjustment.
Restraint matters too. Resin attracts attention, so it is easy to overuse it. In stronger designs, neither material overwhelms the other. The resin adds movement; the timber keeps its warmth, grain, and structure.
The Long Preparation Nobody Sees
Short workshop videos often jump from a rough slab to a dramatic pour. The missing part is preparation, which may take far longer than the pour itself.
Loose bark comes off. Soft fibers are removed from cracks. Dirt and dust must be cleaned away because resin will not bond well to an unstable surface. The wood may need flattening, drying, sealing, or reinforcement before it can be placed in a mould.
The mould has to be level, strong, and sealed at every joint. A gap no wider than a pin can release a great deal of resin overnight. The slabs also need to be clamped down. Wood floats, and even a heavy board may shift once liquid surrounds it.
None of this is glamorous. It is, however, where many projects are saved or lost.
Color and the Pour
Choosing pigment sounds like the fun part, and usually it is. Still, color in a deep pour behaves differently from paint. A shade that looks bright in a mixing cup may become nearly black through several centimeters of resin. Metallic pigment may settle. White can turn cloudy. Two attractive colors may create a muddy tone when they meet.
Small tests help. A cured sample can be held beside the actual slab, where changing light may reveal a very different result. The maker is choosing not just a color, but how it will behave at depth.
Pour day itself is calm, measured work. Resin components are weighed carefully and mixed slowly enough to avoid unnecessary air. Temperature matters. So does pour depth. Some formulas are made for thin coatings, while others can cure safely in thicker layers.
Once the resin enters the mould, the clock starts. There is time to check for leaks, release bubbles, and guide pigments, but not endless time. The mixture gradually thickens. A pattern that looks beautiful at first can become messy if it is disturbed for too long.
The maker has to know when to intervene and when to stop. Resin cannot be controlled completely. Pigment drifts, small currents form, and sharp lines soften. The aim is not to remove every surprise, only to keep it within a useful range.
Waiting, Flattening, and Finishing
After the pour, the project enters its quietest stage. It sits.
Curing may take several days, depending on the formula, temperature, and thickness. The surface can feel hard while deeper layers remain soft. Removing the piece too early may leave dents or allow it to twist. At this point, patience is not a personality trait; it is part of the technique.
When the top finally comes out of the mould, it rarely looks polished. The edges are rough, excess resin clings to the sides, and the surface may carry marks from the form. It looks more like a heavy construction blank than finished furniture.
Flattening comes first. Then the top is cut to its final dimensions, the corners are shaped, and small defects are repaired. Sanding follows through several grits. Skip one stage and scratches may suddenly appear after the finish goes on.
The finish changes the mood of the piece. Gloss makes resin look deeper and more glass-like. Satin is quieter and often more practical for everyday furniture. Oil can enrich the wood without creating a heavy surface film.
Only then is the base fitted. It must support the weight, leave enough room for daily use, and suit the top without competing with it. The fixings also need to allow solid wood to expand and contract as humidity changes.
Why the Process Remains Visible
The appeal of wood-and-resin furniture does not come from factory-style perfection. It comes from the tension between planning and chance. The maker measures, seals, mixes, sands, and checks. The wood still carries knots and grain. The resin still records how it moved during the pour.
Those traces give the object character. A curve may follow the natural edge of the slab. A pigment line may settle in an unexpected place. A crack that once looked like damage may become the strongest detail in the design.
The process is less like decorating a board and more like negotiating with two different materials. Wood demands respect for its structure. Resin invites experimentation but punishes careless preparation. When both are handled well, the result feels intentional without looking mechanical. More examples of this approach can be found on this page.