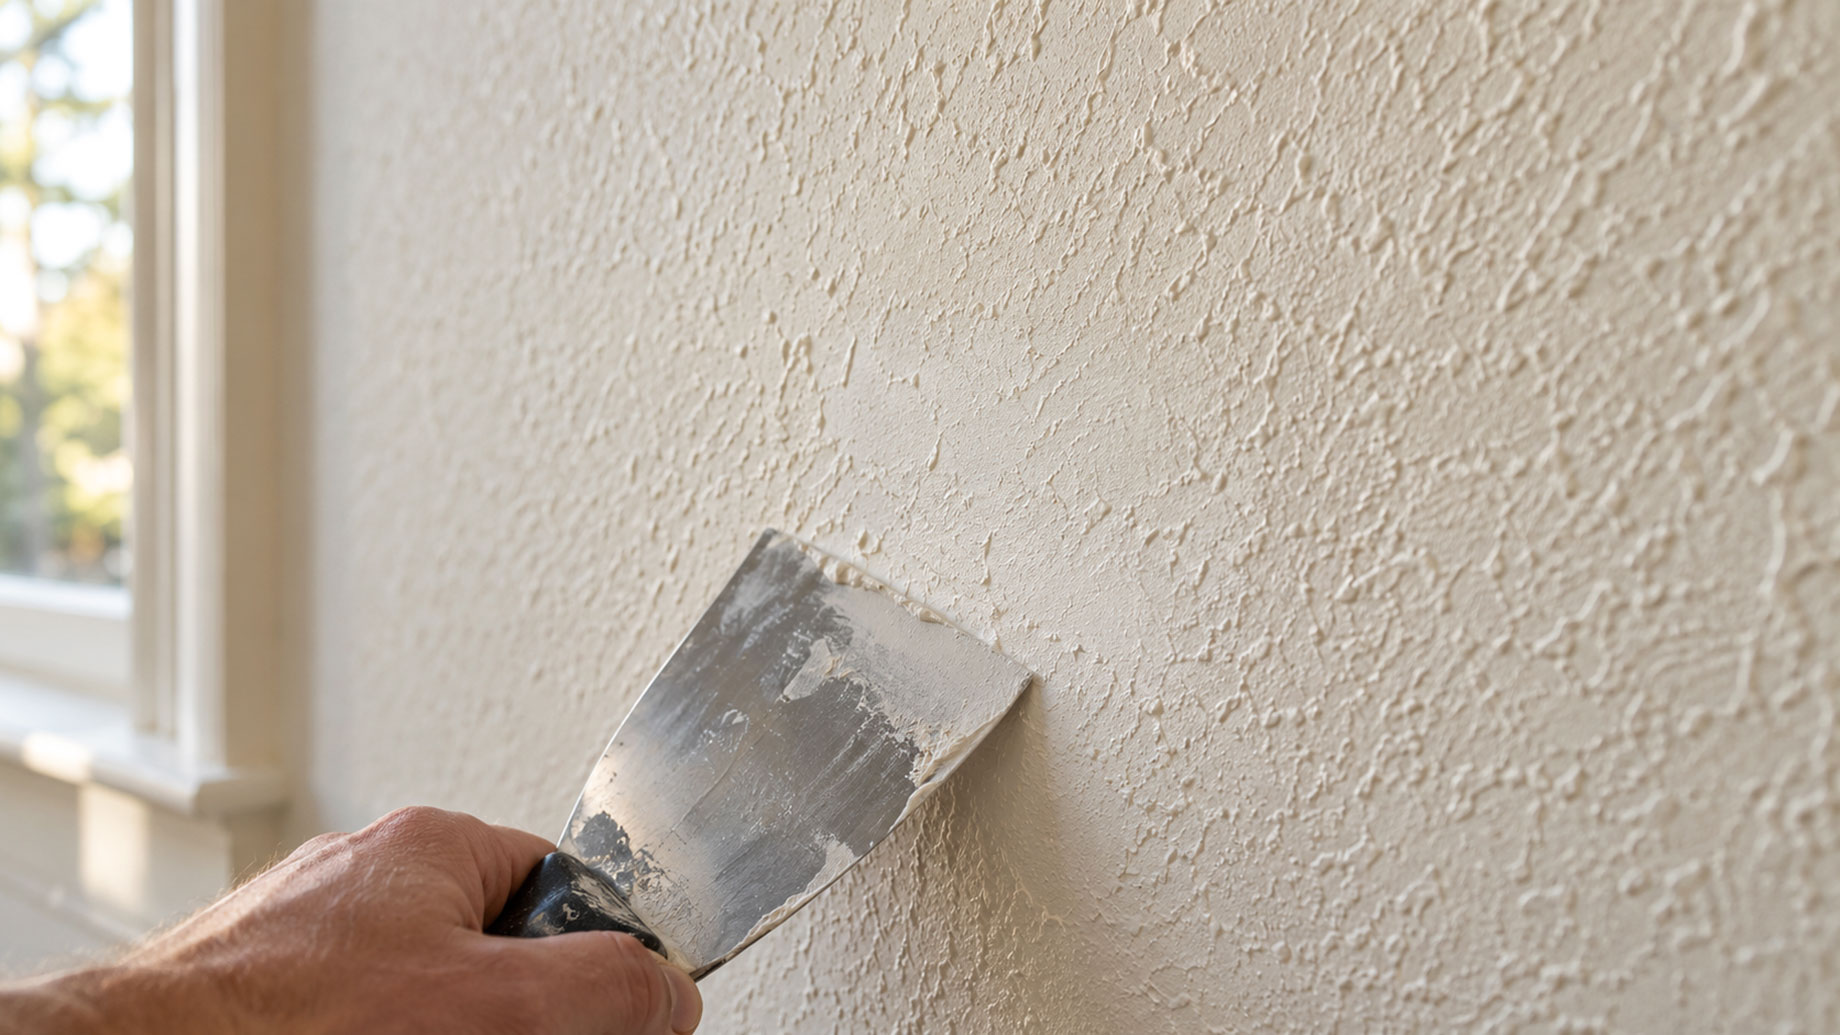
A wall repair can be structurally sound and still look unfinished when the repaired section has a noticeably different surface. Paint color may match perfectly, yet changes in texture can remain visible from across the room. This is especially common on walls that have accumulated subtle patterns, previous coatings, or hand-applied finishes over many years.
Texture matching focuses on recreating the visual character surrounding a repaired area rather than simply making the patch smooth. The process involves studying pattern size, depth, direction, and consistency before applying the final finish. Careful observation matters because even minor differences can become obvious when natural or artificial light moves across the wall.
Homeowners may encounter this challenge after holes, dents, cracks, or damaged sections have been repaired. Loft Home Services can assess the existing surface and determine how a repaired area should relate to the finish around it. The objective is a balanced appearance that does not make the patch an unnecessary focal point.
Understand Why Wall Texture Varies Between Different Rooms
Wall finishes can differ considerably throughout the same house. Some rooms have smooth surfaces, while others feature stippling, knockdown patterns, subtle swirls, or irregular finishes created during earlier construction and decorating projects.
Age can also influence appearance. Repeated coats of paint may soften a once-prominent pattern, while previous repairs can introduce small variations that become part of the existing wall.
Because of these differences, copying a generic finish may not produce a convincing result. The surrounding wall itself should serve as the visual reference for the repaired section.
Study the Existing Surface Before Applying New Material
Successful blending begins before finishing material touches the repair. The existing wall should be examined from several angles to understand how its texture behaves across a wider area.
Homeowners can look at the size and spacing of raised areas, the direction of visible marks, and whether the finish appears consistent or intentionally irregular. A pattern that seems random may still contain recognizable characteristics.
Loft Home Services can evaluate these details when a patch needs to relate naturally to an established finish. Studying the surrounding surface first reduces the risk of creating a repaired area that appears noticeably flatter, heavier, or more uniform.
Consider How Repair Size Affects the Blending Process
Small patches and large repaired sections create different finishing challenges. A tiny repair may need only a limited amount of surface work, while a larger section can interrupt the visual pattern across a substantial portion of the wall.
The transition around the edges deserves particular attention. An abrupt change between old and new material can create a visible outline even when the center of the patch looks appropriate.
Blend Beyond the Immediate Repair Boundary
Finishing only the exact dimensions of a patch can sometimes emphasize its shape. Carefully extending the transition may help the repaired area relate more naturally to the surrounding wall.
The appropriate approach depends on the existing finish and condition. Excessive application can be just as noticeable as insufficient texture, so controlled blending is important.
Account for the Effects of Natural and Artificial Light
Lighting has a strong influence on how wall surfaces appear. Direct front lighting may conceal minor differences, while light traveling across a wall from the side can emphasize ridges, depressions, and changes in texture.
Windows can create particularly revealing conditions during certain parts of the day. A repair that appears nearly invisible in evening light may become noticeable when morning sunlight crosses the surface at an angle.
Permanent room lighting should also be considered. Recessed fixtures, wall sconces, and lamps can reveal surface differences that temporary work lights do not show clearly.
Avoid Assuming Fresh Paint Will Hide Surface Differences
Paint changes color and sheen, but it cannot automatically disguise an inconsistent wall surface. In some cases, fresh paint makes differences more visible because the entire wall receives a cleaner and more uniform color.
Surface preparation should therefore be completed before painting begins. High spots, rough transitions, and obvious changes in pattern need attention while the repair can still be adjusted.
Texture matching in Pittsburgh should be evaluated as part of the repair rather than postponed until after painting. Once the surface relationship looks appropriate, paint can provide the final visual layer instead of being expected to conceal unfinished work.
Recognize How Paint Sheen Changes Wall Appearance
The finish level of paint can influence how easily imperfections are seen. Glossier surfaces generally reflect more light, which may emphasize small changes in texture or preparation.
Flatter finishes can reduce some visual contrast, but they should not be treated as a solution for poor surface work. A noticeable ridge or mismatched pattern may remain visible regardless of paint selection.
Homeowners should evaluate both texture and coating when planning the final appearance. These elements work together, and changing one can affect how the other is perceived.
Use Existing Wall Character as the Main Reference
Older walls may contain subtle variations that should not automatically be removed. Slight irregularities can reflect earlier finishing methods, accumulated paint layers, or the original character of the surface.
Creating a perfectly uniform patch inside a naturally varied wall can make the new work stand out. The repaired section should relate to what already exists rather than introduce a completely different visual standard.
This approach is particularly useful when only one portion of a room requires work. Maintaining continuity helps preserve the appearance of surrounding surfaces that remain in serviceable condition.
Check the Surface After the Material Has Settled
A newly applied finish may look different as it dries. Changes in color, depth, and surface definition can affect how closely the repaired section resembles the surrounding wall.
Homeowners should allow appropriate drying time before judging the final result or moving immediately to paint. Premature finishing can make it harder to correct areas that become more noticeable afterward.
Loft Home Services can consider the repaired surface under normal room conditions before decorative finishing is completed. This additional review can identify transitions or pattern differences that deserve adjustment.
Coordinate Wall Repairs With the Painting Schedule
Painting should follow repair and finishing work rather than overlap with it. A rushed schedule may encourage homeowners to apply paint before the surface has been properly inspected.
Allowing time between repair stages also provides opportunities to view the wall under different lighting conditions. Small imperfections can be corrected before primer and finish coatings make additional work more complicated.
Planning the sequence carefully can reduce repeated sanding, repainting, and touch-ups. The finished wall benefits when each stage is completed before the next one begins.
Create a Wall Finish That Looks Naturally Connected
A successful repair should not attract attention simply because its surface differs from everything around it. Careful Texture matching helps new work connect visually with the existing finish while respecting the wall’s established character.
Homeowners can support better results by studying surrounding patterns, considering lighting, allowing adequate drying time, and avoiding dependence on paint to hide inconsistencies. Repair size and existing surface variation should also influence how the transition is handled.
Wall finishes rarely look identical under every lighting condition or viewing angle. The practical goal is visual continuity rather than artificial perfection. Thoughtful preparation and controlled blending can help a repaired area become part of the room again instead of remaining an obvious reminder of previous damage.