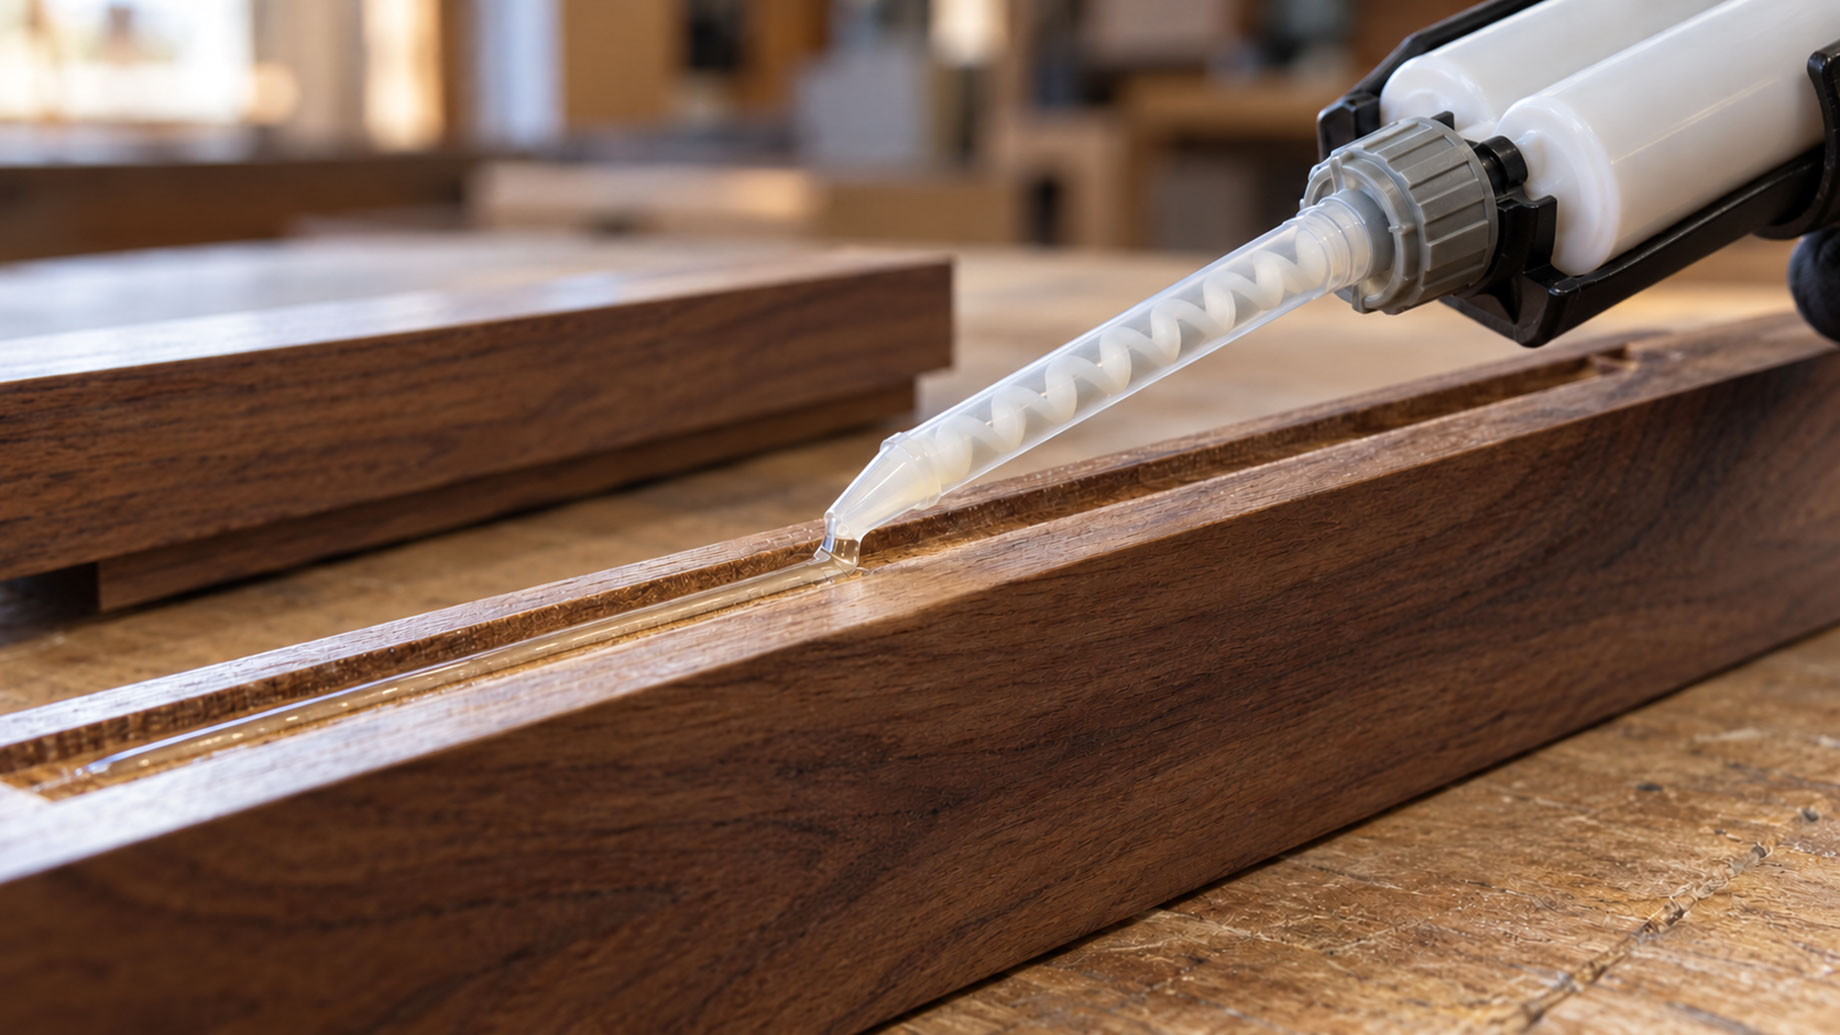
A carefully finished interior can be spoiled by adhesive appearing where it should not. Along a trim, beneath a decorative insert or beside a visible joint, excess material is difficult to ignore and may be difficult to remove without affecting the surface. When a fabricator uses a two-component adhesive, the static mixing nozzle is part of controlling that result.
Start with the adhesive approved for the substrates and service conditions. Then select the dispensing arrangement around the joint, access and assembly sequence. A fine outlet does not make the adhesive suitable for a surface, and a neat wet bead does not prove that the finished bond will meet the project’s requirements.
Choose a static mixing nozzle for access and placement
Inspect the approach path. The outlet has to reach the intended bonding area while leaving enough room for the cartridge and gun, so a narrow joint viewed on a drawing may become an awkward application once surrounding components are in place.
Ebestron’s catalogue identifies MAH 03-16 as a helical mixer associated with a 50 ml fine-bead application. This is a useful reference when requesting a defined sample. It is not a promise that the same tip will give the correct bead for every adhesive, surface or joint geometry.
Make a representative mock-up. Include the finished surfaces, the real access angle and the movement used to close the joint, rather than testing the adhesive on an open piece of scrap that removes the difficulty the installer will face.
Confirm the static mixing nozzle connection
A nozzle that looks right can still be wrong. Its connection must match the cartridge outlet and retain the mixer as intended by the system supplier. Do not improvise an adapter or assume that a similar-looking bayonet establishes compatibility.
The Ebestron table lists MBH 06-16 with a 50 ml bayonet connection and a 1:1 / 2:1 ratio range. The connection and ratio description help narrow the request, but the precise cartridge and mixer references still need to be checked together.
Keep the selected parts identifiable at the workshop and on site. A substitution made during a consumable shortage can change the outlet shape or mixing geometry even when the replacement attaches, leaving a crew to discover the difference on a finished component.
Do not force thick adhesive through a preferred outlet
Material behaviour matters. A viscous or filled adhesive may resist flow through an arrangement that worked with a thinner material, and increasing force is not a substitute for confirming the required nozzle and operating conditions with the adhesive supplier.
Ebestron lists MCH 13-36 as a helical option associated with a 400 ml paste or high-viscosity application. That catalogue description illustrates why nozzle families differ. It does not qualify the part for a particular joinery adhesive, or establish that a larger mixer is automatically preferable.
Compare suitable candidates only. Preserve the material supplier’s mixing requirement and work within the dispenser instructions, even when a different outlet would make access more convenient. A placement improvement is useful only if the material delivered remains appropriate for the bond.
Bead shape and joint closure must be assessed together
Watch what happens after application. Bringing the components together redistributes adhesive, so the visible result depends on the amount delivered, the available joint space and the seating movement rather than just the bead’s appearance before closure.
Define acceptance on the assembled mock-up. Check the intended bonding area, visible edges and adjacent finishes under the agreed inspection conditions. Where the adhesive supplier requires a particular bondline or curing method, include those requirements in the evaluation.
| Mock-up observation | Next question to investigate |
|---|---|
| Adhesive reaches the visible edge during closure | Is the delivered amount appropriate for the actual joint space and seating movement? |
| The outlet cannot follow the bonding area | Does the access path require a different approved tip or an earlier assembly step? |
| The bead changes after an interruption | Was the restart performed within the adhesive supplier’s prescribed method? |
| Application requires excessive force | Are the material condition, mixer and dispenser combination correct? |
Keep the evidence with the sample. Photographs of the wet bead and the assembled joint help distinguish a placement problem from movement during closure. Neither image alone is a substitute for any required bond assessment after cure.
Match mixing geometry before trimming consumable cost
Mixing has a job to do. Selecting a shorter nozzle simply to reduce the material left inside it changes the mixing path, and the acceptability of that change has to be established for the formulation rather than inferred from a similar outlet diameter.
Intertronics identifies connection, internal diameter, element design, element count and tip termination as relevant selection factors. That combination explains why a buyer should request a complete nozzle reference rather than a generic “fine mixing tip.”
For identifying options, Ebestron’s static mixing nozzles and cartridge systems provides catalogue families that can be discussed with the adhesive supplier. Confirm the exact configuration and request samples for the intended material. The catalogue supports component selection; the project mock-up supports the application decision.
Plan for pauses before work reaches the finished room
Expect interruptions. An installer may need to reposition a component, check an alignment or prepare the next surface, and a trial that omits those pauses can underestimate nozzle changes and make the working procedure look simpler than it will be on site.
Use the adhesive instructions to determine the restart method. Do not rely on the fact that material still exits the nozzle, and do not attempt improvised cleaning of a reacting mixer to preserve a small consumable saving.
Keep suitable replacements within reach. Protecting the finished work is easier when the installer can replace the prescribed part promptly instead of adapting an unrelated tip or continuing with an uncertain application.
Checklist for the fabricator and installer
- Approved adhesive, substrates and service conditions.
- Exact cartridge, gun and static mixing nozzle references.
- Demonstrated access to the bonding area.
- Accepted result after joint closure and required cure.
- A defined method for normal pauses and restarts.
- Matching replacement consumables available where the work happens.
Resolve the dispensing details on the mock-up. That gives the installation team a repeatable method and a clear reference for the consumables, leaving fewer decisions to improvise beside a finished surface.