Walls are an essential part of any home or building, providing structure, privacy, and a canvas for personalization. However, accidents happen, and walls can get damaged over time. Whether it’s a small crack, a hole, or peeling paint, repairing your wall doesn’t have to be a daunting task. With the right tools, materials, and a step-by-step approach, you can restore your wall to its former glory. In this comprehensive guide, we will take you through the process of repairing common wall damages, ensuring a smooth and professional-looking finish.
Assess the Damage
The first step in any wall repair project is to thoroughly assess the extent of the damage. Take a close look at the affected area and determine the cause of the problem. This could be a wall with a small crack caused by settling, a damaged brick wall, water damage, or general wear and tear, or it could be a more significant hole that needs patching. Understanding the nature of the damage will help you choose the appropriate repair method and materials. Take note of the size, shape, and location of the damage, as well as any underlying issues that may need to be addressed before proceeding with the repair.
Gather the Necessary Tools and Materials
Before you begin the repair process, it’s important to gather all the tools and materials you’ll need. Some essential items include a putty knife, sandpaper (both coarse and fine-grit), spackling compound, a scraper, a small trowel, paintbrushes, primer, and paint that matches your wall’s color. It’s also a good idea to have a drop cloth or plastic sheeting to protect the surrounding area from dust and debris. Having everything on hand and organized will make the repair process smoother and more efficient.
Prepare the Surface
To ensure a successful repair, you need to properly prepare the damaged surface. Start by cleaning the area using a mild detergent and water. Remove any loose paint, debris, or flaking material with a scraper or sandpaper. This will create a clean and smooth surface for the repair materials to adhere to. If the area is dusty, wipe it down with a damp cloth to remove any remaining particles. Ensure the surface is completely dry before proceeding to the next step.
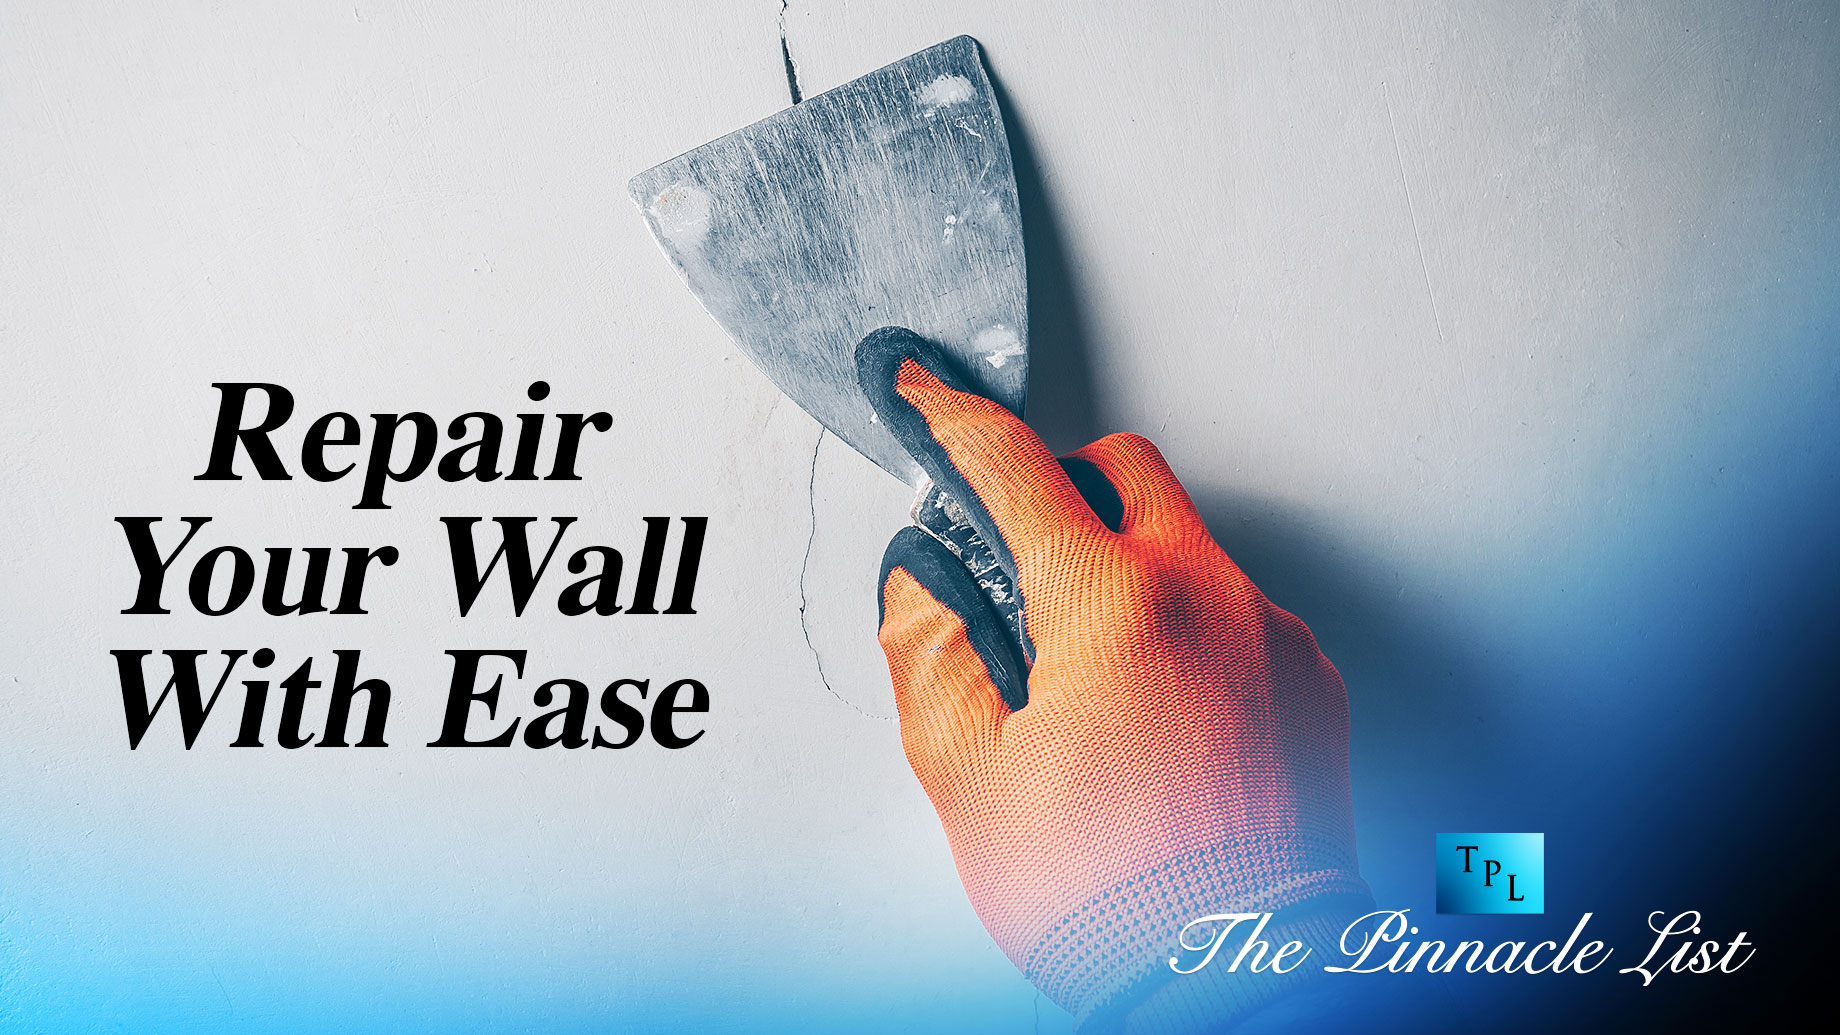
Fill in Cracks and Small Holes
For small cracks and holes, use a putty knife to apply spackling compound to the damaged area. Press the compound firmly into the crack or hole, ensuring it fills the space completely. Smooth out the surface using the putty knife, feathering the edges to create a seamless transition between the repaired area and the surrounding wall. Remove any excess compound and let it dry according to the manufacturer’s instructions. Depending on the size and depth of the crack or hole, multiple layers of the spackling compound may be necessary, allowing each layer to dry before applying the next.
Repair Larger Holes
If you’re dealing with larger holes or significant damage, additional steps may be required. Begin by using a utility knife to cut away any loose or damaged drywall around the hole. This will create clean edges for the patch to adhere to. Next, measure the hole and cut a piece of drywall slightly larger than the damaged area. Place the drywall patch over the hole, ensuring it fits snugly. Use a pencil to trace the outline of the patch on the wall. Remove the patch and use a drywall saw or utility knife to carefully cut along the traced lines, creating a precise opening for the patch to fit into. Apply a thin layer of joint compound around the edges of the hole and press the patch into place, smoothing out any air bubbles or wrinkles. Use a trowel to apply a layer of joint compound over the patch, feathering it outward to blend with the surrounding wall. Let the joint compound dry completely before proceeding.
Sand the Surface
Once the repair compound or patch has dried, it’s time to sand the surface to create a smooth and even finish. Start with coarse-grit sandpaper to level the repaired area and remove any excess compound or rough edges. Be careful not to apply too much pressure, as this could damage the surrounding wall. Once the surface is relatively smooth, switch to fine-grit sandpaper to further refine the surface and create a seamless transition between the repair and the surrounding wall. Wipe away any dust with a clean cloth or sponge.
Apply Primer
Before painting, it’s essential to apply a coat of primer to the repaired area. Primer helps the paint adhere better and provides a consistent base for an even finish. Use a paintbrush or roller to apply a thin layer of primer to the repaired area, extending slightly beyond the edges to ensure a seamless blend with the surrounding wall. Allow the primer to dry according to the manufacturer’s instructions. If necessary, apply a second coat for better coverage.
Paint the Wall
The final step in the wall repair process is to paint the repaired area to match the rest of the wall. Choose a paint color that matches the existing wall color and use a high-quality paintbrush or roller for smooth and even application. Start by cutting in the edges with a brush, creating a border around the repaired area. Then, use a roller to apply the paint to the rest of the wall, blending it with the surrounding surface. Depending on the color and type of paint used, multiple coats may be necessary to achieve a seamless and consistent finish. Allow each coat to dry completely before applying the next, following the manufacturer’s instructions.
Finishing Touches
Once the paint has dried, step back and admire your repaired wall. Inspect the area closely for any imperfections or uneven spots. If necessary, touch up any areas with additional paint or carefully sand and repaint as needed. Clean your tools thoroughly, and dispose of any waste materials properly. Finally, take a moment to appreciate your efforts and the restored beauty of your repaired wall.
In conclusion, repairing your wall is a manageable task that can be accomplished with ease when you follow a step-by-step guide. By assessing the damage, gathering the necessary tools and materials, preparing the surface, filling in cracks and small holes, repairing larger holes, sanding the surface, applying primer, painting the wall, and adding finishing touches, you can successfully restore your wall to its former glory. Taking the time to approach each step with care and attention to detail will ensure a seamless and professional-looking finish. Not only does repairing your wall restore its functionality, but it also enhances the overall aesthetic appeal of your living space.