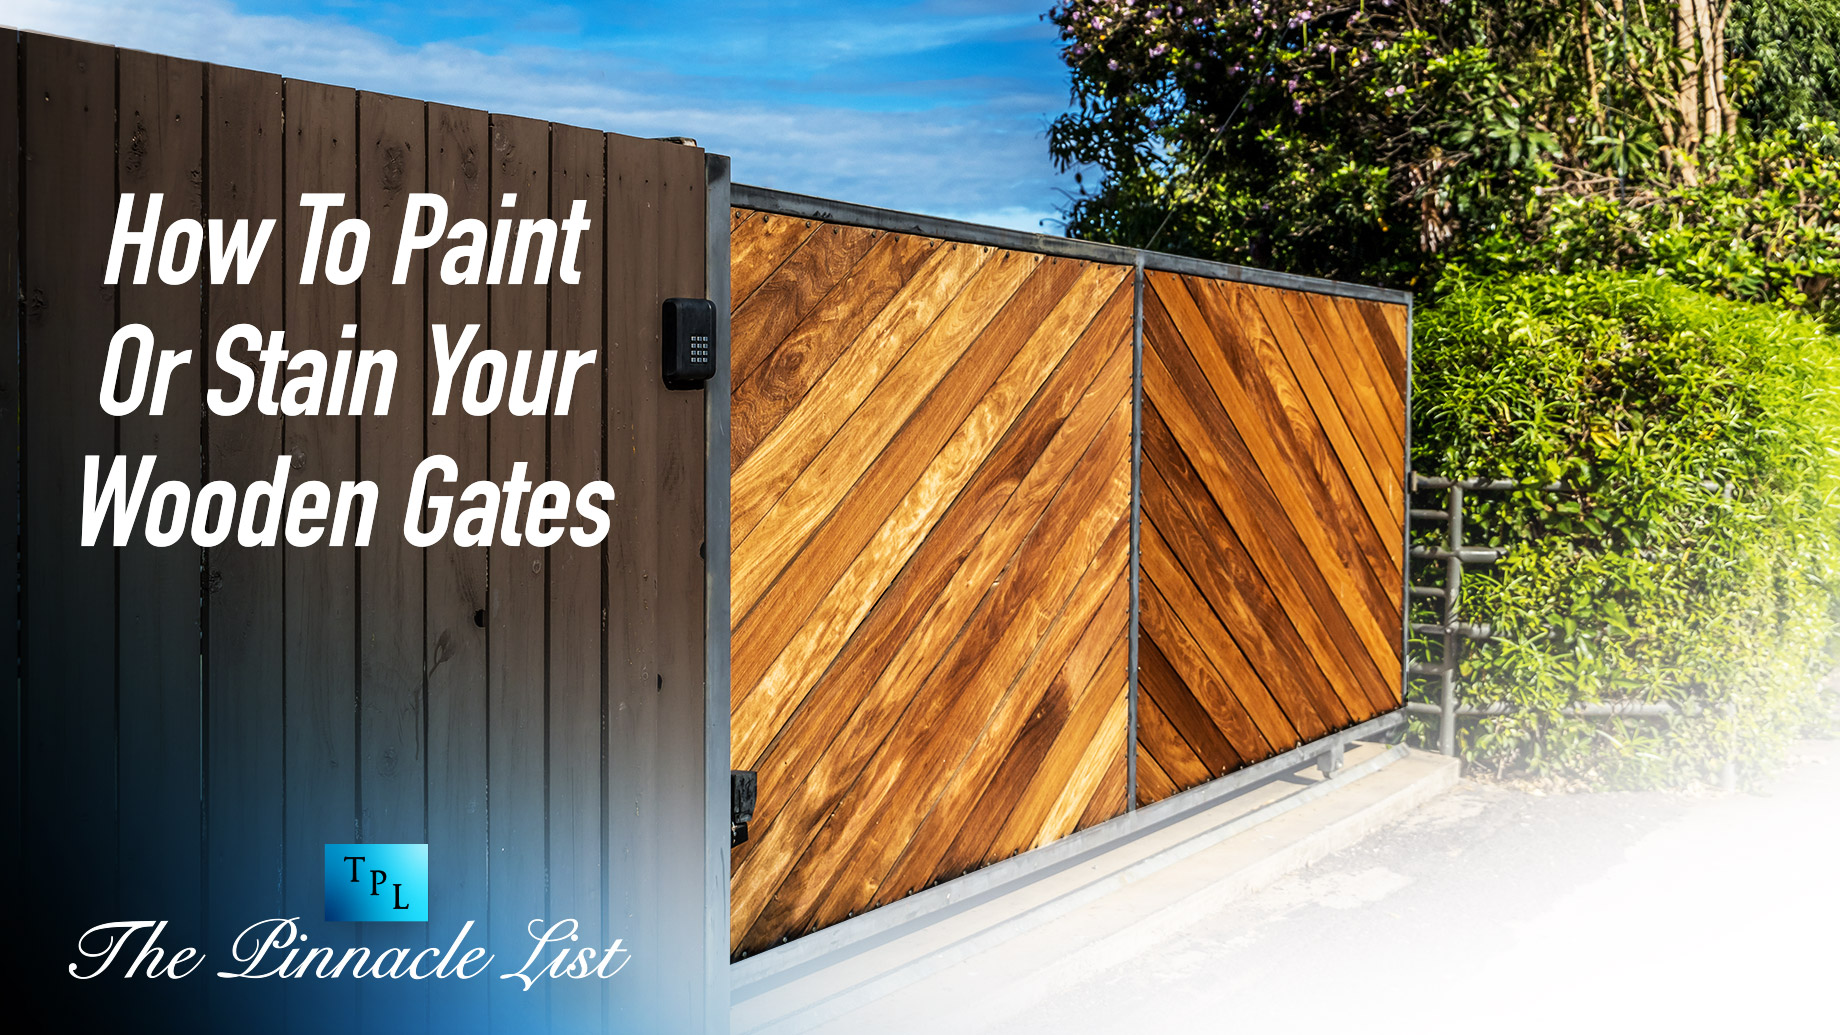
Wooden gates can add a touch of rustic charm to any property. They are functional, aesthetically pleasing, and durable. But like any outdoor wooden structure, they are exposed to the elements and can begin to show signs of wear and tear over time. However, with a little bit of care and maintenance, like painting or staining, you can keep your wooden gates looking their best for years to come.
Whether you have a newly installed wooden gate or a seasoned one that needs some revitalization, this guide is for you. Here, we will walk you through the steps of painting or staining your wooden gates. Let’s get started.
Materials You Will Need
Before starting your project, gather all the necessary materials. You will need the following:
- Paint or stain (depending on your preference)
- Primer (if painting)
- Paintbrushes or a roller
- Sandpaper (rough and fine-grit)
- A drop cloth or newspaper to protect the ground
- Clean cloth
- Soap and water
- Wood filler (if needed)
Preparing Your Wooden Gate
Whether you choose to paint or stain your gate, preparation is key to achieving a smooth, even finish.
- Clean the Gate: Begin by cleaning your gate to remove any dirt or grime. Use a mild soap and water solution and a soft cloth to gently scrub the surface. Allow it to dry thoroughly.
- Sand the Surface: Next, sand the surface of the gate with rough-grit sandpaper to remove any old paint or finish. This will also help to smooth out any rough spots. If there are any holes or cracks in the wood, now is the time to fill them with wood filler.
- Final Cleaning: Once you’ve sanded the gate, wipe it down with a clean, damp cloth to remove any dust or debris. Allow the gate to dry completely before moving on to the next step.
Painting or Staining Your Wooden Gate
- Apply Primer (If Painting): If you’re planning to paint your gate, it’s a good idea to apply a coat of primer first. Primer will help the paint adhere better and last longer. Allow the primer to dry completely before applying paint.
- Apply Paint or Stain: Now you’re ready to apply your paint or stain. If you’re painting, use a paintbrush or roller to apply a thin, even coat of paint. If you’re staining, use a brush to apply the stain, working in the direction of the wood grain. When choosing your paint or stain, consider a product designed for outdoor use, such as those available at https://gatesandautomationdirect.co.uk/product-category/metal-framed-timber-gates/. They offer a wide selection of products suitable for wooden gates, ensuring that your gate will not only look good, but also stand up to the elements.
- Let It Dry: Allow the first coat of paint or stain to dry completely. This may take several hours or overnight, depending on the product and the weather conditions.
- Apply Additional Coats: Once the first coat is dry, assess the appearance of the gate. If necessary, apply additional coats until you achieve the desired color and coverage. Remember to let each coat dry completely before applying the next one.
- Seal the Wood (If Staining): If you’ve chosen to stain your gate, apply a clear wood sealant after the stain is completely dry. This will help protect the wood and extend the life of the stain.
Maintaining Your Wooden Gate
With your gate now beautifully painted or stained, regular maintenance is crucial to keep it looking its best. Clean it regularly and reapply paint or stain as necessary, typically every few years, depending on the weather conditions and the type of paint or stain used.
- Cleaning: Regular cleaning can prevent dirt and grime from building up and causing damage. A gentle scrub with a mild soap and water solution is usually sufficient. Avoid using harsh chemicals or pressure washers, as they can strip the paint or stain from the wood.
- Inspecting: Take the time to inspect your gate periodically for any signs of wear or damage. Look out for peeling or flaking paint, cracks in the wood, or signs of rot or insect damage. Early detection can allow you to address any issues before they become significant problems.
- Repairing: If you notice any damage, take steps to repair it promptly. This might involve sanding and repainting a small area, or it might require more substantial repairs. In some cases, you may need to replace a part or all of the gate.
- Recoating: Over time, the paint or stain on your wooden gate will start to wear off. When this happens, it’s time to recoat. This process involves cleaning the gate, lightly sanding the surface, and then applying a new coat of paint or stain.
The beauty of wooden gates lies in their natural, timeless appeal. With proper care and maintenance, they can continue to enhance the look of your property for many years. Whether you’re preserving the wood’s natural color with a clear stain or adding a splash of color with paint, the effort you put into maintaining your gate will pay off in the long run.
Remember, if you’re considering adding new gates or replacing old ones, Gates and Automation Direct offers a wide range of high-quality wooden and metal-framed timber gates that can be a perfect fit for your property.