When designing or renovating bathrooms in both residential and commercial properties in the United States of America, it is crucial to ensure they provide sufficient clearance around toilets for comfort, accessibility, and code compliance. The Americans with Disabilities Act (ADA) has established guidelines for public and private facilities to ensure that they are accessible and usable by all individuals.
Here’s how to check that toilet compartments have proper clearances:
Residential Toilet Clearances
While residential bathrooms are not required to meet full ADA standards, providing sufficient clearance ensures comfort and accessibility for all users. Here are some guidelines:
Centerline Placement
- The centerline of the toilet should be at least 15 inches from any side wall, cabinet, or other obstruction.
- A distance of 15-18 inches is recommended for maximum comfort.
Clearance Width
- Plan for at least 30 inches of clear width on one side of the toilet for comfortable sitting and standing.
- If possible, provide at least 15 inches of clear width on both sides of the toilet.
Clearance Depth
- Ensure there is at least 21 inches of clearance in front of the toilet for leg space when sitting and standing.
- A depth of 30 inches from the front of the toilet to any opposite wall or fixture is recommended.
Doors and Obstructions
- Avoid having the bathroom door or shower door swing into the required clearance area around the toilet.
- Ensure other fixtures like the sink or cabinets do not encroach on the minimum 15 inch clearance from the toilet centerline.
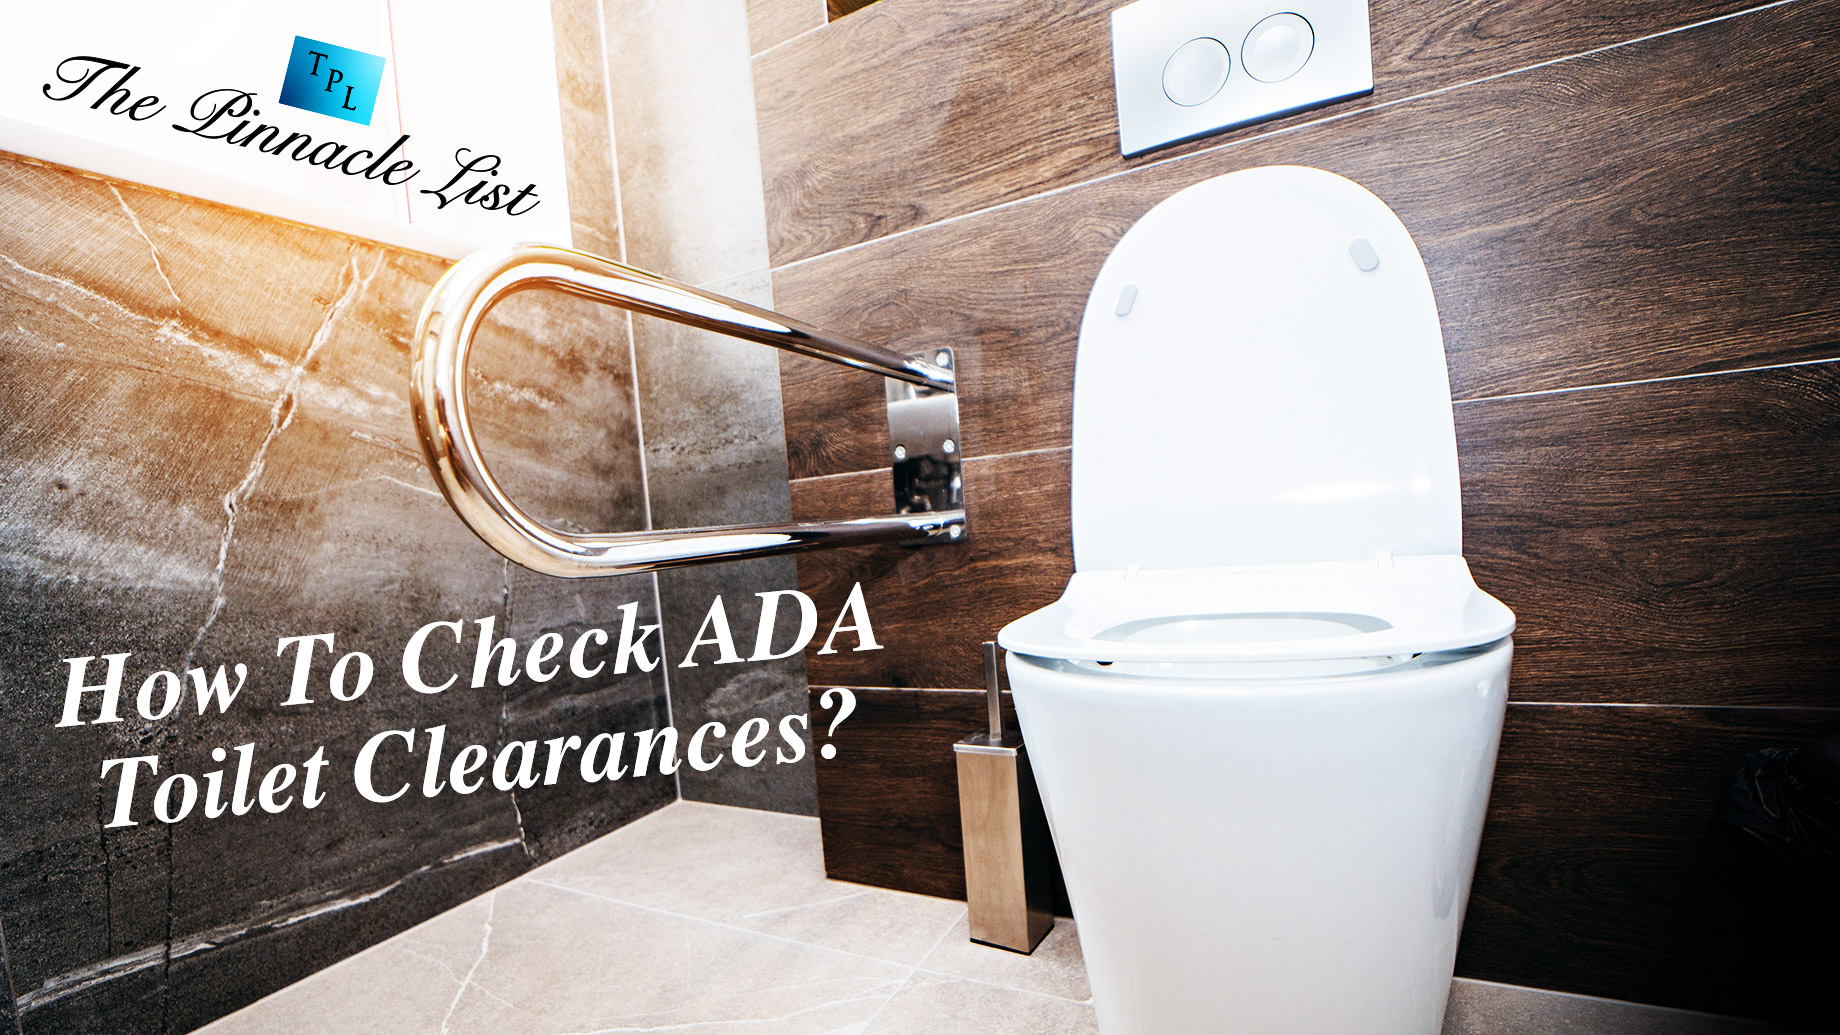
Commercial ADA Toilet Clearances
For commercial properties, bathrooms must meet ADA requirements for accessibility. Here are the key clearances to check:
Centerline Placement
- The centerline of the toilet must be 16 to 18 inches from the side wall or partition.
Clearance Width
- There must be at least 60 inches of clear width around the toilet, measured perpendicular from the side wall.
- No other fixtures or obstructions can overlap this 60 inch wide space, except the toilet, grab bars, dispensers, and allowable overlap from the lavatory.
Clearance Depth
- The toilet clearance must extend at least 56 inches deep, measured perpendicular from the rear wall.
- The required clearance around the toilet is permitted to overlap the toilet itself, grab bars, dispensers, and clear floor space at other fixtures like the sink.
Toe Clearance
- Toe clearance of at least 9 inches above the floor is required under the front partition and one side partition of toilet compartments.
- Toe clearance must extend 6 inches deep beyond the compartment-side face of the partition.
- Toe clearance is not required in compartments deeper than 62 inches (wall-hung toilet) or 65 inches (floor-mounted toilet).
Doors
- Toilet compartment doors must not swing into the required clearance around the toilet.
- An exception allows doors to swing into the clearance if an unobstructed clear floor area 30 inches wide and 48 inches deep is provided within the compartment, beyond the door swing.
By carefully checking these clearances during design and construction, you can ensure bathrooms will be comfortable, accessible, and code-compliant. For commercial properties, failing to provide sufficient clear floor space is one of the most common ADA violations. Always consult both ADA standards and local building codes for any additional requirements in your jurisdiction.