Tree removal sits at the intersection of ambition and bad judgment more often than most homeowners realize. A tree looks manageable from the ground. A chainsaw costs two hundred dollars at the hardware store. YouTube has tutorials. What could go wrong? Quite a lot, as it turns out — and unlike a botched kitchen renovation or a misaligned fence post, a falling tree moving in the wrong direction doesn’t offer a second chance to correct the mistake.
Understanding the actual steps involved in safe tree removal — and which of those steps genuinely require professional equipment, crew coordination, and liability insurance — helps property owners make informed decisions about when to proceed independently and when that calculation changes completely. Small trees in open space with no overhead utilities, no nearby structures, and a clear fall zone represent one situation. A sixty-foot oak leaning toward a house roof represents something categorically different.
The honest answer for most significant tree removals is that professional tree services handle the work more safely, more quickly, and often at lower total cost than the combination of equipment rental, helper coordination, debris disposal, and time investment that DIY removal actually requires when totaled honestly. That said, understanding the process matters regardless of who performs it — both for evaluating quotes and for handling the smaller removals that genuinely fall within residential scope.
Assess Before Anything Else
Assessment determines everything that follows. Walk the full circumference of the tree before touching any equipment. Look for cavities in the trunk, fungal conks at the base, significant deadwood in the crown, and any lean that has developed recently. Probe soil around the base after heavy rain — saturated soil around a leaning tree is a warning that root anchoring may have already compromised. Note every overhead utility line, structure, and object within two tree-lengths in every direction. That radius defines the hazard zone.
Identify the natural lean. Trees rarely stand perfectly vertical; most have a dominant lean direction that determines where they want to fall regardless of where you want them to go. Working with natural lean requires less technical rigging and carries lower risk than attempting to fell against it. Working against natural lean on a heavy tree without proper rigging equipment produces exactly the kind of uncontrolled fall that causes property damage and injury.
Clear the Area and Plan Escape Routes
Clear everything within the fall zone radius before starting. Patio furniture, vehicles, children’s equipment, and anything else that represents either a hazard or an asset worth protecting needs to move. Two clear escape routes at forty-five degree angles away from the planned fall direction should be identified and physically cleared before the first cut. These routes exist because trees don’t always behave exactly as planned — kickback, unexpected lean correction, and branch interference all create situations where the operator needs to move immediately without deciding where to go.
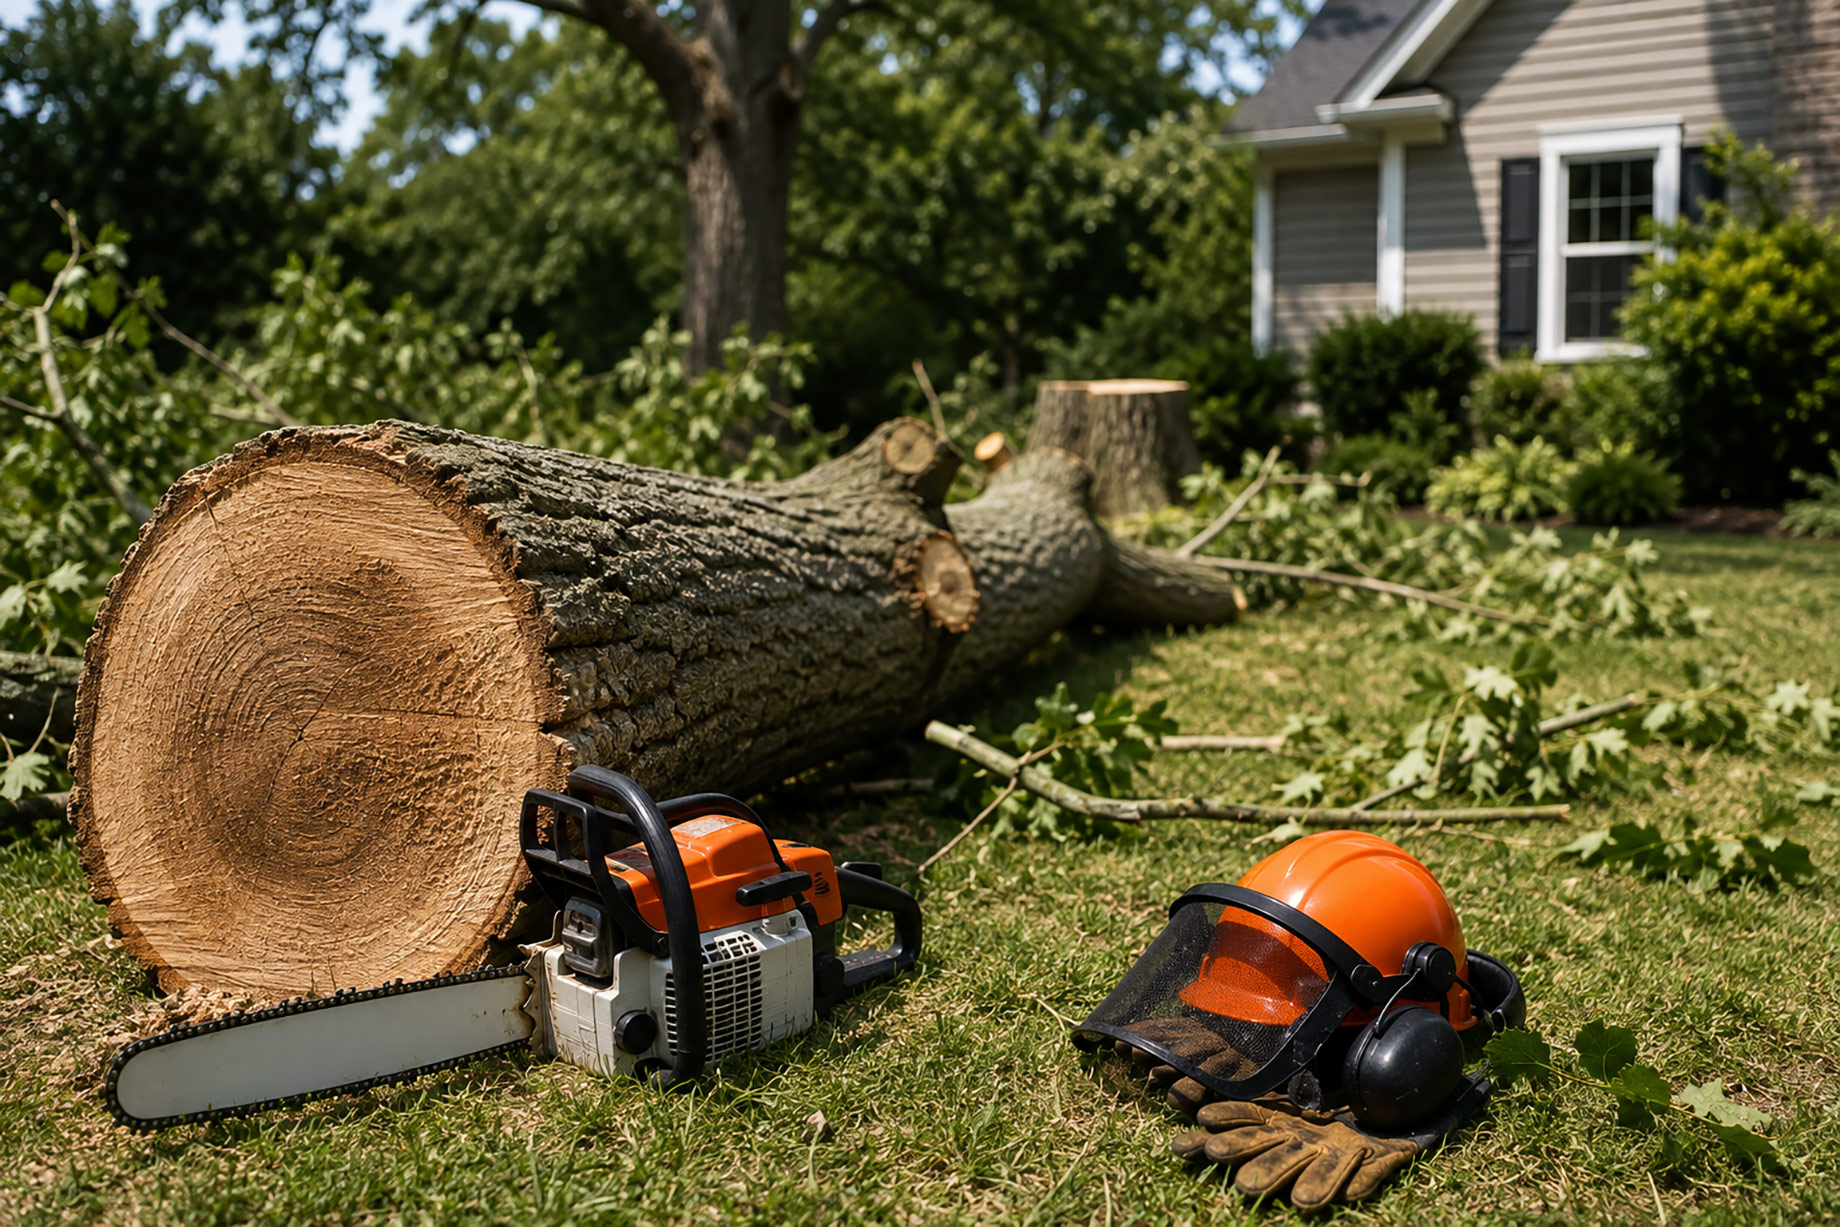
Personal protective equipment is not optional regardless of tree size. Chainsaw chaps protect legs from blade contact during kickback events that happen faster than reaction time allows. Helmet with face shield protects against falling debris — branches dislodged from crown during cutting fall unpredictably. Hearing protection prevents cumulative damage across hours of chainsaw operation. Steel-toed boots protect feet from dropped logs. None of this is overcaution. It reflects what chainsaw injury statistics actually look like.
The Cutting Sequence
Directional notch cut establishes where the tree falls. Cut into the trunk facing the intended fall direction — downward angling cut first, then horizontal cut meeting it to remove a wedge typically one-quarter to one-third of trunk diameter. This notch creates a hinge that guides fall direction. Notch depth and angle determine how much directional control you actually have; a shallow or incorrectly angled notch provides less guidance than it appears to.
Back cut comes from the opposite side, slightly above the notch’s horizontal cut. Leave a hinge — uncut wood between back cut and notch — that transfers directional force from your cutting into controlled fall movement. Cutting through the hinge entirely eliminates directional control; tree falls wherever physics and lean take it. As back cut approaches completion and tree begins moving, operator moves immediately along a prepared escape route. Never watch a falling tree while standing in its path.
After the Tree is Down
Limbing removes branches from the downed trunk before bucking it into manageable sections. Work from base toward crown, staying on the uphill side of the trunk to avoid branches under tension snapping back. Bucking — cutting trunk into rounds — requires attention to whether the trunk is under compression or tension at each cut location; cutting into compression binds the saw, cutting into tension can cause the saw to be thrown. Log length should match whatever removal method you’ve planned — truck bed, trailer, or chip truck if a chipper is available.
Stump removal is a separate decision from tree removal. Grinding produces wood chips that decompose into soil over one to two years but requires renting or hiring a stump grinder. Chemical stump treatment accelerates decomposition over months without mechanical equipment but doesn’t produce immediate results. Leaving the stump in place works for areas where it won’t interfere with future planting or landscaping plans. Each option carries different timeline and cost implications that are worth evaluating against actual site plans before choosing.