You’ve had your entire house renovated from top to bottom. Finally, you have the dream house that you’ve always wanted. Everything is great until the rose-colored goggles come off and you realize how much post-renovation cleaning that you have to do.
With large renovations comes dust, debris, and sticky messes. There are ways you can limit how dirty your home gets but even then, you’ll still have some cleaning on your hands.
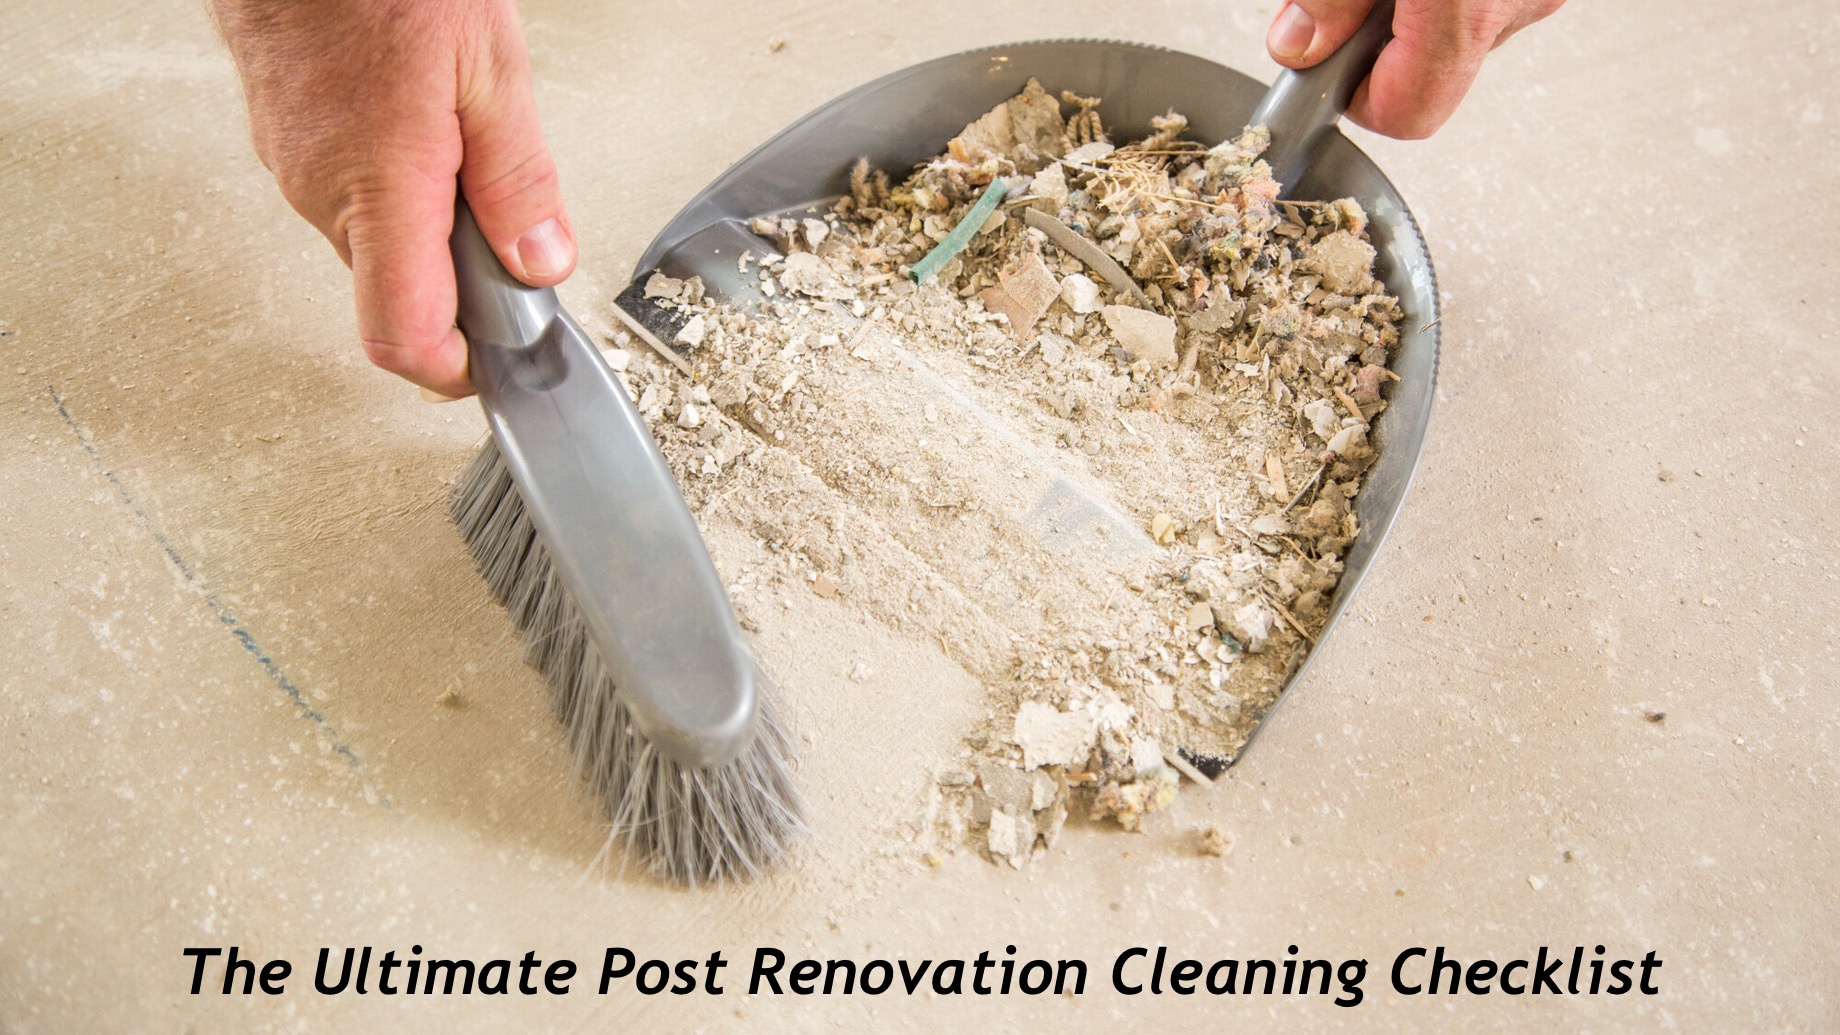
We can help you get the job done a little faster. Grab your mop and broom and follow us as we take you through the complete cleanup process.
Talk to Your Contractor Beforehand
Much of the clean-up after a renovation project can be reduced by talking to your contractor before they set to work. Sit down and ask them how they plan to keep everything safe and clean while they work. What cleanliness expectations do they adhere to?
Do they have any kind of policy at all? Not only will asking these questions keep the mess to a minimum, but it will also stop your upholstery and decor from getting ruined.
Prepare Yourself
When the renovations are done, you’ve got to prepare yourself a little before you go back in. You’ll be surrounded by paint fumes, dust particles, and other toxic material.
Limit your exposure by putting on a respirator mask and only work in rooms that have a lot of ventilation.
Clean Your Walls
Now that you’re well prepared, it’s time to start from the top with your walls. If a new paint job was part of your renovation project, you don’t want to take high-pressure water to it. Instead, stick to using a dry mop to remove any dust and debris.
If you decided to keep the old paint job, you can clean it with a damp cloth. Wrap a cloth around a broom attachment to get those hard-to-reach places.
Textured wallpaper calls for a good vacuuming. Non-textured wallpaper can get the damp cloth treatment.
Vacuum Everything
A lot of debris will get stuck in your carpet during the renovation process. You’ll need to go over the floor multiple times if you want to get them good and clean.
For hardwood and tile, use a mop first. You can follow it up with good vacuuming after. Once your floors are looking brand new again, switch over to the upholstery attachment.
Restore your couch and loveseat to their former glory by vacuuming them thoroughly. Don’t forget to hit up your curtains too before you stash the cleaner away.
Mop
You’ve got everything dusted and vacuumed. Time to break out the mop. If you have wooden floors, make sure to only use a little bit of soap and water. The same goes for tiled floors.
You want to clean them. You don’t want to soak them. The moisture will seep down into them, which could cause mold and mildew to form.
It can also ruin the floor that’s resting underneath the wood or tile. After you get the floors mopped, lock in the clean by slapping a coat of polish on your wooden planks.
Dust Everywhere
Always make dusting part of your post-renovation checklist. Your home is going to need it given how much debris the contractors will leave behind.
Again, for walls that have been freshly painted, use a dry cloth. You can use a duster with an extension to help you get the hard-to-reach places like the top of your door frames.
Your air filters and light fixtures will need a good scrubbing as well. Unscrew the vent grate and fixtures. Place them in a sink of soap and water and give them a good scrubbing.
You may have to use a vacuum attachment to clear out the inside of your air ducts. We’ll say that the renovations will put your air filter through the wringer. You may have to replace it.
Clean the Inside of Your Closets and Cabinets
You’d be surprised at the places dust can reach. Not even closed-off areas such as closets and cabinets are safe. The good news is that your closet won’t be too hard to clean.
All you have to do is vacuum out the bottom of the closet and clean anything that was left on the floor. You may have to give your clothes a hefty shake too.
Cabinets are a little more complicated because you have to remove everything before you can clean the inside. If you were using the cabinets to store your dishes, it’s a good idea to run them through the dishwasher. This way, you know that they’re safe to eat on.
Cleaning Everything Else
Now that you’ve got the big home cleaning job out of the way, it’s time to tackle the small stuff. For this bit of the job, a damp microfiber cloth is going to be your best friend.
Take any knick-knacks off your shelves and wipe them down. All of your electronic devices are going to need to be cleaned. Just make sure that you shut them off first.
You’ll also have to go over your doorknobs and the tops of your ceiling fan. Any small nooks and crannies where dust could still be hiding.
Hire a Company
As you can see, getting everything cleaned up is a huge job. You don’t have to tackle it alone. There’s no shame in picking the right cleaning company to give you a hand with things.
Since they clean for a living, they’ll have a greater eye for detail and spot any areas that you might overlook. They’re also equipped with all the tools necessary to get things done right.
Tackling Your Post-Renovation Cleaning Job
The only problem with getting your house redone is the huge post-renovation cleaning job that comes after. Dust and debris will make its way into every corner of your home. Even if you follow along with this cleaning guide, it can be easy to miss some stuff.
You’ve got to be vigilant and if all else fails, call a cleaning service to take care of things for you. That way all you’ve got to do is enjoy your freshly renovated space.
Want to redo your house but not sure what design you want to go with? We can help you out. Check out our blog for all the latest ideas.