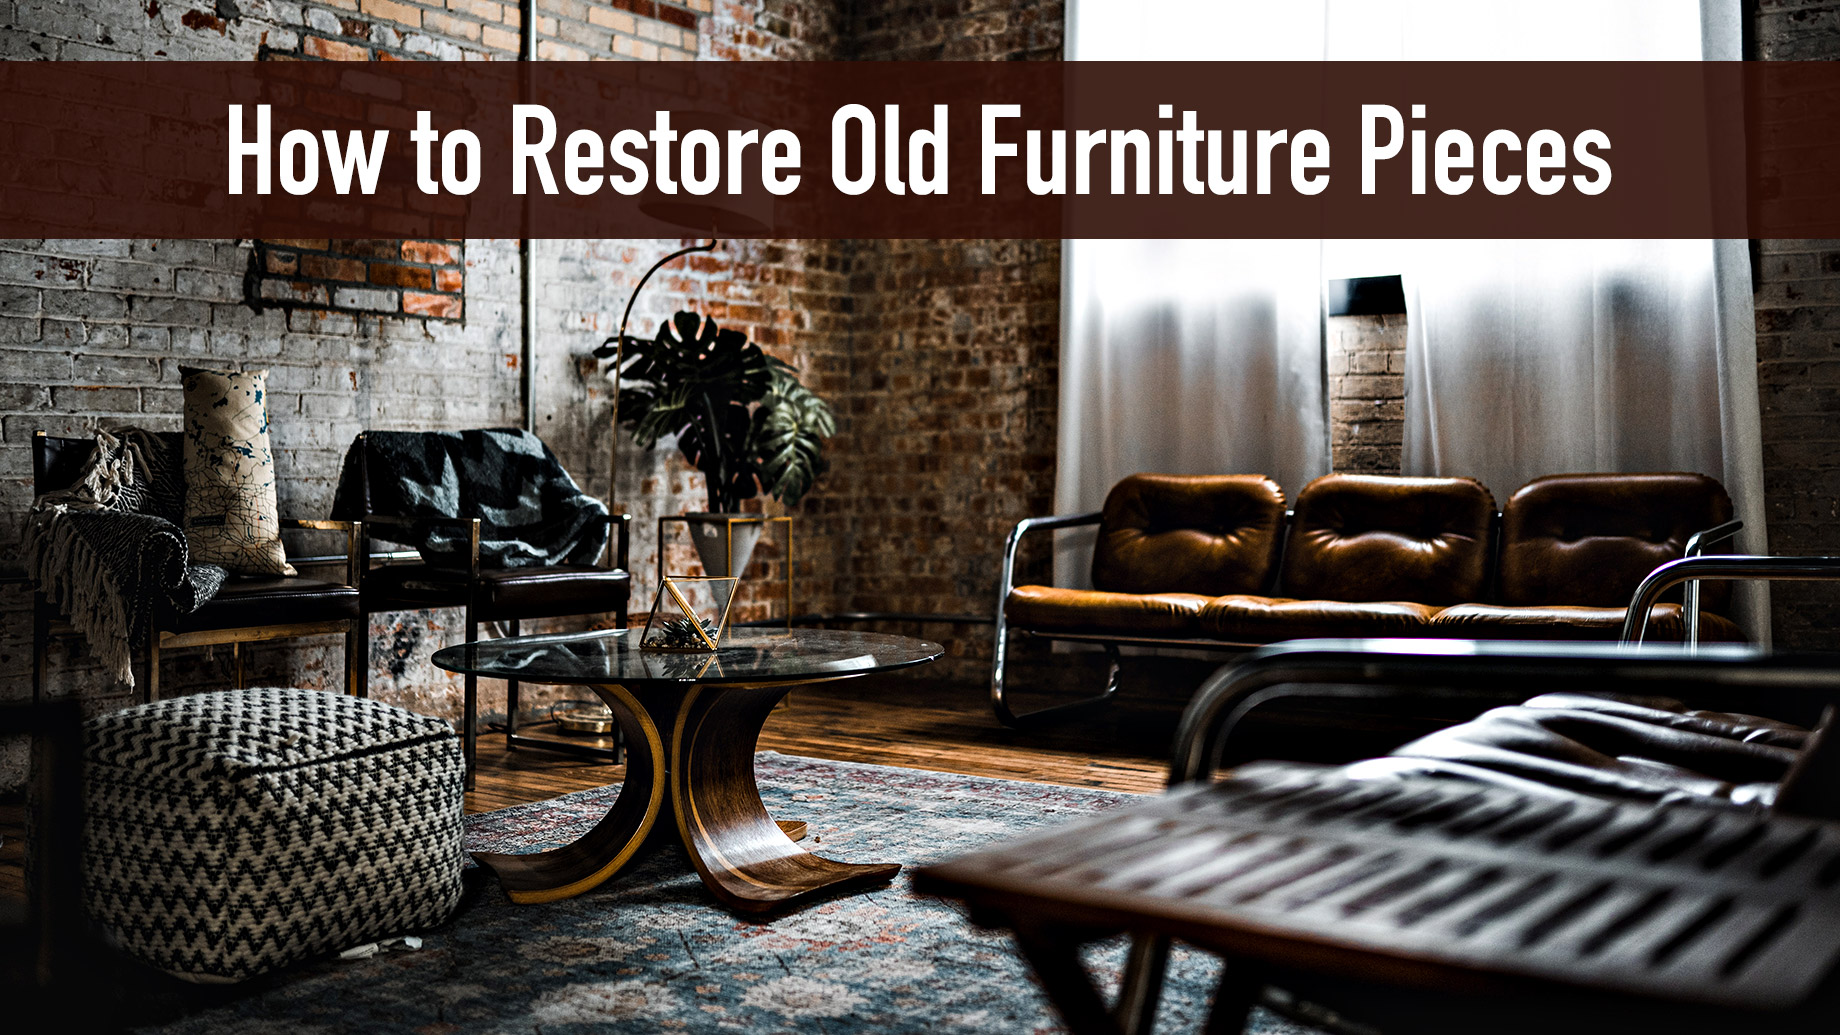
Buying new furniture is expensive. Plus, you have to make sure you get the right sizing, color, and style to seamlessly integrate with the rest of your decor and furnishings. On the other hand, restoring the furniture pieces you already have can revamp your interior design without breaking the bank.
While it might be intimidating to take on restoring old furniture pieces on your own, it doesn’t have to be. Use this guide to help you through the process, so you can reduce waste, save money, and revitalize the furniture pieces you love.
Before we get started, here’s what you’ll need to complete your furniture restoration project:
- Paint brush
- Sandpaper or chemical stripper
- Putty knife
- Stain or paint of your choice
- Sealant
- Clean cloth or microfiber towel
- Epoxy resin or oil finish
Step 1: Determine Your End Goal
Before you get started, examine the piece of furniture to determine exactly what needs to be done to get it back into tip-top shape. For some pieces, it may simply be a fresh coat of paint and finish, while for others you might need to first fill in some grooves and cracks.
Make sure to think about what color and texture you want the refinished piece to have so that you can purchase the right supplies. Once you’ve assessed the piece and have your plan of action in mind, you can get started on your project.
Step 2: Clean It Off
First things first, you should wipe down the furniture so you have a clean surface to work with. To properly remove all dust and debris, use a mixture of lukewarm water and dish soap. You’ll then use a microfiber towel to wipe down the furniture.
Step 3: Sand Off or Strip Old Finish
Next, you need to remove the old finish. There are two options for stripping the old finish, sanding or chemical stripper. Typically, chemical stripper is much quicker.
If you’re going to use chemical stripper, you’ll need to:
- Apply the stripper to the piece in sections (you’ll need to remove the finish while the stripper is still wet so it’s better to work in sections)
- Allow the stripper to sit for the specific product’s recommended amount of time
- Use your putty knife to chip away at the old finish and varnish section by section
- Clean off the stripper and allow the furniture to fully dry
Don’t forget to wear the proper protective gear when working with chemicals (safety goggles to prevent anything from getting in your eyes and cleaning gloves to protect your hands).
If you’re going to use the sandpaper, you’ll need some course, medium-grit, and fine sandpaper:
- Start with the coarse sandpaper to remove the majority of the finish (it should no longer be shiny)
- Go back over trouble areas with the medium-grit sandpaper to smooth it out
- Finally, use the fine sandpaper to ensure everything is smooth
Step 4: Apply a Sealant
To ensure you have the most even surface to work with, use a sealant. You’ll apply an even layer of the sealant over the entire piece of furniture and remove any excess with your cloth. After the sealant dries, go over the surface with your fine sandpaper one more time for optimal smoothness. If there is any wood debris, make sure to wipe it off before moving onto the next step.
Step 5: Add a New Coat of Paint
You’re almost done! Apply your selected paint or stain. Start with one coat to see how it looks and, if you need to, you can go over it again with a second coat to achieve your desired result.
For larger projects, like oak cabinetry, armoires, or dining room tables, go section by section to ensure you achieve full, even coverage. Let the stain or paint dry completely before moving onto the next step.
Step 6: Apply the Finish
In order to protect your newly restored furniture, you need to apply a finish. This could be oil, lacquer, or epoxy, depending on your desired end result.
Using a paint brush, apply the finish in a thin, even layer and let it dry. If it needs another layer, feel free to add one more. When it’s dry, you can put the piece back where it goes and enjoy using your revamped piece that’ll be good as new.
Once you’ve completed your first renovation project, you’ll see just how easy it is to restore your old furniture and breathe new life into your home.