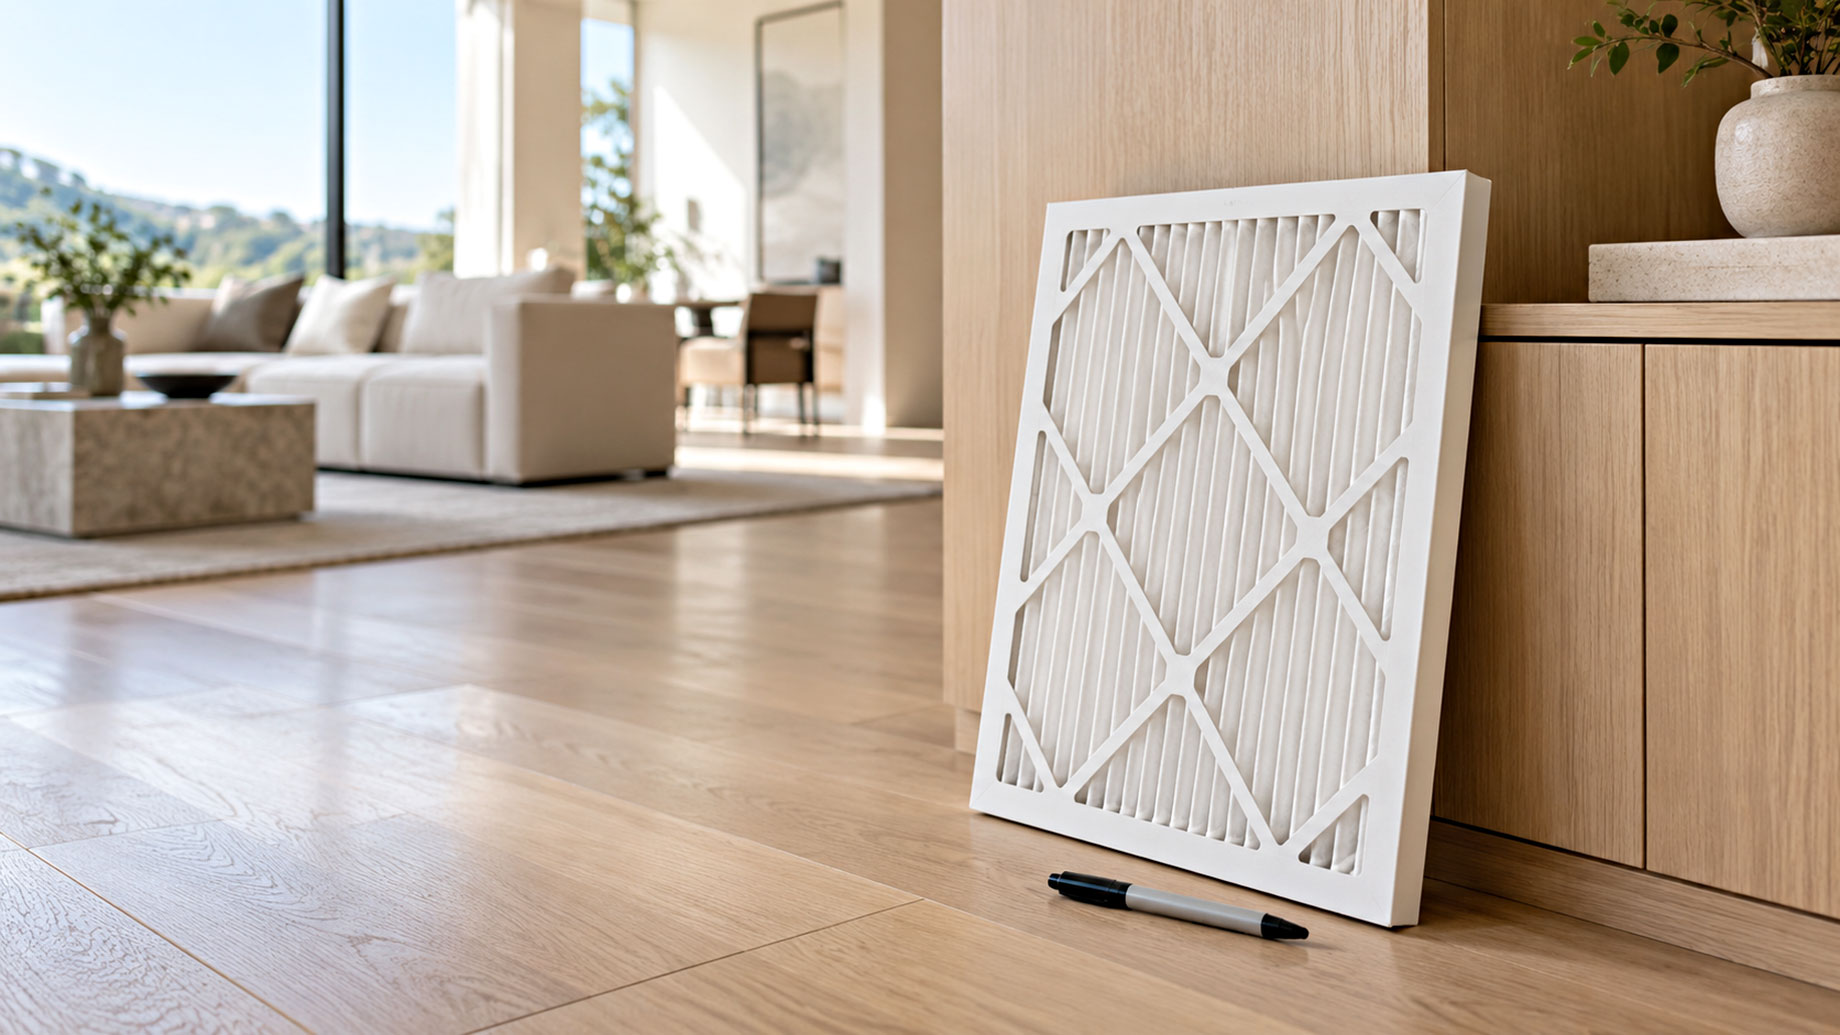
Your air filter is the cheapest piece of equipment in your entire HVAC system, and it is probably the most ignored one. In a large home with high ceilings and multiple zones, a clogged filter does not just make the air feel stuffy. It makes your system work harder, raises your energy bill, and slowly kills your compressor. The fix costs twenty bucks and takes four minutes. So why does almost nobody do it on schedule?
Here is the straightforward answer: change a standard 1-inch fiberglass filter every 30 to 45 days in an average home. But your house is not average. Square footage, pet count, wildfire smoke, and how many people actually live there shift that number. This guide walks you through the exact schedule for a larger property, the warning signs your filter is already past its prime, and the quickest way to get it done without making a mess.
The One-Month Baseline for Busy Households
Start with a simple rule: if your home is over 3,000 square feet or runs a multi-zone system, you are changing filters every 30 days, not every 90. The manufacturer’s “up to three months” label assumes a lightly used house with two people and no pets. That is not the reality of a property with a home office, kids coming and going, and a kitchen that actually gets used.
Why does square footage matter so much? Because a larger home moves more air. Your blower pushes the same cubic feet per minute through a filter that is sized for the ductwork, which means more dust, skin cells, and fabric fibers hit that media every single day. The filter loads up faster even if the indoor air quality feels fine to you.
The 30-day interval is your default. You can stretch it, but only if your home matches the low-dust profile we will cover below. If you cannot remember the last time you swapped it, you have already waited too long.
What Changes the Schedule in a Bigger Property
Your filter replacement rhythm is really five variables stacked on top of each other. Here is how each one moves the needle.
- Pets: One shedding dog can cut filter life in half. Pet dander and hair coat the media surface quickly, and that is before you factor in the outdoor dirt they drag in. Two pets means monthly, no exceptions.
- Wildfire or smoke season: A week of heavy smoke loads a filter like three months of normal use. If you live in a region with seasonal smoke, check the filter after any multi-day event.
- Occupancy: A house with two adults on a 30-day interval becomes a house with four people and a weekly gathering on a 20-day interval. More bodies means more skin cells and more tracked-in dirt. It is basic math.
- Filter thickness: A 4-inch or 5-inch media cabinet filter lasts longer than a 1-inch filter because it has more surface area. Those can often run 6 to 9 months, but you still have to eyeball them monthly.
- Construction or renovation: Any drywall sanding, painting, or flooring work nearby is a filter emergency. Swap it immediately after the work wraps, regardless of when you last changed it.
If you live somewhere with seasons that actually change, you should also adjust for weather. Summer and winter put constant load on the system, so swap more often in July and January. Spring and fall, when the system idles, you can let it ride longer.
Visual Checks That Beat Any Calendar
A calendar is a starting point, not a finishing line. The real test is holding the filter up to a light source. Hold it toward a window or a bright ceiling light. If you cannot see light through the media, it is done. If you can see light but the surface looks fuzzy with dust, you are close to the edge.
Here is a method that takes ten seconds and works every time. Pull the filter out, set it flat on a clean surface, and run your finger across the intake side. If you see a clean streak where your finger went, the filter is still passing air. If the surface feels like felt and no streak appears, replace it now.
The smell test works too. Walk near a supply vent and take a breath. If you catch a faint dusty or musty note when the system kicks on, that is your filter talking to you. That smell is the air pushing through a clogged medium, and it usually shows up a week or two before the system starts struggling.
Energy Costs and System Health
A dirty filter does not just feel gross. It costs you money every month the system runs. The Department of Energy notes that a clogged filter forces your HVAC unit to work harder, which increases energy use and shortens the equipment’s lifespan. That is not a marketing line, it is basic airflow physics from a federal agency that has tested these systems for decades. The Energy Department’s guidance recommends checking the filter monthly and replacing it when it looks dirty.
Here is what happens inside the system when you skip the swap. The blower keeps pushing air, but the filter resists the flow. Static pressure climbs. The blower motor draws more current and runs hotter. The evaporator coil, which sits right behind the filter, starts to frost because airflow across it drops below the design rate. That frost turns to water, the water creates a breeding ground for mold, and now you have a coil cleaning bill instead of a filter purchase.
The Environmental Protection Agency publishes clear guidance on this exact failure chain. Their indoor air quality research shows that poor maintenance, including dirty filters, contributes directly to moisture problems and biological growth inside ductwork. For a luxury property with custom millwork and irreplaceable finishes, that moisture risk is not hypothetical. It is how you end up refinishing a ceiling that sat under a damp duct.
What MERV Rating Actually Buys You
Filter efficiency is measured by the MERV scale, from 1 (basic) to 16 plus (hospital grade). Most residential systems run best on MERV 8 to MERV 13. Here is the catch that nobody explains clearly: a higher MERV rating does not always mean better protection. It means denser media, and denser media means more airflow restriction.
Slap a MERV 16 filter into a system designed for MERV 8, and you recreate the clogged filter problem on day one, even with a brand new filter. The static pressure jumps, the blower strains, and your energy bill goes up because the system literally cannot pull enough air through the media.
My rule for a typical luxury home: use MERV 11 or MERV 12 as the sweet spot. It catches fine dust, pollen, and most pet dander without choking the system. If you have serious allergy concerns or live in a wildfire zone, talk to your HVAC technician about a media cabinet upgrade rather than just buying a denser filter. The cabinet gives you more surface area, which solves the restriction problem entirely.
One more thing about ratings: the cheapest filter at the hardware store is MERV 1 through 4, and those only catch large particles. They protect the equipment, barely, and do nothing for the air you breathe. Spend the extra few dollars on a MERV 11. Your sinuses will notice the difference within a week.
Smart Reminders and Filter Subscription Services
Forgetting the schedule is the real enemy here. Luxury homes have smart thermostats, smart lighting, and smart security, so there is no reason your filter should run on memory alone. Set a recurring reminder on your phone for the first of every month. When the reminder fires, walk to the filter slot and do the light test. That takes less time than checking your email.
Subscription delivery services exist for exactly this problem. They ship a fresh filter every 30, 60, or 90 days based on your setup. The cost is roughly the same as buying at the store, and the benefit is that a physical box arriving at your door is a better trigger than any app notification. If you are the type of person who ignores phone alerts, this is worth the setup.
Here is a texture detail most guides skip: mark the side of the new filter with a permanent marker before you slide it in. Write the date you installed it. Then when you pull it out for the light test, you know exactly how many days it has been running. That single habit eliminates all guesswork, and it costs nothing. Do this on every filter, every time.
A Checklist for Your Next Filter Swap
When the day comes, follow this sequence and you will finish in under five minutes.
- Turn off the system at the thermostat. This keeps the blower from pulling debris into the duct while the filter is out.
- Locate the filter slot. It is either in the return air grill on a wall or ceiling, or in a media cabinet next to the air handler.
- Slide the old filter out slowly. Hold it flat so trapped dust does not fall into the ductwork.
- Check the date marker from last time. Note how many days it ran.
- Do the light test. If it fails, proceed. If it passes, you might have a few weeks left, but when in doubt, swap it anyway.
- Write today’s date on the new filter’s cardboard frame with a marker.
- Look for the airflow arrow printed on the new filter’s frame. Point it toward the blower, which is toward the duct, not toward the room.
- Slide it in flat, close the grill, and turn the system back on.
That is the whole job. No tools, no special skills, no reason to call anyone. If you run into a filter size you cannot find at the local store, that is the moment to bring in a professional who can measure the slot and source the right media. For everything else, your hands and a marker are enough.
Knowing When to Call in a Professional
Filters handle dust, but they do not handle everything. If you notice uneven cooling between rooms, a system that short-cycles on and off, or a hissing sound near the air handler, those are not filter problems. Those are ductwork, refrigerant, or blower issues that require a licensed technician.
The same applies if your filter comes out wet or shows dark streaks that look like soot. Moisture means your coil is frosting or your condensate line is backed up. Soot streaks can point to a heat exchanger issue on the heating side. Both deserve a professional look, not another filter swap.
When you do call for help, you want a team that understands larger properties, not just a regional company treating your house like a standard tract home. A technician who has worked on multi-zone systems and custom ductwork will catch problems a generalist would miss. That is where Air Conditioning Services Modesto come into play, especially for homeowners in that region who need someone familiar with both the equipment and the local climate demands. A local specialist will also know the seasonal load patterns that affect how fast your filters load up.
The cost of that service call is a fraction of what a failed compressor or a frozen coil will run you. And unlike a filter swap, those repairs are not do-it-yourself projects.
The Real Cost of Skipping a Filter Change
Let us put a number on this. A good filter costs between fifteen and thirty dollars. A blower motor replacement runs four hundred to eight hundred dollars installed. A compressor failure can easily pass four thousand dollars. The filter you skipped is the difference between routine maintenance and a capital expense.
Carnegie Mellon’s engineering research on HVAC systems has repeatedly shown that filtration and airflow are the two most consequential variables in system efficiency, more than thermostat settings or duct insulation in most homes. That research backs up what technicians see in the field every summer: the systems that fail in July are almost always the ones running on filters that should have been replaced in April.
So here is the honest bottom line. You do not need a smarter thermostat, a duct cleaning, or a new system. You need a thirty dollar filter and a recurring reminder on your calendar. Set the reminder today, do the light test this weekend, and your system will return the favor by actually lasting as long as it was designed to.