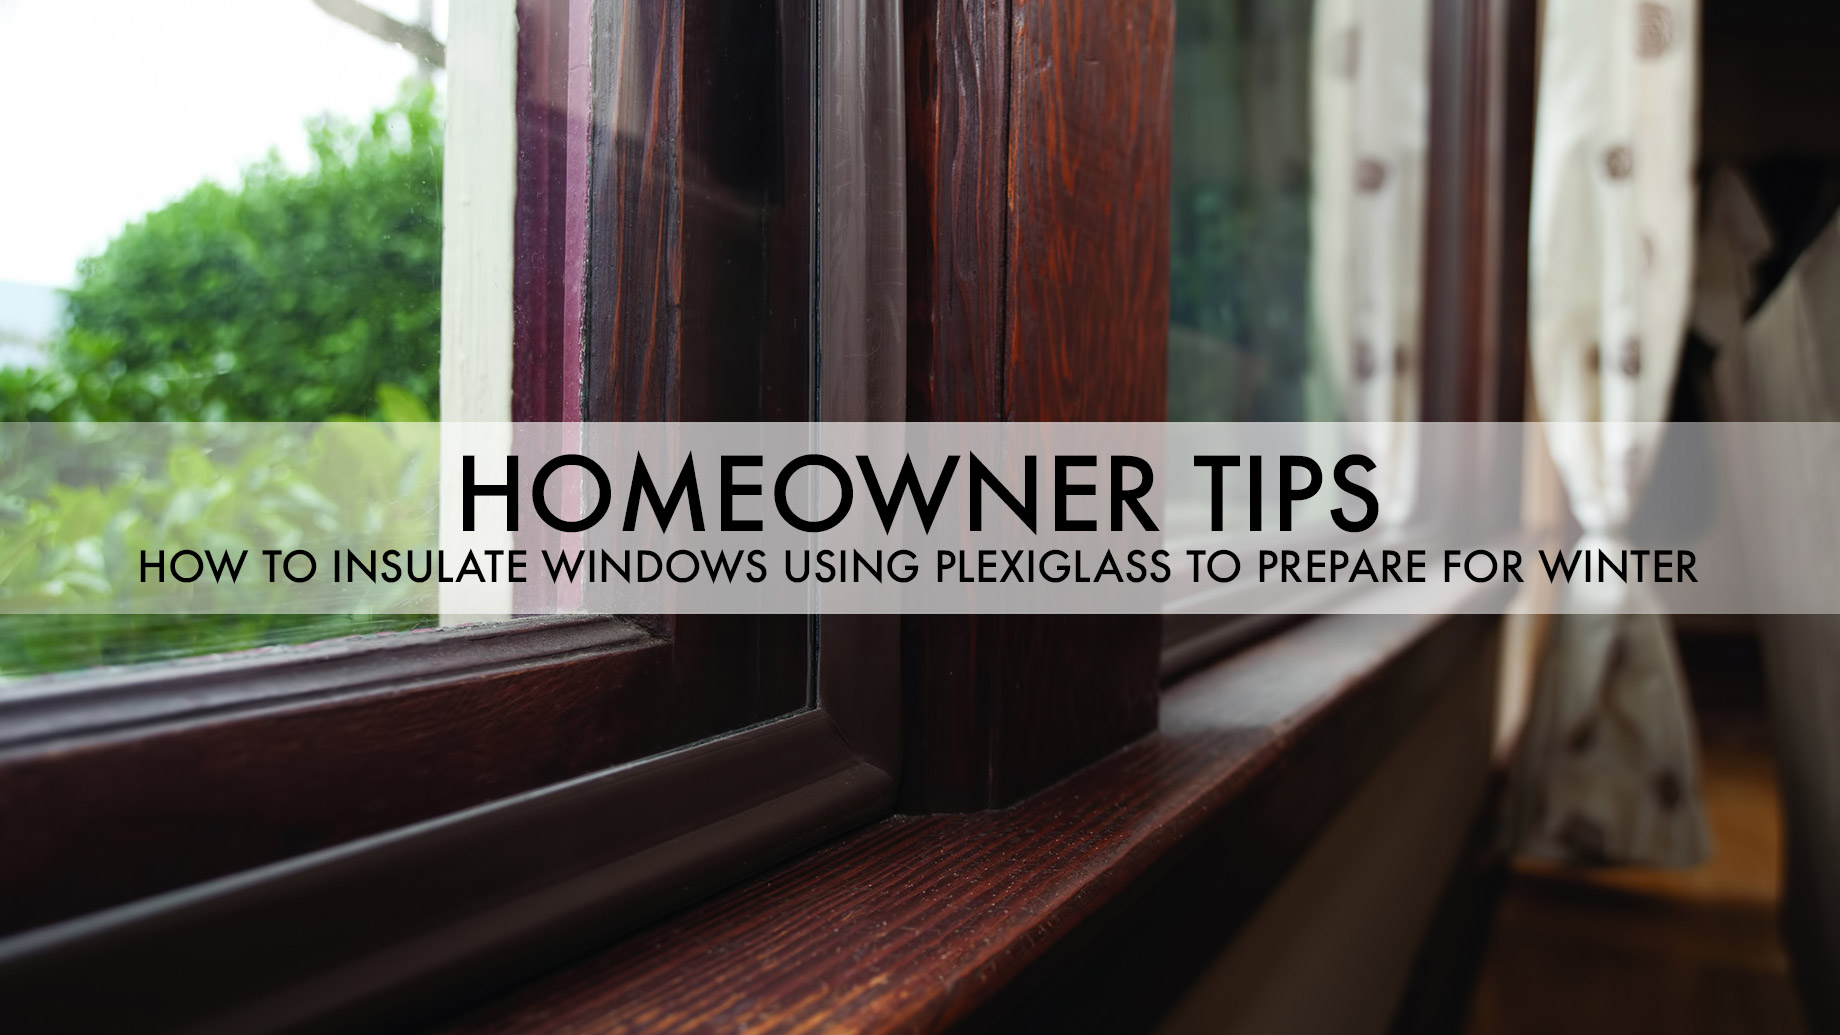
We all know the importance of prepping for winter. As you prepare yourself for the cold season, it is vitally important to make sure your house is equipped to brace for the harsh climate. If your house is not properly insulated, the cold will find its way into your house either through the floor, ceiling, walls, or windows. Of all these sources of cold in winter, windows are the greatest culprits.
Even with premium quality windows that are in perfect shape, you can experience thermal loss during winter. This is why you want to ensure your windows are properly insulated. Windows insulation is a simple and inexpensive project which can save you money on heating costs. While insulation will not necessarily transform your window from ordinary to extraordinary, it can reduce the energy bill. In addition, additional insulation will ensure that your family is comfortable through the harsh climate of winter.
Plexiglass is one of the most efficient and inexpensive ways to insulate your windows in readiness for winter. Let’s look at how you can use plexiglass to insulate your window and why it is a great option.
What is plexiglass?
Plexiglass is a transparent plastic material used in place of glass for certain applications. It is made from methyl methacrylate polymers, hence its chemical name, polymethylmethacrylate (PMMA). Other trade names of plexiglass include acrylate, Perspex, Lymacryl, Acryplast, Altuglas, Prespex, Oroglas, Vitroflex, Perclax, and Lucite Acrivill. Plexiglass is used in a plethora of applications, including biomedicine, architecture, engineering, and more. It is flexible, shatter-proof, strong, and more transparent than glass, making it an awesome material for window insulation.
Glass vs. Plexiglass: which one is better?
When the topic of window insulation comes up, the first thing that comes to mind is the thick panes of conventional glass sheets. For centuries, windows were insulated with traditional glass. However, with the introduction of acrylic sheeting and polycarbonate sheeting, the story has changed drastically. Now, you have more than one material option to choose from when you want to insulate your windows. So why should you go plexiglass over traditional glass?
1. Better insulation
To tell which material has better insulating properties over another, engineers determine the thermal conductivity, aka, lambda. A higher lambda value means the material can conduct more heat and thus less insulation. The lambda value of plexiglass (0.19 W/m.K) is higher than that of ordinary glass. To replicate the superior insulating properties of glass, plexiglass glass sheets are made to be thicker. Although glass is a better insulating material, acrylic comes with a host of benefits.
2. Unparalleled strength
Plexiglass sheets are 17 times stronger than ordinary glass sheets. First off, acrylic doesn’t shatter easily. However, if it does shatter, it doesn’t break into hundreds of sharp pieces, as glass does. When you install plexiglass on your windows, you can rest easy knowing your family members and pets are safe. If you live in a hurricane-prone area or are constantly worried about break-ins, plexiglass will offer much-needed safety assurance as well.
3. Minimize the carbon footprint
Compared to glass, plexiglass consumes less energy during production. Being lightweight, they are relatively cheaper to transport and ship as well. If you care about minimizing the carbon footprint, plexiglass is the way to go. As an excellent barrier to cold air escaping through the window, plexiglass can help substantially reduce heating costs. The actual cost savings will depend on the type of sheeting, including clear, colored, mirrored, Lucite block, and more.
4. Ease of use
Plexiglass is also easier to cut than traditional glass. You can use normal cutting tools used to cut wood, such as a table saw, scoring tool, and a router. In addition, acrylic sheeting weighs approximately half of what ordinary glass does; it is fairly easy to move and install it. These qualities make plexiglass a wonderful material for use in designing an accent window. The flexible polymers in acrylic glass also allow for custom designs and shapes.
5. Better light transmission
Even if you are after window insulation, it doesn’t hurt to have a material that enhances light transmission. Acrylic plastic sheets help remove reflections and glare. Plexiglass typically allows over 90% of light to pass through. Unlike glass, which discolors with more light and thickness, plexiglass maintains clarity no matter its thickness or light.
6. Color variations
Plexiglass is available in numerous colors. The common ones are blue, red, brown, green, and yellow-orange. Black and white or fluorescent colors are also available. Frosted acrylic glass lets the light come through while protecting your interiors from curious gazes. Non-glare acrylic glass, on the other hand, reduces glare and reflection from the window.
How to add plexiglass sheets to your window
Contrary to common belief, acrylic window panels from cutmyplastic.co.uk are quite easy to install. This is because they are easy to cut and move around. Acrylic window panels are also easy to open in case of an emergency or during warm days. Generally, when you make an order for your plexiglass sheets, you will likely get a kit that comes with all the necessary pieces to get the job done.
What you’ll need:
- Hacksaw
- Drill
- Measuring tape
- Pencil
- Screws
- Screwdriver
- Acrylic panel
- Rubber mallet
- Welding solvent
- Garden pruners
- Applicator bottle
Steps to follow:
- Measure the height of both the inside and outside of your window frame. Using a hacksaw, cut two steel framing pieces in your kit to match the heights of the frames. Place the framing pieces inside the frames and make sure they fit well. Trim as needed.
- Drill some holes in the framing pieces if you deem it necessary. Position your cut-out pieces into the frame and screw them into place using a screwdriver. If you run into challenges fitting the screws on the frame, use a wall in pencil to mark the desired locations. Toss the metal strips and drill the screw holes. Finally, replace the vertical strips and screw them on the frame one more time.
- Measure the lengths between the framing strips both at the top and bottom of your window. Cut the frames into these lengths and see if they fit in the window. Trim accordingly. If you recently changed windows, you may have the measurements from the contractor, like htrwindows.ca.
- Repeat step 2 above, making sure the four framing pieces appropriately fit at the corners.
- Take both the horizontal and vertical measurements of your window frame. These would be a tad bit smaller because of the framing strips. Since there is a likelihood that the frame might not be even, you might want to take your dimensions in three places. If you run into variations, utilize the shortest distance of each dimension.
- Reduce the height and width measurements by 3/8 inch and ½ inch, respectively. Cut a plexiglass sheet into these measurements or have it cut out in your nearest home improvement store.
- Place the sheet on a table and peel off its protective backing. Glide one of the pieces that accompanied the panel knit onto the open edge of the plexiglass panel. Gently tap it into place using a rubber mallet until it sits well against the panel. In the same manner, place an edging piece on the opposite side of the acrylic panel.
- Place the remaining edging pieces on the remaining panel sides. Trim them to fit well between the edging pieces using garden pruners. Install the other pieces in the same manner. Then, trim the first two pieces so as to make them fit with the new pieces at the corners.
- Hold the acrylic panel in both hands. Position the bottom of the plexiglass panel against the bottom strip on the window. Tilt the window in an upward direction until both the edging and the framing connect. Assess all the pieces and make the necessary adjustments.
- Decide where to put the plexiglass panel’s handle. Remove the edging from the location and instead place the handle there. Using a mallet, tap the edging in place.
- Find the applicator bottle and welding solvent in your panel kit. Pour the solvent onto the bottle to its brim. Rest the plexiglass sheeting on one edge and place the tip of the bottle into the joint located between the bottom of the strip and the panel. Carefully pull the bottle along the joint as it empties its content on it, creating a strong bond between the panel and the edging.
- Repeat step 11 above with all the edges of the panel. Give it time (about 30 seconds) between each side to allow the product time to do its job. If the manufacturer has recommended a different time, be sure to follow it.
- The last step is to rid the panel of its protective film. Place it back in the window frame until it connects to the window magnetically, sealing it completely.
Pro tips:
- Installation varies from product to product. Be sure to read the instructions that come with your panel kit and follow them to the letter.
- Some plexiglass panels are pre-assembled. Typically, these use a foam or rubber gasket for sealing purposes instead of edging. These are the easiest to install. Simply slide them in place on your window frame and gently tap the edges using a rubber mallet to achieve a perfect fit.
- You can cut your plexiglass with clamps, a sharp knife, and a linear edge. However, if you decide to use a hacksaw, exercise a high level of safety. Go slow and put on safety glasses and gloves. The harder the plexiglass, the harder it will be to cut through.
- If you use clear plexiglass sheets, it will be quite hard to see. Additionally, if you trim them perfectly, no one will likely notice your window insulation. But it will reflect on the heating bills.
A plexiglass window can make a difference with high energy bills when temperatures hit the negatives. Some estimates say that you can save up to $20 on each window you insulate in winter. That’s money that you can add directly to your savings. The best part is installing plexiglass sheeting as window insulation is pretty easy. You don’t need any special skills. As long as you can read and follow simple instructions, you are good to go.