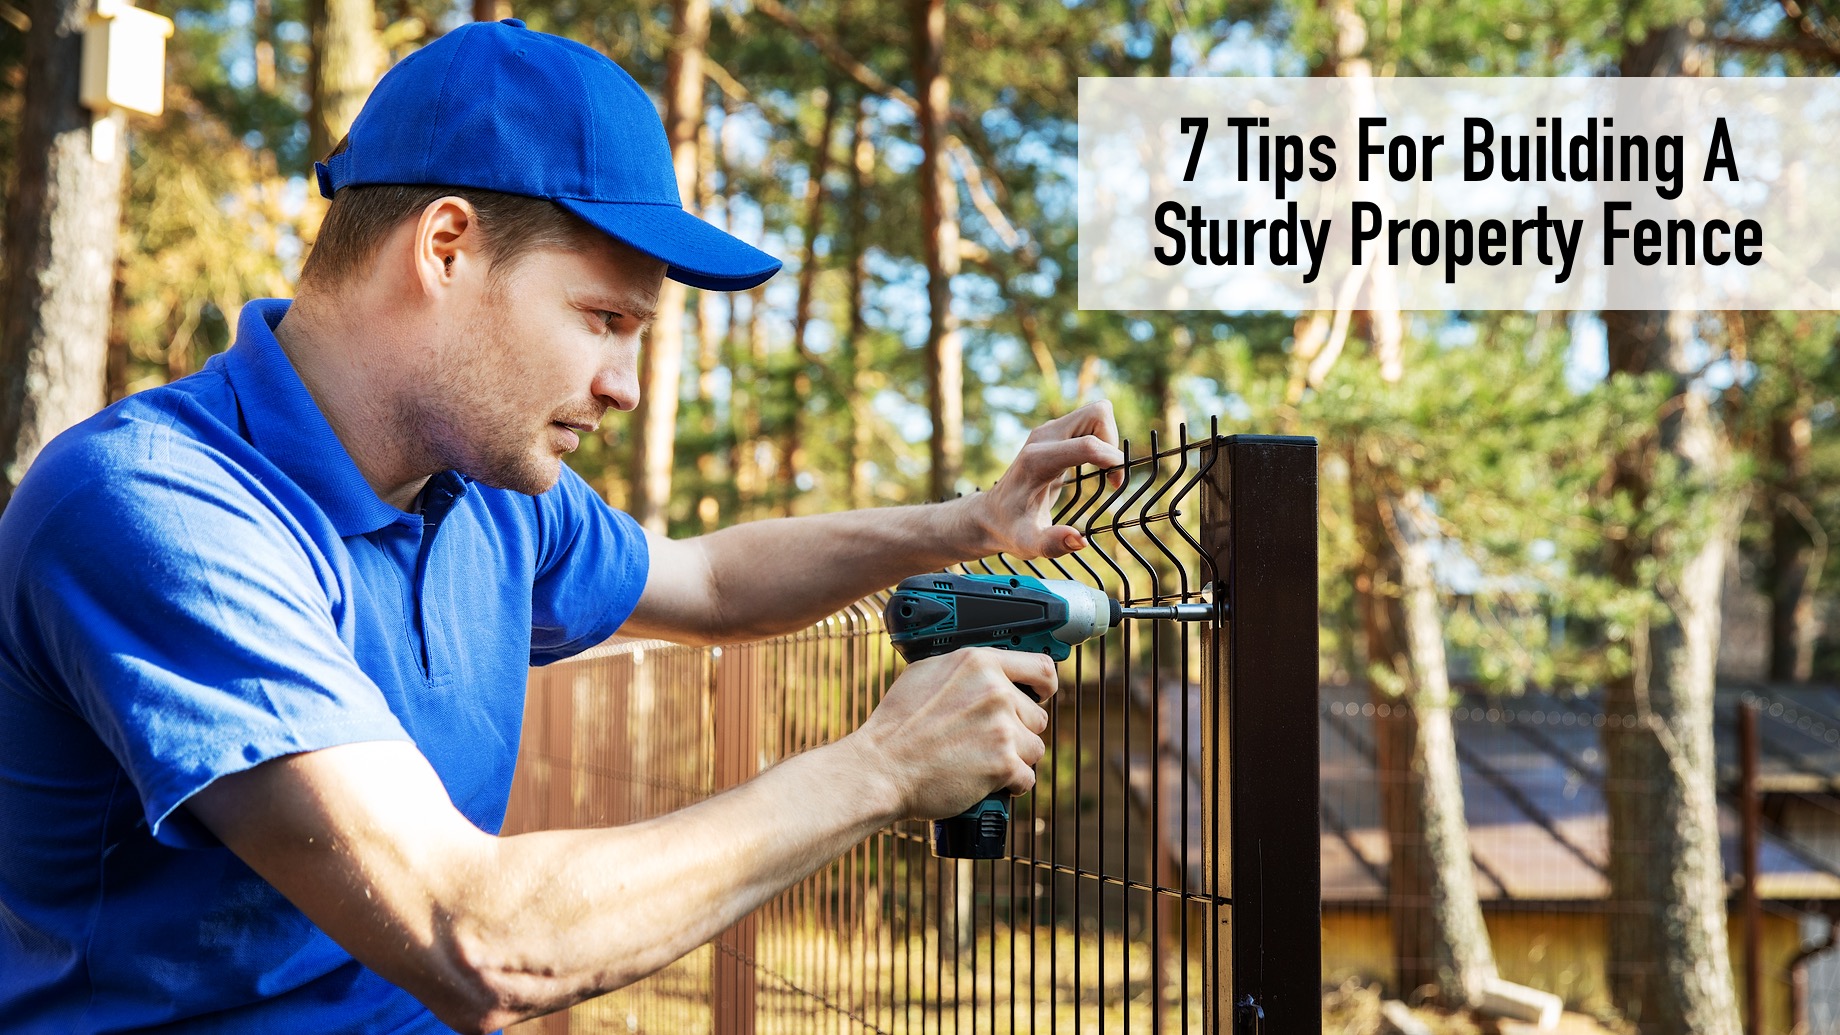
Good fences are often made to make good neighbors, which is why it’s essential to build a sturdy property fence. Deciding on the right fence for your property can be a challenging decision. Still, there are many reasons why you should consider it. Although every property is unique, fencing is an investment that’ll increase the value of your home and improve security.
If you feel like your old fence is affecting your property’s curb appeal, it may be time to supersede it with a revived one. Our assignment with every block fence removal and demolition job is to provide the service swiftly and safely.
Here are some valuable tips on how you can build a sturdy property fence that’d last longer:
1. Prepare Your Tools
The project doesn’t necessitate the use of a large number of pricey or specialized tools. You’d only need these welding machines as well as some essential construction tools such as a circular saw, a screw gun, and a 4-foot level. Pickets and panel boards can be nailed using a 1 ½ inch galvanized nail gun and a 15-gauge trim nailer. The nails act as a temporary hold until the upper and lower rail components can be firmly screwed together. Using a table saw to rip panel boards to the desired width is also an option.
2. Mark The Layout
You can lay out the fence using rope and batter boards. Run strings between the batter boards and the fence corners, just beyond where your fence will be. Six inches is a reasonable distance to keep the strings from encroaching on your property.
Locate and designate your property stakes as a starting point. Each corner of your property will have one. Either you or a surveyor can go out and look for the stakes. Renting a metal detector and scanning the regions where you believe they are is all it takes to find and mark them.
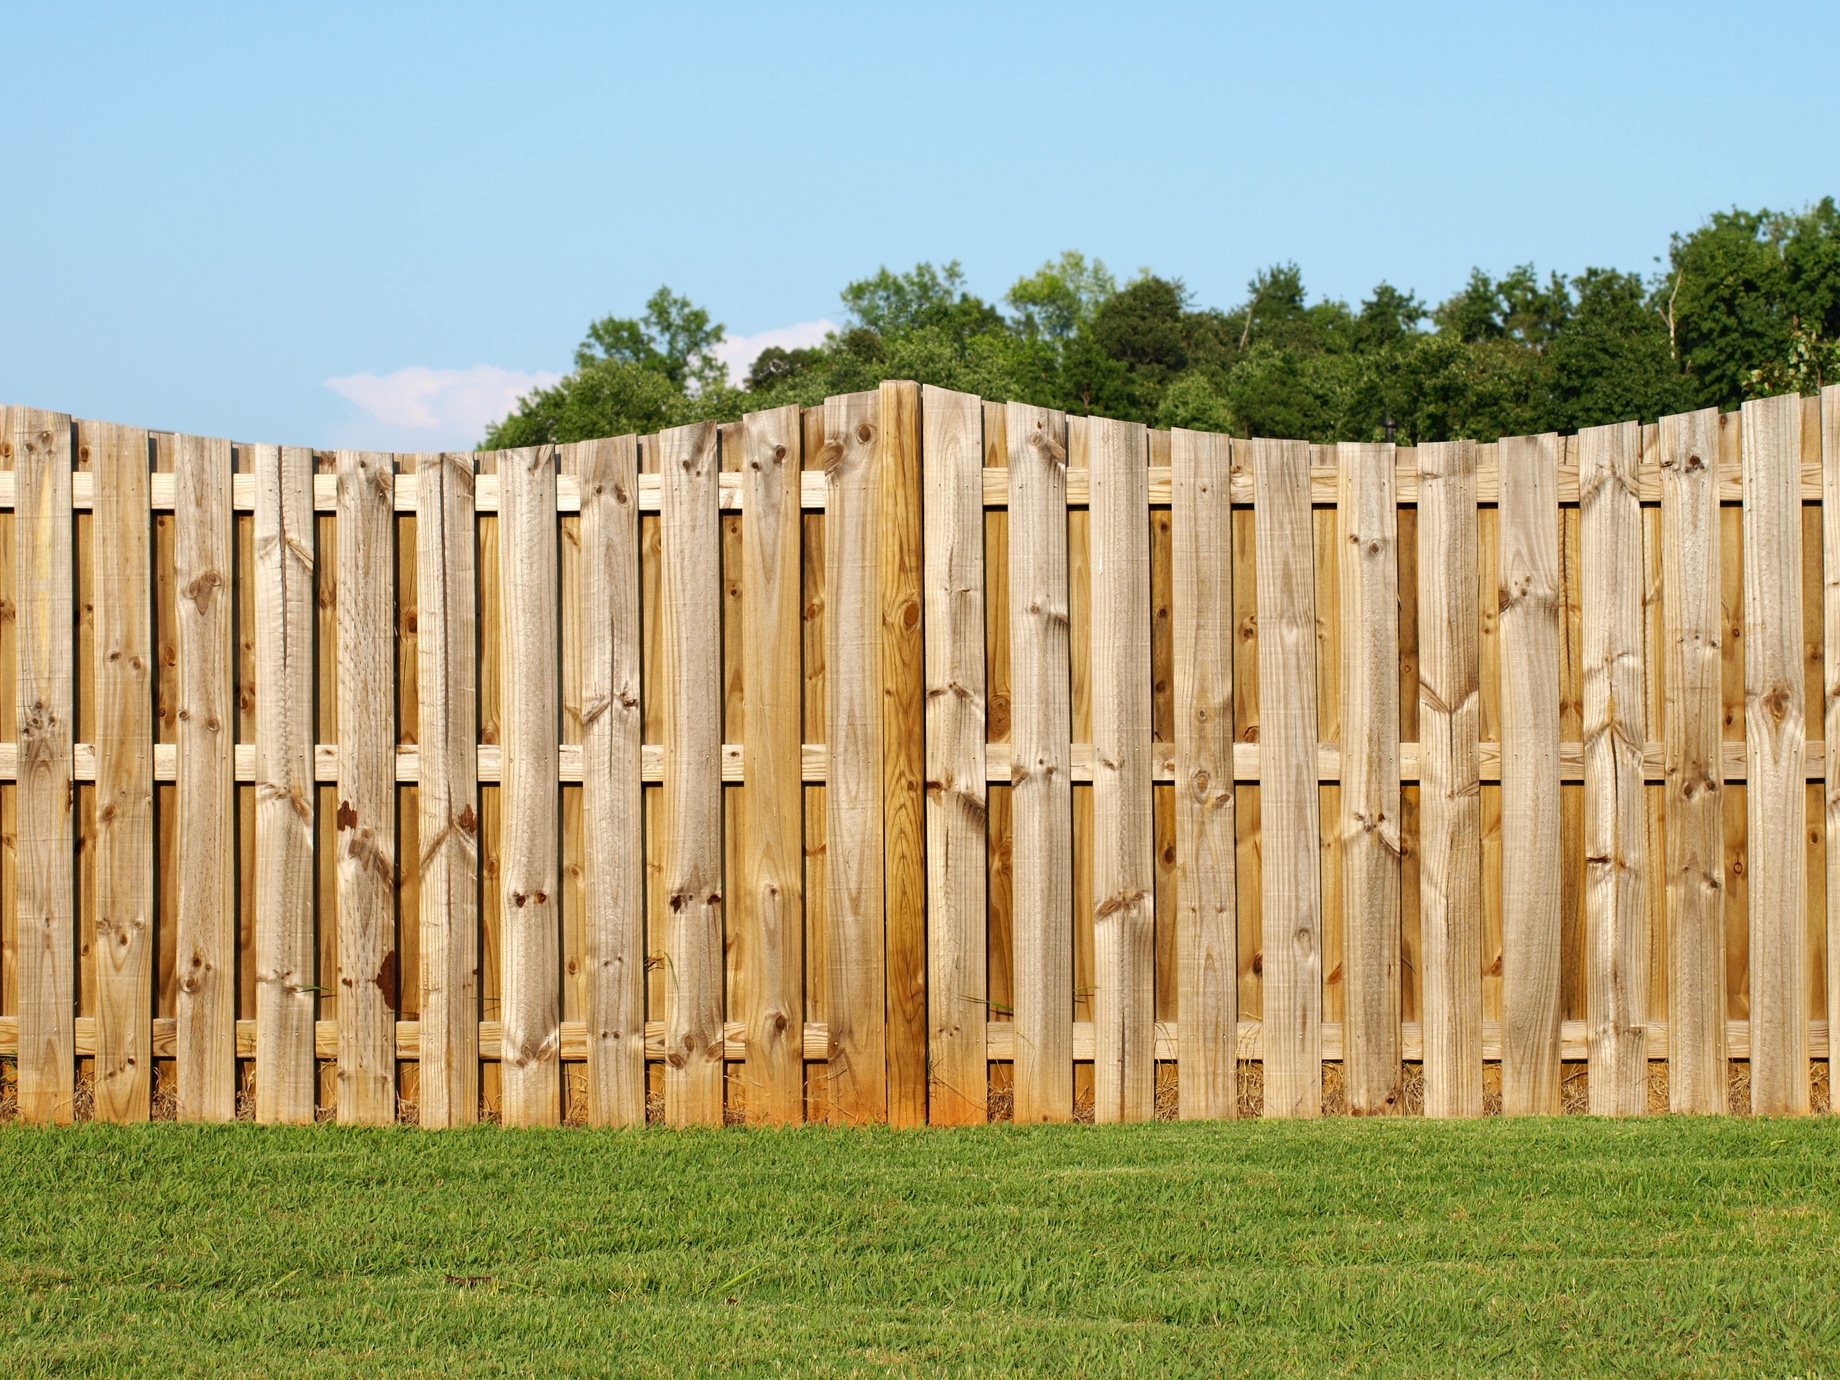
3. Use Pressure-Treated Lumber
Pressure-treated lumber is ideal for framing and posts. It’s chemically infused with a preservative that’ll keep it from staining and destroying. Treated wood is more durable than natural wood and can resist staining and rotting.
Pressure-treated lumber will live substantially longer due to the chemical infusion when exposed to moisture and wood-destroying organisms in the soil. Use more liquid wood preservatives to seal any saw cuts made in pressure-treated lumber, especially the ends. For lumber in Winnipeg and other best building materials, you can check out Star Building.
4. Maintain Equal Distancing Between The Fence Posts
Keep the distance between the posts at no more than seven inches. This will help prevent the fence from sagging between the posts. As a rule of thumb, no more than seven feet should be between fence posts.
Adding two more posts every 100 feet of fence will prevent the fence from sagging between the individual posts. Think about adding a top cross bracing to your fence’s long posts on either side of the gate. Not only does this give visual interest to your design, but it also helps maintain the gate from sagging the posts. For professional installation and advice on reinforcing your fence, a trusted Durham fence company can provide expert solutions to ensure lasting durability and functionality.
5. Set Posts In Concrete
Drainage is improved and the posts are protected from rot by adding gravel or pebbles to the bottom of the holes. Dry-mix the concrete first, then top it off with water. In addition, make sure the posts are raised to a level where they’ll not come into touch with the earth. Use three cross members in the frame between the posts instead of two posts. In order to keep the fence from sagging, three cross members will be mortised into the posts. To remove the fence planks, make a series of vertical cuts with a saw.
6. Choose Stainless Steel Screw-In Fence
Nails can come loose with time, so avoid using them. The screws you need to build your fence should be stainless steel. You can find these at most hardware stores. For framing, use 3″ screws; for fence boards, use 1 5/8″ screws.
Screws made of stainless steel are more expensive than coated screws, but they won’t rust or stain wood like the cheaper alternatives. For the gates, use three hinges made of stainless steel and related hardware. They cost a little extra, but they’re worth it because they’re durable.
7. Stain The Framing
Never paint a fence, as it’ll trap moisture and cause rot. Instead, stain the framing, trim, and fence boards. A deck stain will also protect the wood and make it last longer. This is especially true in areas where the fog can promote the growth of mold and mildew on redwood fences. When applying a deck stain, use a high concentration of paraffin wax to prevent staining. Dip the bottom of each board in stain. This will help keep the bottom of the board secure and look great for years to come.
Takeaway
One of the most important reasons to install fencing on your property is to keep intruders from entering it. Also, a good quality fence will improve your home’s curb appeal, and it can also increase its price if you’re planning on selling. A well-designed and sturdy property fence also adds value to a home.