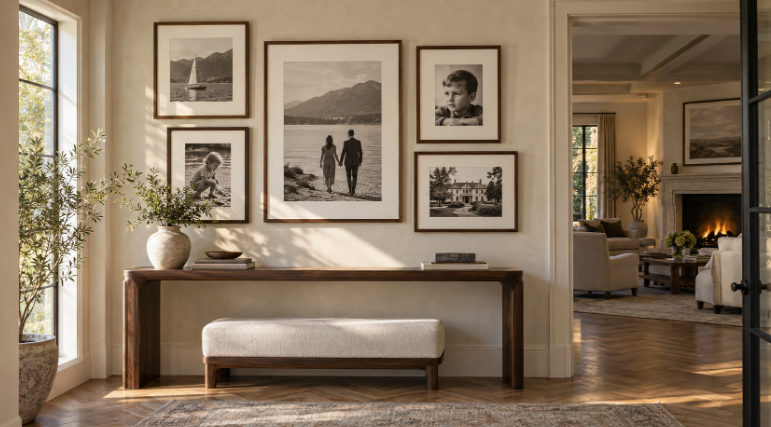
A beautifully furnished home can still feel anonymous until something personal enters the room. Family photographs offer that connection, but moving them from a phone or an old album onto a carefully designed wall takes more than choosing expensive frames. Enlarged snapshots can reveal softness, and mismatched crops can make a collection feel unsettled even when every image matters.
The most convincing gallery walls begin with decisions about the room and the photographs together. Choose a small, meaningful group, establish realistic print sizes, and prepare each file for its intended place. Digital enhancement can help a photograph work at a larger scale, provided the people and memories remain recognisable.
Let the room determine the collection
Start with the wall’s role. A hallway invites close inspection; a group above a sofa is usually seen from farther away. That difference affects how large the photographs need to be and how much fine detail viewers will notice. Consider nearby furniture, wall colour and daylight before ordering prints.
Choose one photograph to anchor the arrangement, then add supporting images that share a relationship. They might show several generations at the same family home or visits to a favourite coastline. A coherent story is often more satisfying than a selection chosen solely because every picture matches the upholstery.
Unify the presentation through a limited frame palette and consistent mat colour. The photographs themselves can vary in age and format. A modest vintage print with a generous mat can sit comfortably beside a larger contemporary image, allowing each source to retain its character without forcing everything into one size.
Work backward from the intended print size
Find the strongest source before enlarging anything. Use an original camera file where possible, rather than a screenshot or a copy downloaded from a social feed. For a physical photograph, make a careful scan and keep an untouched master. An existing high-quality scan may already be sufficient for the intended print.
Ask the print lab which pixel dimensions and file format it wants. For example, an 8-by-10-inch image at 300 pixels per inch requires 2,400 by 3,000 pixels after cropping. The frame’s outside dimensions do not count; calculate from the area actually occupied by the photograph. A wide mat can create a substantial framed piece without demanding a huge image.
If a promising file is too small, an ai image upscaler can be worth trying before abandoning it. AIUpscaler offers browser-based image enlargement and describes improvements to clarity and texture. Treat the output as a candidate for a print proof. Added pixels do not establish that every newly rendered detail existed in the original scene.
Restore aged photographs as a separate decision
Low resolution and physical damage need different kinds of attention. Enlarging a scan does not necessarily remove a crease, while cleaning a scratch does not automatically provide enough detail for a large print. Identify the main problem before applying several processes to the same file.
For faded or damaged family pictures, AIUpscaler’s old photo restoration tool describes repair of scratches, blemishes and blur, alongside options that can recolour older photographs. Review the result against the original, especially around eyes, jewellery and patterned clothing. A plausible reconstruction can still alter a detail that relatives recognise.
Colourisation is a design choice rather than a requirement. Keeping a photograph in black and white may suit both its history and the room. If you choose an interpreted colour version, preserve the original scan too. Give the display copy a clear filename so it cannot later be mistaken for an untouched family record.
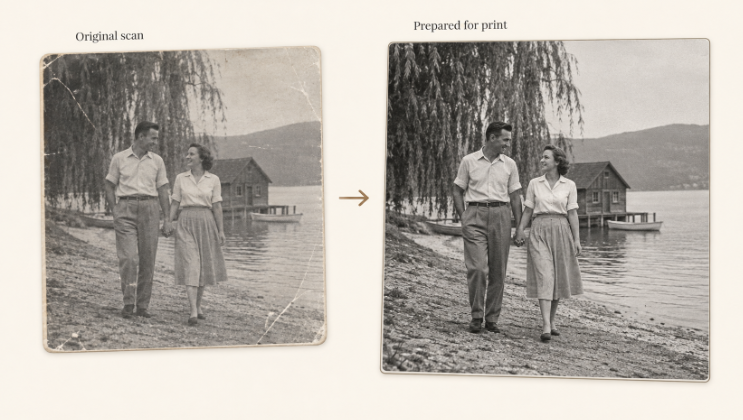
AI-generated concept illustration of a scan prepared for display. Not a measured product result.
Judge the photograph at its final scale
Compare the source and edited version at the same displayed size. Watch for brittle hair, bright outlines along shoulders, repeated textures or skin that looks unnaturally smooth. A slightly softer portrait can be more convincing than an aggressively sharpened one, particularly in a collection of older photographs.
Then order a proof on the paper you intend to use. If a full-size proof is impractical, ask the lab for a small section printed at the final scale, not a reduced copy of the entire image. Include a face or another important detail in that section. This makes the proof useful for judging whether the enlargement is comfortable to view.
Look at the print in the room during daylight and under the lamps used in the evening. A luminous screen can disguise muddy shadows or make colours seem brighter than they appear on paper. Paper finish also affects the presentation: compare samples instead of choosing solely from an online description. If the result disappoints, a smaller print and wider mat may solve more than another processing pass.
Build the arrangement around the strongest prints
Lay out the approved prints and mat samples before committing to frames. Paper templates on the wall help establish spacing and the relationship to a console, sofa or stair rail. Keep gaps deliberate, but allow a change in image size where the composition benefits from it.
Save the original files, edited masters and final print exports separately, with dimensions recorded for future replacements. Keep brief notes about names, places and approximate dates with the archive rather than relying on memory. A successful gallery wall should feel considered from across the room and reward a closer look with photographs that still feel like the people and places you know.