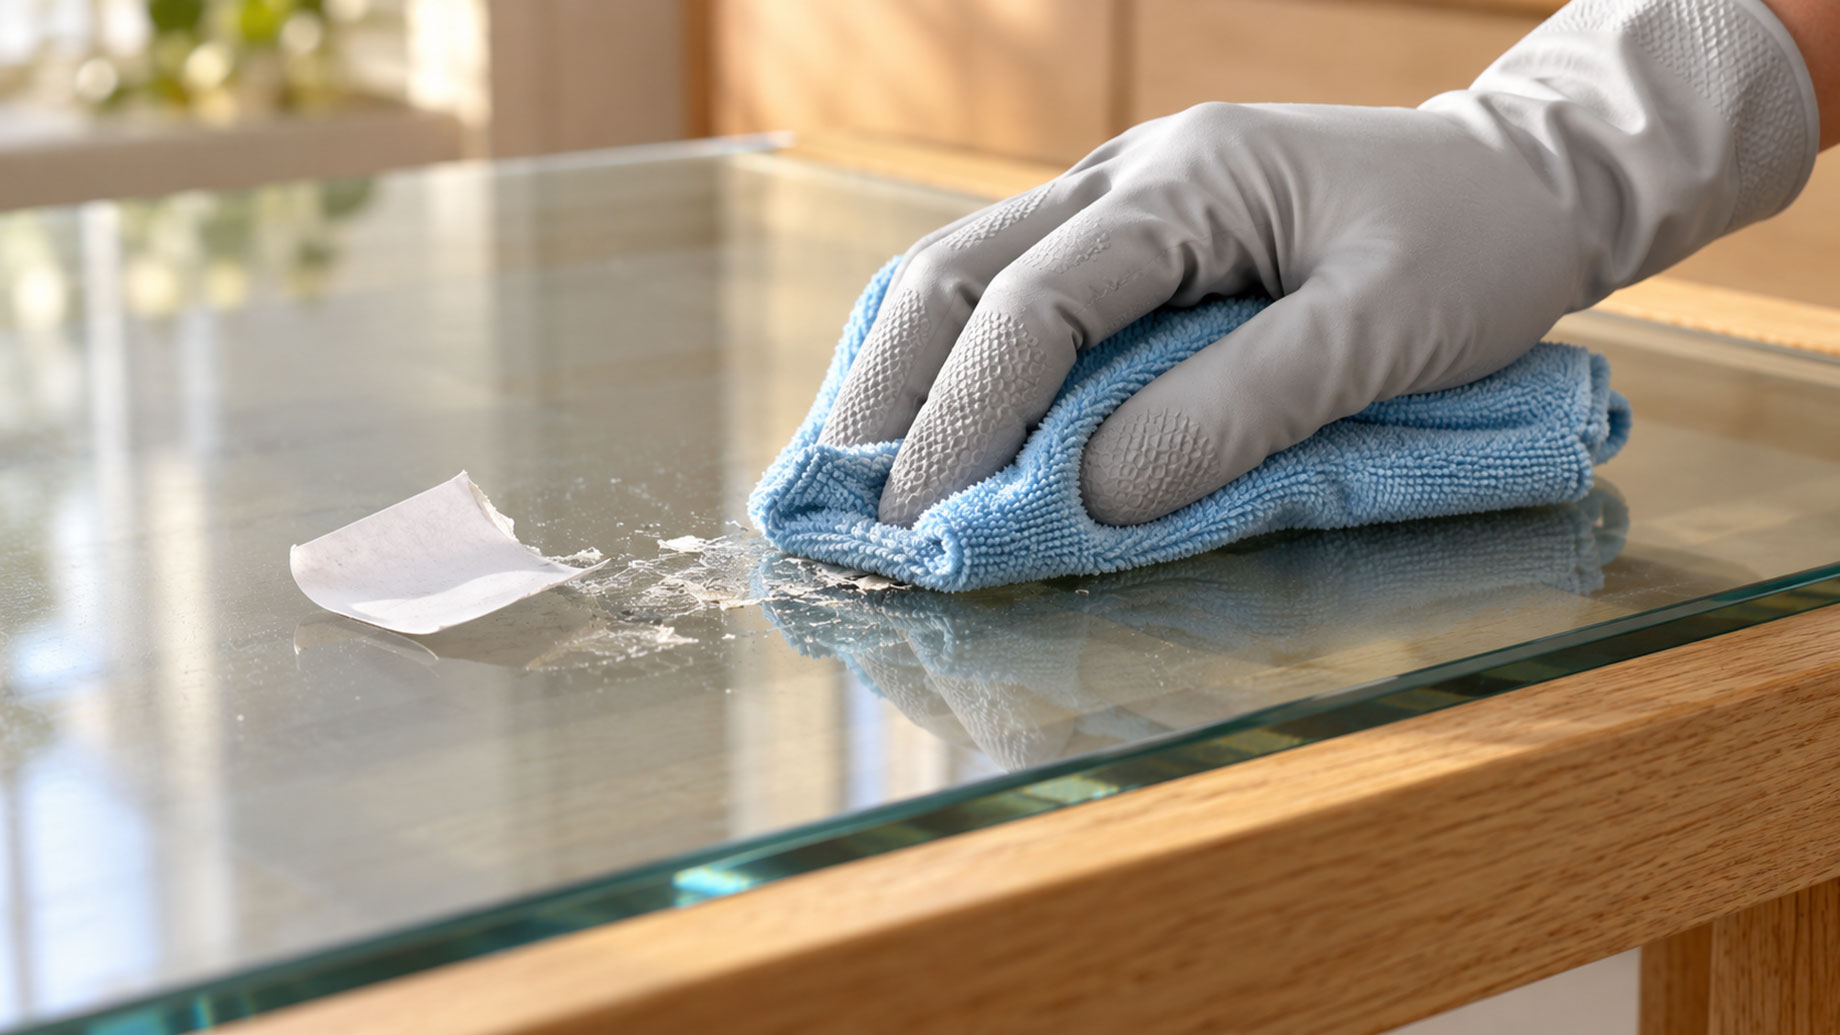
Removing an old sticker from a kitchen cabinet or peeling tape off a glass door often seems like a simple job until a sticky patch remains behind. Dust begins collecting on the residue, fingerprints become more noticeable, and attempts to wipe the area sometimes spread the adhesive across an even larger surface. What started as a small mark can become surprisingly difficult to remove, especially when the glue has been exposed to sunlight, moisture, or heat for a long period.
Adhesive residue behaves differently from ordinary household dirt. Unlike dust or fresh food spills, glue is designed to bond with a surface, so water and everyday cleaning products may not remove it completely. Homeowners arranging cleaning services should understand that routine surface wiping and adhesive removal are not necessarily the same task. Some residues require a particular treatment, while others need careful handling to avoid damaging the material underneath.
The type of surface matters just as much as the adhesive itself. Glass, painted wood, laminate, stainless steel, and plastic can react differently to cleaning solutions and scraping tools. North County San Diego House Cleaning provides residential cleaning options that address ordinary household dirt and surface buildup, but adhesive removal should be discussed separately rather than assumed to be included. Knowing which materials tolerate moisture, gentle solvents, or mechanical removal can help prevent a minor cleaning problem from becoming permanent surface damage.
Why Adhesive Residue Becomes Harder to Remove Over Time
Most stickers and tapes use pressure-sensitive adhesives that stick when pressed against a surface. These adhesives are designed to maintain contact without needing water or heat to activate them. When the paper or plastic backing is removed, part of the adhesive may remain attached, particularly if the material has been in place for months or years.
Heat and sunlight can change the adhesive’s consistency over time. Some residues become harder and more brittle, while others remain soft and tacky. A label attached to a kitchen appliance may also collect cooking grease, making the leftover patch feel thicker and more difficult to wipe away.
Household dust contributes to the problem. Once the sticker has been removed, the exposed glue can trap tiny particles from the surrounding air. The surface may then develop a grey or brown mark that is a mixture of adhesive, dirt, and grease. Scrubbing this mixture with an ordinary damp cloth may remove some of the loose material without touching the glue beneath it.
The first step is to identify whether the residue is still sticky or has hardened into a thin film. Fresh adhesive may respond to gentle lifting or a suitable cleaning solution, while older residue may need more time to soften. Trying to remove either type through force alone increases the risk of scratches and damaged finishes.
Choose a Removal Method That Protects the Surface
The safest cleaning method begins with the material underneath the residue. Before applying a product, check whether the manufacturer provides instructions for removing adhesive or cleaning marks. If the material is unfamiliar, testing a suitable product on an inconspicuous area is preferable to treating the entire patch immediately.
This is particularly relevant during detailed household cleaning, where several materials may be present in the same room. Professional cleaning services san diego can involve wiping countertops, cleaning cabinet fronts, removing fingerprints from doors, and washing accessible surfaces, but sticker glue may require treatment beyond ordinary dusting or surface cleaning. The goal is to remove the unwanted material without changing the colour, texture, or protective finish underneath.
Start with the mildest suitable method. A soft cloth lightly dampened with warm water may help loosen certain water-soluble residues, particularly those left by paper labels. A little mild dishwashing detergent can be useful when the mark contains grease, provided the surface tolerates the solution.
Do not immediately reach for sharp blades, abrasive pads, or strong solvents. These tools may remove adhesive quickly but can leave visible scratches or dull patches that cannot be corrected through further cleaning.
Removing Sticker Residue From Glass
Ordinary untreated glass is often easier to clean than painted or porous materials because adhesive usually remains on the surface rather than soaking into it. However, decorative glass, protective coatings, tinted surfaces, and nearby frames can introduce restrictions.
Begin by removing any remaining pieces of the sticker backing. If the manufacturer permits, soften the residue with a suitable glass-safe cleaner or a lightly dampened cloth. Allow the product to work for the recommended period, then gently rub the area using a clean microfiber cloth.
A plastic scraper designed for delicate surfaces may help lift stubborn residue from compatible glass, but even plastic tools can cause marks if grit becomes trapped beneath them. Avoid using metal blades unless the glass manufacturer specifically approves the method and it can be performed safely.
Once the adhesive is removed, clean the glass again to eliminate leftover product. Drying it with a lint-free cloth helps reveal whether any glue remains or whether the cloudy appearance was caused by cleaning residue.
Cleaning Adhesive From Painted Cabinets and Doors
Painted cabinets require greater caution because their protective finish may soften or discolour when exposed to unsuitable chemicals. Strong adhesive removers, alcohol-based solvents, and abrasive scrubbing can damage certain paints, particularly where the coating is already worn.
Start by gently lifting any loose sticker material with your fingers. If the remaining glue is soft, a mild cleaning solution approved for the painted surface may help remove it. Use a soft cloth and avoid soaking the area, especially near cabinet joints or unfinished edges.
If the adhesive remains firmly attached, stop before increasing pressure. A stubborn label may be less troublesome than a permanently damaged cabinet finish. Contacting the cabinet manufacturer or a finishing specialist can be worthwhile when a valuable or delicate surface is involved.
Household cleaning providers, including North County San Diego House Cleaning, work around painted cabinetry and other finished surfaces during residential cleaning appointments. However, specialised adhesive removal should not be assumed to be a standard cleaning task. Describing the residue and the surface beforehand allows the scope of work to be clarified.
Handle Adhesive on Countertops and Appliances Carefully
Kitchen countertops and appliances often collect stickers from new products, temporary labels, protective packaging, and decorative items. These materials can leave residue in places where food preparation and regular cleaning take place, making complete removal desirable.
Laminate countertops may tolerate some mild cleaning products, but the decorative layer can be damaged by harsh chemicals or excessive scraping. Particular care is needed around seams, where liquid may penetrate beneath the surface.
Quartz and natural stone also require attention to product compatibility. Certain solvents and acidic cleaners can affect sealers or finishes, and marble and other calcium-based stones are especially vulnerable to acids. A cleaner suitable for one stone surface should not automatically be used on another.
For stainless steel appliances, avoid rough pads and tools that may scratch the finish. A compatible adhesive-removal product may be suitable for some appliances, but check the manufacturer’s recommendations before applying it. Use a soft cloth and avoid allowing liquid to enter seams, control panels, or electrical components.
Plastic appliance parts can be particularly sensitive to solvents. Some chemicals cause cloudiness, discolouration, or surface cracking, even when the damage does not appear immediately. If a product label does not clearly confirm compatibility with the plastic, choose another method or seek manufacturer guidance.
After treatment, remove any remaining cleaner as directed, especially from food-contact surfaces. An adhesive patch may disappear while leaving behind an oily film from the removal product, so the final cleaning stage deserves attention.
Why Common Home Remedies Sometimes Cause More Damage
Online cleaning advice often recommends cooking oil, vinegar, rubbing alcohol, or heat for removing sticker residue. These methods can work in certain situations, but none is suitable for every household material.
Oil may soften some adhesive residues, yet it can also leave greasy marks on porous or unfinished materials. On fabrics and some painted surfaces, removing the oil afterward can become a separate cleaning problem.
Vinegar is another commonly suggested option. Although it can help with certain types of household residue, its acidity makes it unsuitable for marble, limestone, and some protective coatings. It is not a universal adhesive remover.
Rubbing alcohol may dissolve some glues, but it can also affect paint, varnish, plastics, and decorative finishes. Similarly, applying heat with a hair dryer may soften an adhesive while creating risks for heat-sensitive plastics, laminates, or nearby coatings.
These limitations are worth considering before arranging cleaning services for a property containing several adhesive marks. A routine cleaning appointment may involve dust removal, kitchen wiping, bathroom scrubbing, and floor maintenance, while chemical adhesive removal may require additional assessment. Trying several strong products without identifying the surface can create damage that ordinary cleaning cannot reverse.
Never combine cleaning chemicals or solvents in an attempt to increase their strength. Some mixtures can produce hazardous vapours, and flammable products should be kept away from heat and ignition sources. Follow the manufacturer’s safety instructions and provide appropriate ventilation when using an approved remover.
Finish the Job by Removing Leftover Cleaning Product
Once the visible glue has been removed, the surface may still need attention. Adhesive removers, oils, and some household cleaners can leave a thin coating that attracts dust or produces streaks.
For compatible hard surfaces, a gentle follow-up clean using an approved product can remove the remaining film. A clean cloth is particularly important at this stage. Reusing the same cloth that collected the adhesive may simply spread sticky material back across the area.
Check the result after the surface has dried. A patch that looks clean while wet may reveal remaining residue under ordinary lighting. If the surface still feels tacky, identify whether the sensation comes from leftover glue, cleaning product, or a damaged finish before applying anything else.
There is also a point at which further treatment becomes counterproductive. If a cabinet develops a dull patch or a plastic surface starts looking cloudy, additional scrubbing is unlikely to improve the result. The problem may have changed from removable residue to finish damage.
The distinction matters during home maintenance because not every visible mark is a cleaning failure. Some materials require repair or restoration once their protective coatings have been affected.
Prevent Adhesive Marks Before They Become a Cleaning Problem
The easiest adhesive residue to manage is often the residue that never develops. Before attaching labels, tape, or decorative stickers to furniture and household fixtures, consider how they will eventually be removed.
Choose products specifically designed for the material and intended period of use. Removable tape may be suitable for some smooth surfaces, but even products labelled removable can behave differently when exposed to heat, moisture, or prolonged contact.
Avoid placing ordinary adhesive tape on delicate painted furniture, antique finishes, or natural stone without manufacturer approval. A temporary label on a storage container is usually less risky than one attached directly to an expensive cabinet door.
When removing recently applied tape, peel it slowly according to the manufacturer’s instructions rather than pulling sharply. Sudden force can lift weak paint or leave larger pieces of adhesive behind.
If several labels need removing during a home reorganisation or move, deal with them before the remaining items are put away. This provides better access to affected surfaces and makes it easier to clean any residue without repeatedly shifting furniture or belongings.
Regular household maintenance also helps prevent exposed glue from becoming covered with dust and grime. North County San Diego House Cleaning includes routine and deeper cleaning options for maintaining common household surfaces. Although adhesive removal may require separate arrangements, removing ordinary dust and residue around affected areas can keep the problem from becoming more noticeable.
Protect Household Finishes While Removing Stubborn Residue
Sticker glue, tape marks, and adhesive labels can be frustrating, but stronger chemicals and harder scrubbing are not always the answer. The safest method depends on the type of adhesive, how long it has been attached, and whether the underlying material can tolerate the proposed treatment.
Glass, painted cabinets, laminate, natural stone, and appliance finishes all have different cleaning requirements. Beginning with a gentle, surface-compatible method and stopping when a finish shows signs of damage can prevent an ordinary household mark from turning into a costly repair.
Professional cleaning services may support general surface maintenance and the removal of everyday dirt, but specialised adhesive treatment should be discussed before assuming it is included. North County San Diego House Cleaning provides residential cleaning options, and confirming any unusual residue problems in advance is a sensible way to establish what a particular appointment will cover.
A surface is properly cleaned only when the unwanted residue has been removed without leaving scratches, discolouration, or another layer of product behind. Taking care with the method may require a little more patience, but it protects the finish that made the surface worth cleaning in the first place.