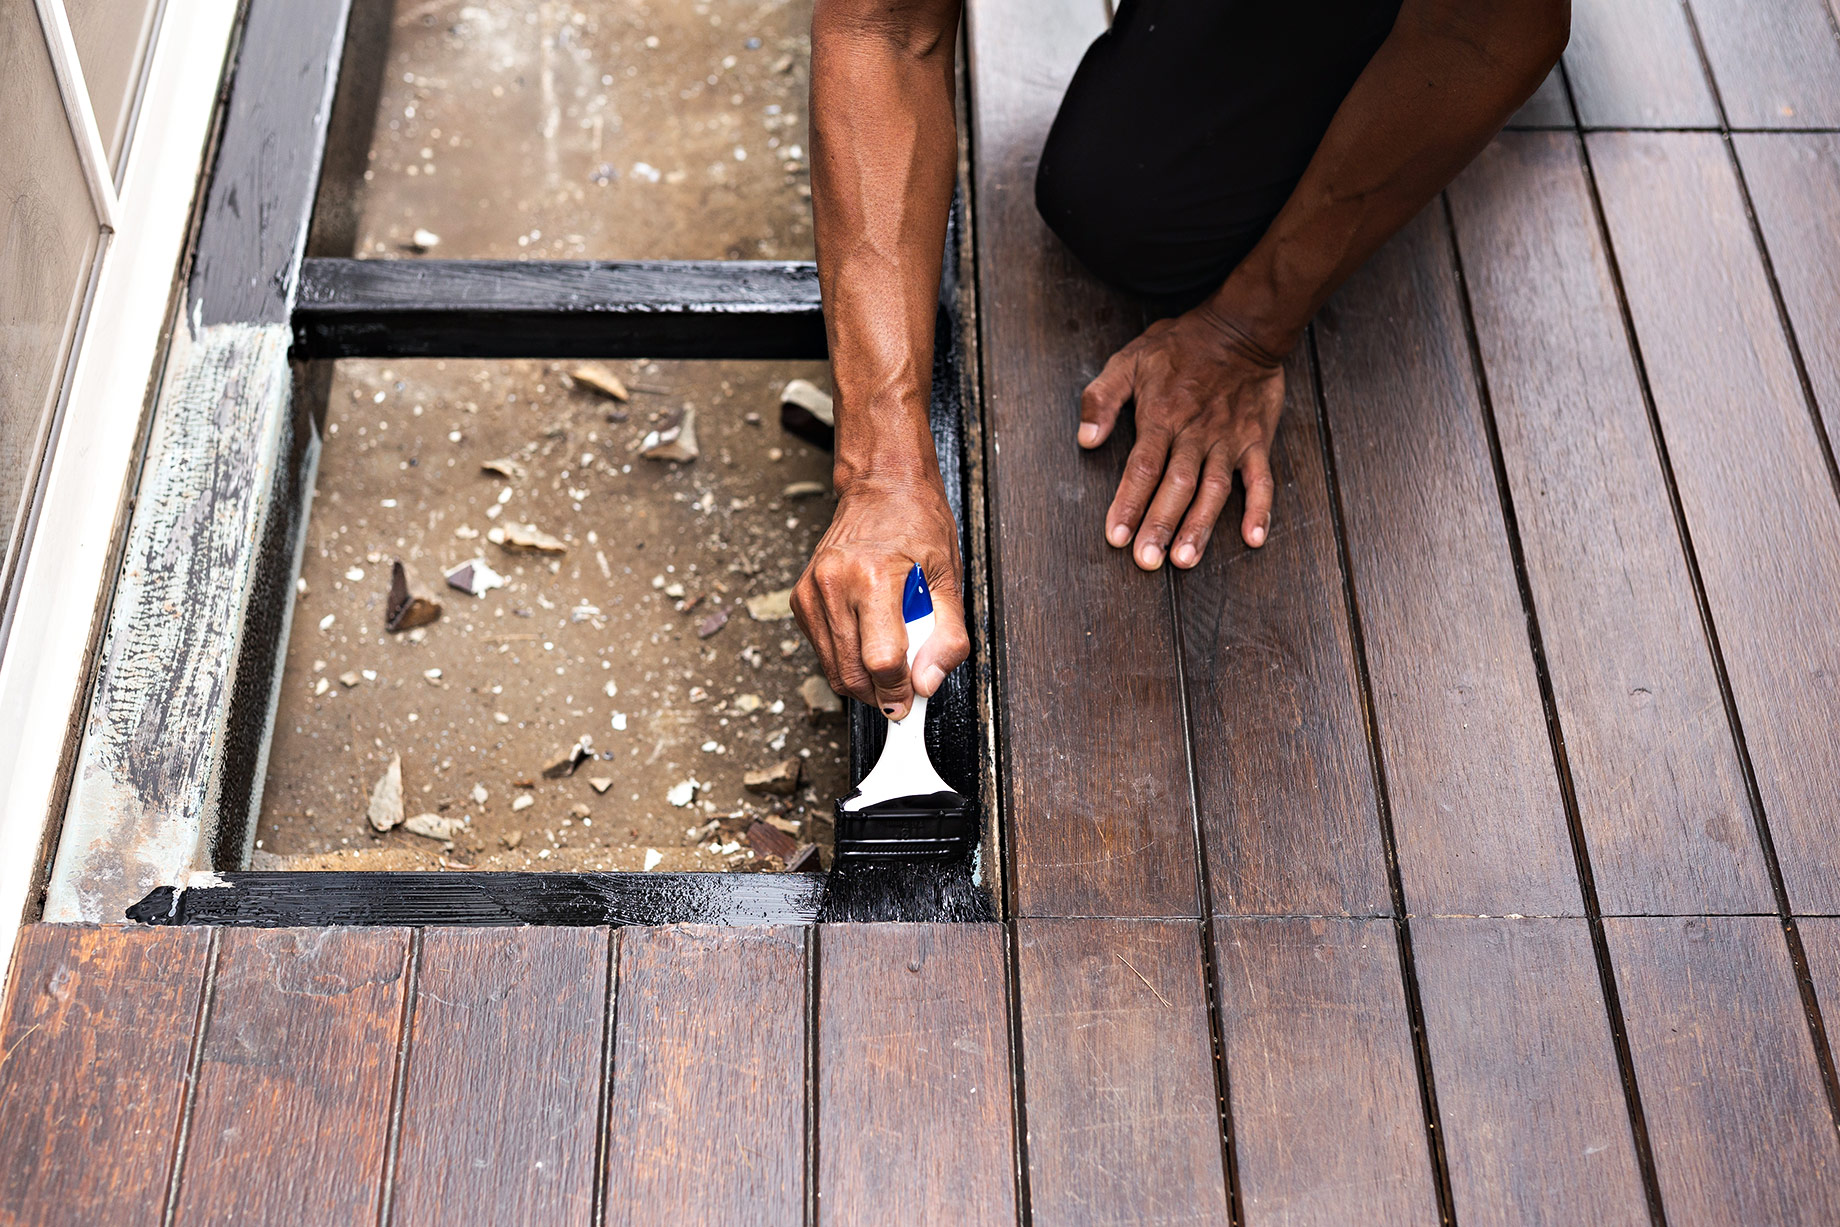
A redesigned deck can transform the way a home connects with its landscape. It may become an outdoor dining room, a quiet place to enjoy the view or a polished setting for entertaining. Yet premium boards, architectural railings and elegant lighting will not protect the investment if the structure beneath them is damaged.
Before choosing finishes, homeowners should find out whether the existing deck is safe, dry and suitable for the planned design. A careful inspection may show that only a limited repair is needed. It may also uncover hidden water damage, weak connections or drainage problems that should be corrected before the renovation continues.
Why a Deck Should Be Inspected Before It Is Redesigned
The visible surface tells only part of the story. Weathered wood boards may sit on framing that remains in good condition. In contrast, attractive composite boards or a recently coated surface can conceal deteriorated plywood, corroded hardware or trapped moisture.
A deck is a complete system that may include:
- Surface boards or a waterproof membrane
- Plywood or another supporting surface
- Joists, beams, posts and footings
- A ledger board connecting the deck to the house
- Flashing that directs water away from walls and joints
- Drains, gutters or other water outlets
- Railings, stairs and structural fasteners
All these parts must work together. A new finish cannot strengthen a weak connection, correct poor drainage or restore wood that has lost strength through decay.
The intended redesign also matters. Outdoor kitchens, stone counters, large planters, pergolas, fireplaces and hot tubs can add significant weight. Glass railings and other custom features may create new loads or require new attachment points. A structural engineer or another qualified design professional should review the project when the existing deck is being altered substantially or will support heavy equipment.
What Should a Professional Deck Inspection Cover?
A useful inspection looks below the surface and follows the path of both weight and water. If damage is found, a professional deck repair and waterproofing plan should address the surface, underlying base, framing, flashing, drainage and railings as one connected system.
The main areas include:
- The connection to the house: The ledger board and its fasteners should be secure. Flashing should keep water from reaching the wall or the wood supporting the connection.
- Framing and supports: Joists, beams, posts and footings should be checked for decay, cracks, excessive notching, movement and visible sagging.
- The surface and underlying base: Boards, plywood and other supporting materials should be stable and free from soft areas or serious distortion. Contractors often call this base the substrate.
- Drainage: Water should move toward the intended outlets instead of remaining in low spots or flowing toward the house.
- Waterproofing: On a waterproof deck, the inspector should review membrane seams, edges, drains and connections at walls and doors.
- Railings and stairs: Loose posts, damaged stair supports or unstable landings require attention because these are safety components.
- Fasteners and connectors: Bolts, screws and joist hangers should be suitable for the materials and local exposure. Visible red rust may indicate more than a cosmetic problem, especially near salt water.
Some damage cannot be confirmed without opening a small part of the assembly. This may be necessary when a membrane covers plywood or when staining below the deck suggests that water has entered the structure.
Warning Signs That Should Not Be Ignored
Homeowners should arrange a closer inspection if they notice:
- Soft, springy or unusually flexible areas
- Water that remains after the rest of the deck has dried
- Open membrane seams, punctures, blisters or lifted edges
- Cracked sealant at walls, doors or railing posts
- Water stains or peeling paint below the deck
- Dark, crumbling or visibly decayed wood
- Rust on bolts, screws or joist hangers
- Loose railings or unstable stairs
- Sagging beams or leaning posts
- A persistent musty odor in the space below
The source of a leak may not be directly above the visible stain. Water can enter at a wall, railing post or seam and then travel within the assembly before it appears indoors.
Should the Deck Be Repaired or Rebuilt?
The answer depends on which parts are damaged and how the deck will be used after renovation.
1. A Limited Repair
A targeted repair may be reasonable when the framing and substrate are sound, drainage works correctly and damage is confined to a repairable area. The work might involve replacing several boards, correcting a local flashing detail or repairing a membrane puncture according to the manufacturer’s instructions.
2. A Larger Restoration
If moisture has reached the plywood or framing, the visible surface may need to be removed so the damaged materials can be replaced. The project may also require improved drainage, rebuilt wall transitions and a new compatible waterproof surface.
3. Full Replacement
Rebuilding may be more practical when decay is widespread, the deck moves noticeably, major connections are inadequate or the new design would exceed the capacity of the existing structure. Replacement can also make sense when poor slope or layout prevents reliable water drainage.
The lowest initial estimate is not always the least expensive long-term option. Reusing damaged components can shorten the life of a premium finish and lead to another round of demolition.
Waterproof and Water-Resistant Are Not the Same
Wood and composite deck boards can resist normal outdoor exposure, but a conventional deck with gaps between the boards is not waterproof. Rain is expected to pass through the surface. A separate system is needed if the area below must remain dry.
This is especially important for balconies, roof decks and elevated decks above finished rooms. In these locations, the assembly must serve as both a walking surface and a roof. The waterproof layer should continue across the main surface and connect correctly at seams, walls, door openings, drains, edges and penetrations.
Many walkable PVC membrane systems use overlapping sheets joined with hot-air-welded seams. However, substrate preparation, slope, flashing and installation requirements vary by product. The contractor should follow the instructions for the exact system being installed.
Installing new boards over a leaking deck does not make it waterproof. Likewise, applying a new coating over wet or unstable material does not repair the damaged layer below. The water source and affected materials must be addressed first.
Details That Help a Waterproof Deck Last
Waterproofing problems often begin at edges and transitions rather than in the center of the deck. A strong repair plan should address the following details:
- Positive drainage: The deck should direct water to approved outlets. Drains and overflow points should remain accessible for cleaning.
- Wall and door connections: The membrane and flashing should direct water outward and connect correctly with the protective layer behind the exterior wall.
- Perimeter edges: Drip edges and sealed membrane edges should protect the underlying base and move water away from the structure.
- Railing attachments: Posts and fasteners can create openings in the waterproof layer. The design should limit these openings where practical, and every necessary penetration must be sealed with compatible materials.
- Compatible materials: Membranes, adhesives, sealants, treated lumber, flashing and metal hardware should be approved for use together.
- Corrosion resistance: Fasteners and connectors should suit the environment. Salt air, moisture and some wood preservatives can increase corrosion risk when incompatible hardware is used.
These technical details can be integrated into an elegant design. Concealed drainage, carefully placed railing connections and coordinated edge finishes help protect the deck without distracting from the architecture or view.
A Practical Renovation Sequence
Making decisions in the right order helps prevent expensive rework:
- Define how the deck will be used. Include furniture, kitchens, planters, shade structures and utilities.
- Document its current condition. Record visible damage, drainage points and signs of leakage below.
- Inspect the structure and waterproofing. Decide whether limited openings or engineering reviews are needed.
- Set the repair scope. Identify what can remain and what must be repaired or replaced.
- Correct framing and drainage first. Do not install premium finishes over an unsound assembly.
- Coordinate all attachments. Finalize railings, lighting, plumbing, gas and electrical work before completing the waterproofing.
- Follow the selected system’s instructions. Use the required substrate, flashing, seam and edge details.
- Keep project records. Save photographs, product information, warranties and maintenance recommendations.
A detailed contractor proposal should explain the cause of the damage, the materials that will be removed, the method for pricing concealed repairs and the exact waterproofing system being proposed. It should also address permits, structural review, drainage, railing attachments and separate warranties for materials and workmanship.
Final Thoughts
A luxury deck should look effortless, but that appearance depends on careful work below the surface. Structure, drainage, flashing and waterproofing should be resolved before decorative features are added.
The key question is not whether an old deck can be made to look new. It is whether the existing assembly can safely support the planned space and protect the surrounding home from water. Once that foundation is sound, premium materials and well-chosen amenities can become a lasting investment rather than a temporary cover for hidden damage.