Most homeowners spend way too long obsessing over paint swatches. You’ve been holding up color chips in different lighting, agonizing between “Warm Linen” and “Antique White,” finally splurging on that premium brand everyone recommends. And then, six months later? Bubbles. Peeling corners. That sinking feeling when you realize something went wrong.
Here’s what nobody told you upfront: the paint was rarely the problem. What happens before a single brushstroke touches your wall decides everything. Rushing or skipping surface preparation for painting is, without question, the leading reason paint jobs fail, even expensive ones. And fixing a failed job almost always costs more than the prep work would have.
The Critical Role Surface Preparation Plays in Getting a Paint Job Right
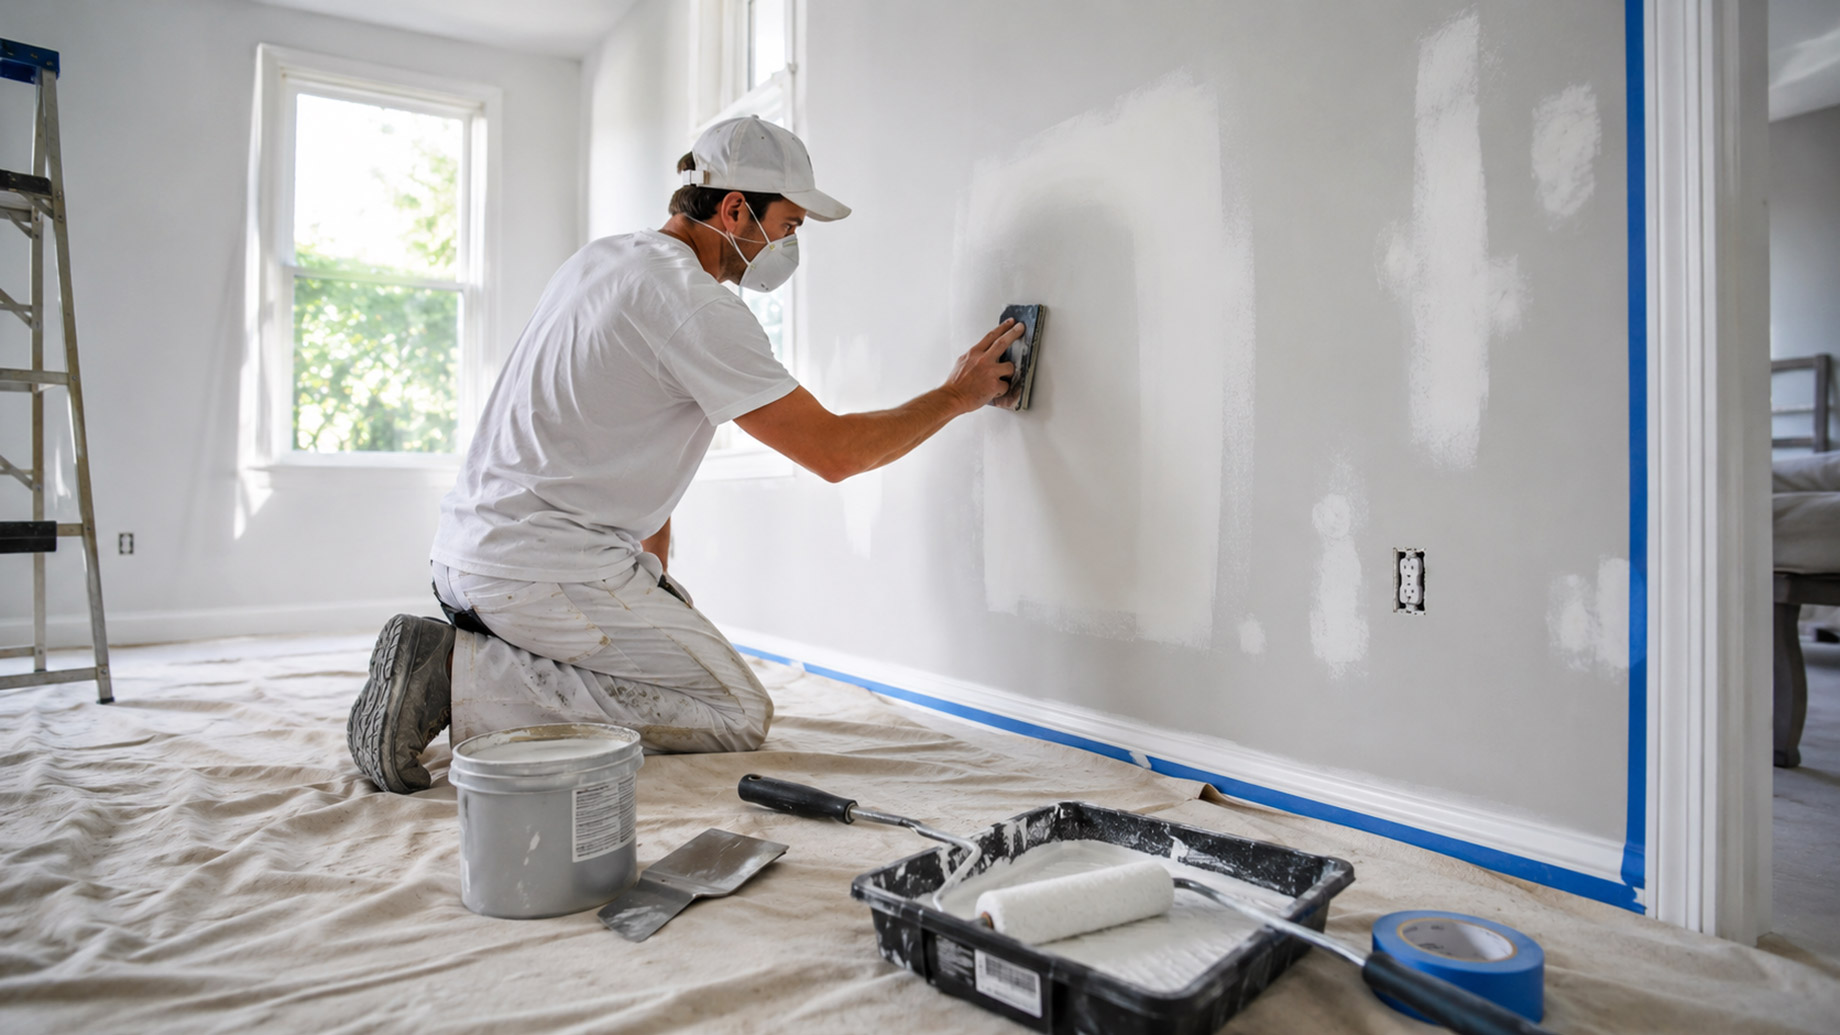
Stunning results don’t come from a fancy can. They come from invisible effort.
Why Surface Preparation Actually Makes or Breaks Your Project
The research backs this up in a striking way. According to Facilities Net, somewhere between 60–80% of premature coating failures trace back to inadequate surface preparation, not the paint itself. Read that again. Sixty to eighty percent.
The importance of surface preparation runs deeper than cosmetics or appearances. Proper prep controls paint adhesion, how evenly the finish settles, and, honestly, how long you go before doing this whole thing again. Paint slapped onto a dirty, damaged, or unprimed surface simply refuses to bond the way it should. No premium product fixes a bad groundwork period.
A lot of homeowners still hold onto the belief that pricier paint somehow compensates for skipped steps. It really doesn’t. When you see what skilled expert painters actually do on a job site, it becomes obvious fast that they spend the bulk of their project time on prep, not painting, because that’s where the real outcome gets decided.
Surface Prep vs. Paint Quality: Which One Actually Wins?
This is the comparison that settles arguments. Surface prep vs. paint quality is not even remotely close. Prep wins. Every single time.
Picture it this way: paint is just a thin film. If the wall underneath holds moisture, contamination, or layers of peeling old paint, that film has nothing to grip onto. Coating professionals consistently report that prep accounts for up to 80% of a project’s success, regardless of what brand is on the can or what the price tag says.
Now that you know why surface prep quietly separates gorgeous, lasting finishes from frustrating, costly failures, let’s get into exactly how that preparation shapes every measurable outcome.
The Key Steps Professionals Take Before the Painting Even Starts
This isn’t just “wipe the wall down.” Professional preparation is a structured, multi-stage process, and every step matters.
Evaluation First: Diagnosing What You’re Actually Working With
Before anything gets cleaned or patched, you need a real inspection. Experienced painters scan for moisture intrusion, mold growth, cracks, substrate damage, and failing old paint. Moisture meters and UV lights uncover hidden problems that would otherwise ruin a project before it really begins. Skipping this diagnostic phase? That’s where jobs go wrong before a single tool gets picked up.
Cleaning, Degreasing, and Treating Surfaces Properly
Dust, grease, mildew, and chalky surface residue are adhesion killers, full stop. Power washing handles exterior surfaces well. Interior walls often respond better to eco-friendly degreasers with targeted mold treatments. The goal is always the same: a completely clean, neutral surface that lets the paint system bond fully and lay flat.
Repair, Patch, and Prime: This Is Where the Real Foundation Gets Built
Holes get filled. Cracks get packed. Damaged substrate gets addressed. Then, priming is arguably the most underappreciated step in the whole process. Modern primers bring stain-blocking formulas and adhesion promoters that dramatically improve topcoat performance. Skip primer to save a couple of hours, and you’re looking at an earlier repaint cycle. That costs significantly more than the primer ever would have.
Smoothing: Sanding, Scraping, and Getting the Surface Level
Uneven surfaces show through paint, light catches imperfections, and announces them loudly. Sanding and scraping create a flat, uniform base so paint sits properly and reflects light evenly. Today’s dustless sanding systems make this step cleaner and safer than older methods, which is especially important in homes where older materials might be present.
Painting Preparation Tips Across Different Surface Types
Here’s something a lot of DIYers learn the hard way: not every surface plays by the same rules.
Tailored Prep for the Materials You’re Actually Dealing With
These painting preparation tips shift depending on what you’re working with. Drywall gets light sanding and a PVA primer. Wood needs grain-raising consideration and often a shellac-based primer around knots. Masonry surfaces benefit from acid etching or bonding primers. Metal demands rust treatment and self-etching primer. Vinyl siding requires specific adhesion promoters. Every material has its own chemistry-matching prep to surface, which isn’t optional; it’s everything.
Bathrooms and kitchens need mold-resistant primers because moisture exposure is constant. Exterior surfaces need prep timed around weather conditions, since humidity and temperature directly affect how well paint adheres.
Handling the Trickier Prep Challenges
Stubborn stains, efflorescence on concrete, flaking paint, and lead paint situations- these all call for specialized strategies. Efflorescence must be fully eliminated before any primer touches the surface. Lead paint requires containment protocols and sometimes complete removal. Heavily textured walls may need skim coating before you can even think about painting cleanly.
What’s New in Surface Preparation Technology
The prep side of painting has genuinely evolved, and paying attention to what’s changed can save you real time and money.
Tools and Materials That Are Reshaping the Process
Here’s a number worth knowing: well-prepared surfaces can extend coating life by 60–80% compared to poorly prepared ones. Modern tools are making that standard more achievable than ever. HEPA-filtered dustless sanders, AI-assisted surface analyzers, and smart moisture detection systems are changing what a job site looks like. Primers with built-in adhesion promoters and stain blockers now do double duty, cutting steps without sacrificing quality.
Sustainable, Health-Conscious Prep Options
Low-VOC primers, non-toxic stripping products, and contained dust management are becoming standard practice on interior projects. These options protect everyone in the space, especially those with allergies or respiratory issues, without compromising the prep work itself.
What Makes Expert Painters Different From the Rest
There’s a genuine gap between someone who paints and someone who prepares to paint. That gap shows up in how long the results actually last.
The Professional Difference in Surface Preparation
What distinguishes expert painters isn’t brand loyalty or fancy equipment; it’s their refusal to treat prep as a formality. They implement structured assessment protocols. They select materials specifically matched to each surface. They know precisely when specialized intervention is necessary and when standard prep is enough. When you’re vetting a painting company, ask directly about their prep process, how they allocate time, and how they choose primers. Those answers tell you everything about their real standards.
The Prep Mistakes That Quietly Destroy Paint Jobs
Common Surface Preparation Errors You Really Want to Avoid
Rushing prep is the most expensive shortcut in painting, full stop. Skipping the cleaning step leaves contaminants that block adhesion entirely. Skimping on repairs creates weak spots that crack right through the topcoat. Mismatched primers fail to bond with specific substrates. Improper sanding leaves scratches that telegraph through sheen finishes. Each of these mistakes carries a price: early failure, recurring problems, and eventually a complete redo that costs far more than doing it right the first time.
Surface Prep as a Smart Financial Investment
Proper surface preparation for painting isn’t overhead; it’s protection for every dollar you’re putting into this project. A well-prepped paint job lasting eight years beats a rushed one failing in three by thousands of dollars over time. Property managers who treat prep seriously report longer intervals between full repaints, better warranty outcomes, and genuinely happier tenants.
How to Prepare Surfaces for Painting if You’re Doing It Yourself
A DIY Prep Checklist That Actually Works
If you’re tackling prep yourself, here’s how to prepare surfaces for painting the right way. Start with a thorough inspection, look hard for cracks, stains, and any sign of moisture. Clean everything before you even touch sandpaper. Fill holes and cracks with the right filler, let it cure completely, then sand smooth. Apply a primer matched to your specific substrate and let it fully dry before painting begins. Wear proper safety gear throughout, especially when sanding or working in older homes.
Knowing When to Call in Professionals
Extensive moisture damage, suspected lead paint, large-scale exterior work, or heavily deteriorated surfaces- these situations aren’t DIY territory. Attempting complex prep without the proper knowledge or tools frequently creates bigger problems than the original damage. Knowing when to bring in help isn’t admitting defeat; it’s just smart thinking.
Your Surface Preparation Questions, Answered
How long does surface preparation take before painting interior walls?
Prep typically represents 30–50% of total project time. A standard room might need half a day of prep before paint ever goes down.
What’s the biggest mistake people make during painting prep?
Skipping or rushing the cleaning step. Paint over contaminated surfaces fails to bond, leading directly to early peeling and adhesion failure.
Can I skip priming if I use high-quality paint?
No. Primer creates the bonding layer paint needs to adhere properly. Self-priming paints help in light-duty situations but rarely replace dedicated primer on bare or damaged surfaces.
The Foundation Beneath Every Flawless Finish
Every genuinely great paint job starts long before a drop of paint gets involved. Surface preparation for painting is where durability, adhesion, and long-term beauty are actually decided, not at the paint counter. Choosing premium paint without proper prep is like constructing a building on sand. It might look fine for a while. But it won’t hold.
Invest the time. Follow the right steps. Or partner with professionals who take preparation as seriously as the finish itself. Your walls, your budget, and your property’s long-term value will all reflect that decision for years to come.