Building a tiny home involves careful planning, efficient design, and skilled construction. Key steps include setting a budget, designing a functional layout, and choosing durable materials. Whether you’re building for full-time living or as a vacation property, maximizing space is essential. For those seeking expert guidance, professionals can help streamline the process while proving quality results. With thoughtful preparation, you can create a tiny home that meets your needs and reflects your style.
Table of Contents
- Pre-Construction Planning: Setting Goals and Budget
- Designing Your Tiny Home: Maximizing Space and Functionality
- Key Steps in Building a Tiny Home
- Benefits of Working with Professional Home Builders in Okotoks
- Final Thoughts: Turning Your Tiny Home Dream into Reality
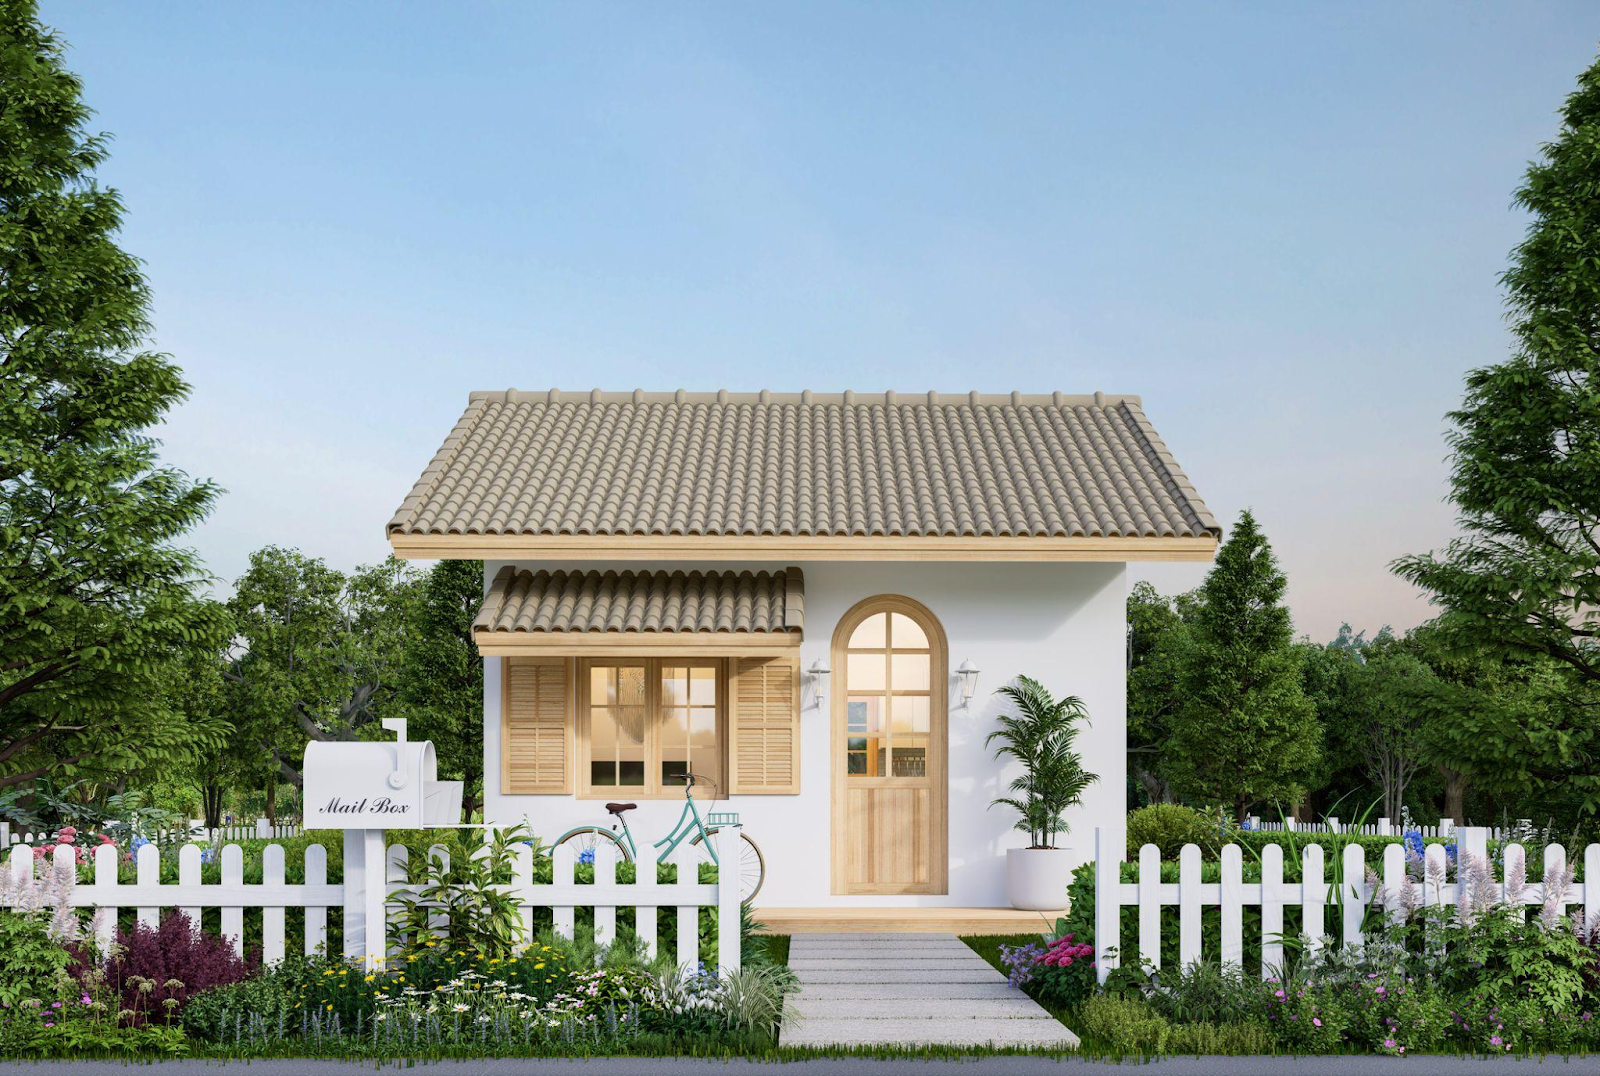
Tiny homes have gained immense popularity in recent years, offering an affordable, sustainable, and minimalist alternative to traditional housing. Whether you’re looking to downsize, reduce your environmental footprint, or create a vacation property, building a tiny home can be a rewarding project. However, the process requires careful planning, from budgeting to design, to guarantee the final result meets your needs and expectations.
For those considering a tiny home in Okotoks, working with experienced home builders in Okotoks can make a significant difference. These professionals bring expertise in custom builds, helping you navigate challenges and achieve a high-quality result. In this guide, we’ll explore the key steps to building a tiny home and provide practical tips to help you get started.
Pre-Construction Planning: Setting Goals and Budget
Before diving into the construction of your tiny home, thorough pre-construction planning is essential. This phase lays the foundation for a successful project by helping you define your goals, establish a realistic budget, and anticipate potential challenges. Below are the key steps to consider:
Define Your Purpose and Goals
- Full-Time Living: If your tiny home will be your primary residence, prioritize comfort, functionality, and durability.
- Vacation or Rental Property: For part-time use or rental purposes, focus on low-maintenance materials and appealing design features.
- Sustainability: Incorporate eco-friendly elements like solar panels, energy-efficient appliances, or recycled materials to align with green living goals.
Set a Realistic Budget
- Cost Breakdown: Tiny homes typically cost between 20,000and100,000, depending on size, materials, and customization. Factor in costs for land, permits, utilities, and furnishings.
- Contingency Fund: Allocate an additional 10–15% of your total budget for unexpected expenses, such as permit delays or material price increases.
- DIY vs. Hiring Professionals: Decide which tasks you’ll handle yourself and which require expert assistance. While DIY can save money, hiring professionals ensures quality and compliance with regulations.
Research Zoning Laws and Regulations
- Before purchasing land or starting construction, verify local zoning laws in Okotoks. Some areas have restrictions on tiny home sizes, foundations, or utility connections.
- Consult with experts or local authorities to secure your plans meet all legal requirements.
By addressing these aspects during the planning phase, you can avoid costly mistakes and set clear expectations for your tiny home project. Thoughtful preparation is the first step toward creating a space that aligns with your vision and lifestyle.
Designing Your Tiny Home: Maximizing Space and Functionality
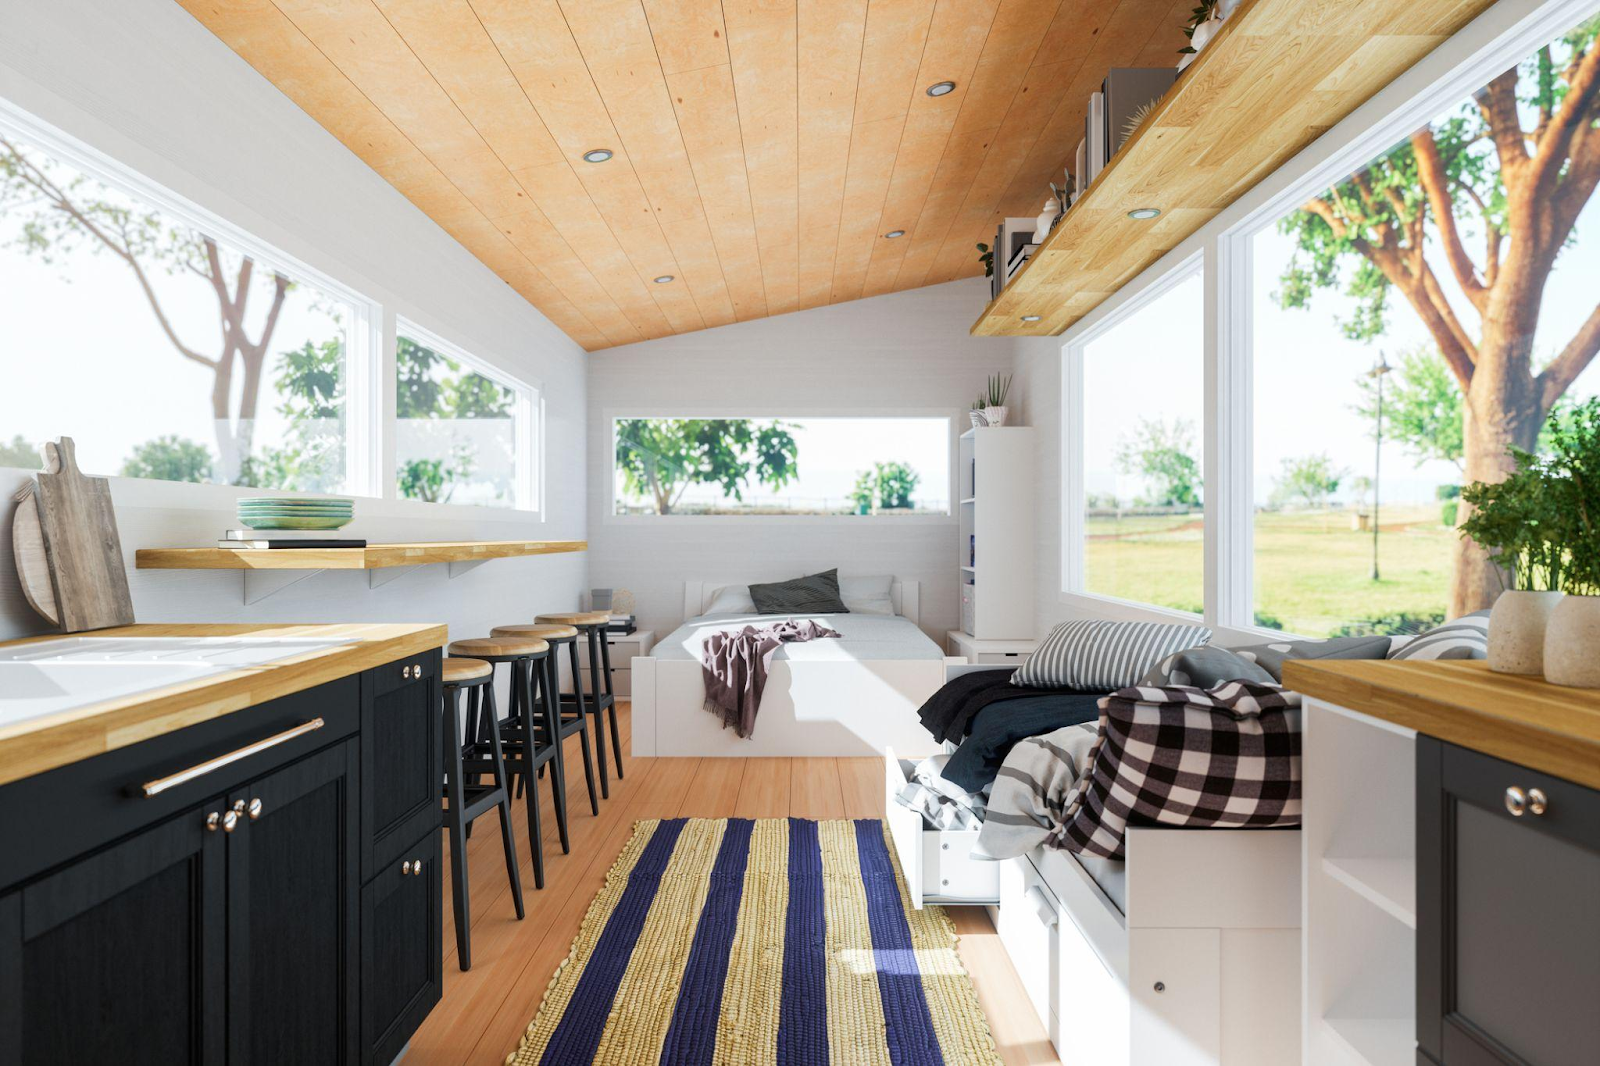
Designing a tiny home requires creativity to make the most of limited space. Every decision—from layout to materials—should prioritize efficiency and comfort. Below are key strategies to create a functional and stylish design:
1. Multi-Functional Furniture.
- Use foldable or convertible pieces like sofa beds, dining tables, or storage ottomans.
- Incorporate a lofted sleeping area to free up ground-level space.
2. Optimize Layout.
- Divide the space into zones for sleeping, cooking, and living to improve organization.
- Keep the design open and airy with minimal clutter to enhance flow.
3. Clever Storage Solutions.
- Utilize vertical space with shelves, hooks, or hanging organizers.
- Add hidden compartments under stairs, benches, or countertops.
4. Choose the Right Materials.
- Select lightweight yet durable materials like plywood or aluminum.
- Use scratch-resistant and weatherproof finishes for longevity.
5. Maximize Light and Ventilation.
- Install large windows or skylights to bring in natural light and create a sense of space.
- Design windows and doors for cross-ventilation to improve airflow.
By focusing on these principles, homeowners can design a tiny home that feels spacious, functional, and tailored to their needs. Thoughtful planning makes it possible to enjoy comfort and style in a compact footprint.
Key Steps in Building a Tiny Home
Building a tiny home is a multi-phase process that requires careful planning, skilled execution, and attention to detail. The rising popularity of tiny homes highlights a trend toward sustainable and affordable living, driven by shifting homeowner preferences. Below is an in-depth breakdown of each step, providing homeowners with a clear roadmap to successfully construct their dream tiny home:
Step 1. Foundation and Base
The foundation or base is the starting point for any tiny home, determining its stability and mobility.
- Permanent Foundations. For stationary homes, consider concrete slabs, piers, or crawl spaces. These provide long-term stability and are ideal for rural or suburban properties.
- Mobile Trailers. If portability is a priority, choose a high-quality flatbed trailer rated for the weight of your tiny home. Make sure the trailer’s axles and tires are durable enough to handle frequent movement.
- Site Preparation. Clear debris, level the ground, and compact the soil if using a permanent foundation. For mobile bases, reinforce the trailer with cross beams and insulation to prevent structural damage during transport.
Step 2. Framing and Structure
Framing forms the skeleton of your tiny home, supporting all other components.
- Material Choices. Use lightweight yet strong materials like 2×4 lumber or steel studs. These materials are easy to work with while providing structural integrity.
- Utility Planning. During framing, leave designated pathways for electrical wires, plumbing pipes, and HVAC ducts. This foresight prevents costly rework later.
- Roof Design. Opt for a simple gable or shed-style roof to maximize interior space and facilitate rainwater drainage. Ensure the roof pitch is steep enough to prevent snow accumulation in colder climates like Okotoks.
Step 3. Insulation and Weatherproofing
Proper insulation and weatherproofing are essential for energy efficiency and comfort, especially in regions with extreme weather.
- Insulation Options. Spray foam insulation offers superior thermal performance and seals gaps effectively. Fiberglass batts or rigid foam boards are cost-effective alternatives.
- Floor and Ceiling Focus. Pay special attention to insulating the floor (especially over a trailer) and ceiling, as heat loss commonly occurs in these areas.
- Weatherproofing. Seal windows, doors, and joints with caulk or weatherstripping. Apply a vapor barrier to walls and ceilings to prevent moisture buildup and mold growth.
Step 4. Install Utilities
Utilities are the lifeline of your tiny home, providing electricity, water, and climate control.
- Electrical System. Work with a licensed electrician to install a breaker panel, outlets, lighting, and appliances. Include USB ports and smart switches for modern convenience.
- Plumbing Setup. Install a water heater, pipes, drains, and fixtures like sinks, showers, and toilets. Use PEX tubing for flexibility and durability.
- Off-Grid Solutions. For remote locations, consider solar panels, propane heaters, or composting toilets. These systems reduce reliance on municipal utilities and promote sustainability.
Step 5. Finishing Touches
The finishing phase brings your tiny home to life, combining functionality with personal style.
- Interior Design. Choose durable flooring options like luxury vinyl plank (LVP) or cork for longevity and ease of maintenance. Use light colors and reflective surfaces to enhance brightness and spaciousness.
- Cabinetry and Storage. Install custom-built cabinets and shelves to maximize storage. Opt for soft-close hinges and drawer organizers for added convenience.
- Exterior Features. Finish the exterior with durable siding materials like cedar shingles, metal panels, or fiber cement boards. Add trim, shutters, or a porch to enhance curb appeal.
By carefully following these steps, homeowners can build a tiny home that is not only functional and comfortable but also tailored to their unique lifestyle. Each phase plays a vital role in creating a structure that meets both practical needs and aesthetic preferences.
Benefits of Working with Professional Home Builders in Okotoks
When building a tiny home, homeowners often face the decision of whether to tackle the project themselves or hire professional builders. Below is a comparison table highlighting the differences between DIY construction and working with professionals , helping you make an informed choice:
| Aspect | DIY Tiny Home Building | Working with Professional Builders |
| Cost | Lower upfront costs, but potential for unexpected expenses due to mistakes or rework. | Higher initial investment, but cost efficiency through better resource allocation. |
| Time Commitment | Time-intensive; requires significant research, planning, and hands-on work. | Streamlined process with a clear timeline and efficient execution. |
| Expertise | Limited knowledge may lead to errors in design, construction, or compliance with codes. | Skilled craftsmanship and deep understanding of local regulations and building codes. |
| Materials and Tools | Sourcing materials and tools can be challenging and costly without industry connections. | Access to trusted suppliers and specialized equipment ensures quality and savings. |
| Problem-Solving | Challenges like structural issues or utility installations may cause delays or frustration. | Professionals anticipate and resolve issues quickly, minimizing setbacks. |
| Long-Term Value | Potential durability concerns if not built correctly; limited warranty or support options. | Homes are built to last, with warranties and post-construction support for peace of mind. |
| Customization | Full creative control, but may lack technical expertise for optimal functionality. | Custom designs tailored to your needs while balancing aesthetics and practicality. |
Final Thoughts: Turning Your Tiny Home Dream into Reality
Building a tiny home is an exciting journey that combines creativity, planning, and execution. Whether you choose to take the DIY route or collaborate with professional builders, the key to success lies in thoughtful preparation and attention to detail. From designing a functional layout to selecting durable materials, every decision contributes to creating a space that reflects your lifestyle and meets your needs.
By following the steps outlined in this guide – planning, designing, constructing, and considering professional assistance – you can confidently embark on your tiny home project. With dedication and the right resources, your dream of owning a compact, sustainable, and personalized home can become a reality.