A sharp mower blade is the key to a healthy, well-manicured lawn. When a blade becomes dull, it tears the grass rather than cutting it cleanly, leading to brown, ragged edges and increased vulnerability to disease. If you’ve noticed uneven cuts, torn grass, or that your mower requires extra effort to get the job done, it’s time to sharpen the blade. Regular maintenance not only improves cutting performance but also reduces strain on your mower, making the job easier and more efficient.
What You’ll Need
Before getting started, gather the necessary tools. You’ll need a wrench or socket set to remove the lawn mower blades, a sharpening file or bench grinder, safety gloves and goggles, clamps or a vice to hold the blade in place, and a metal brush or rag for cleaning. If the lawn mower blades’ bolts are stuck, a little WD-40 or penetrating oil can help loosen them. A blade balancer is also a useful tool to ensure even sharpening, though it’s not essential.
Step-by-Step Guide to Sharpening a Push Mower Blade
Step 1: Prioritize Safety
Before touching the blade, disconnect the spark plug. This prevents the mower from accidentally starting while you’re working. Always wear safety gloves and goggles to protect yourself from sharp edges and flying debris.
Step 2: Remove the Blade
Turn the mower onto its side, making sure the air filter faces up to prevent fuel from leaking. Use a wrench to loosen the bolt holding the blade in place. If the bolt is stubborn, a spritz of penetrating oil can make it easier to remove. Take note of how the blade is positioned so you can reinstall it correctly.
Step 3: Clean the Blade
Dirt, grass buildup, and rust can accumulate over time, so it’s important to clean the blade before sharpening. A metal brush or rag can help remove debris, making it easier to work with.
Step 4: Sharpen the Blade
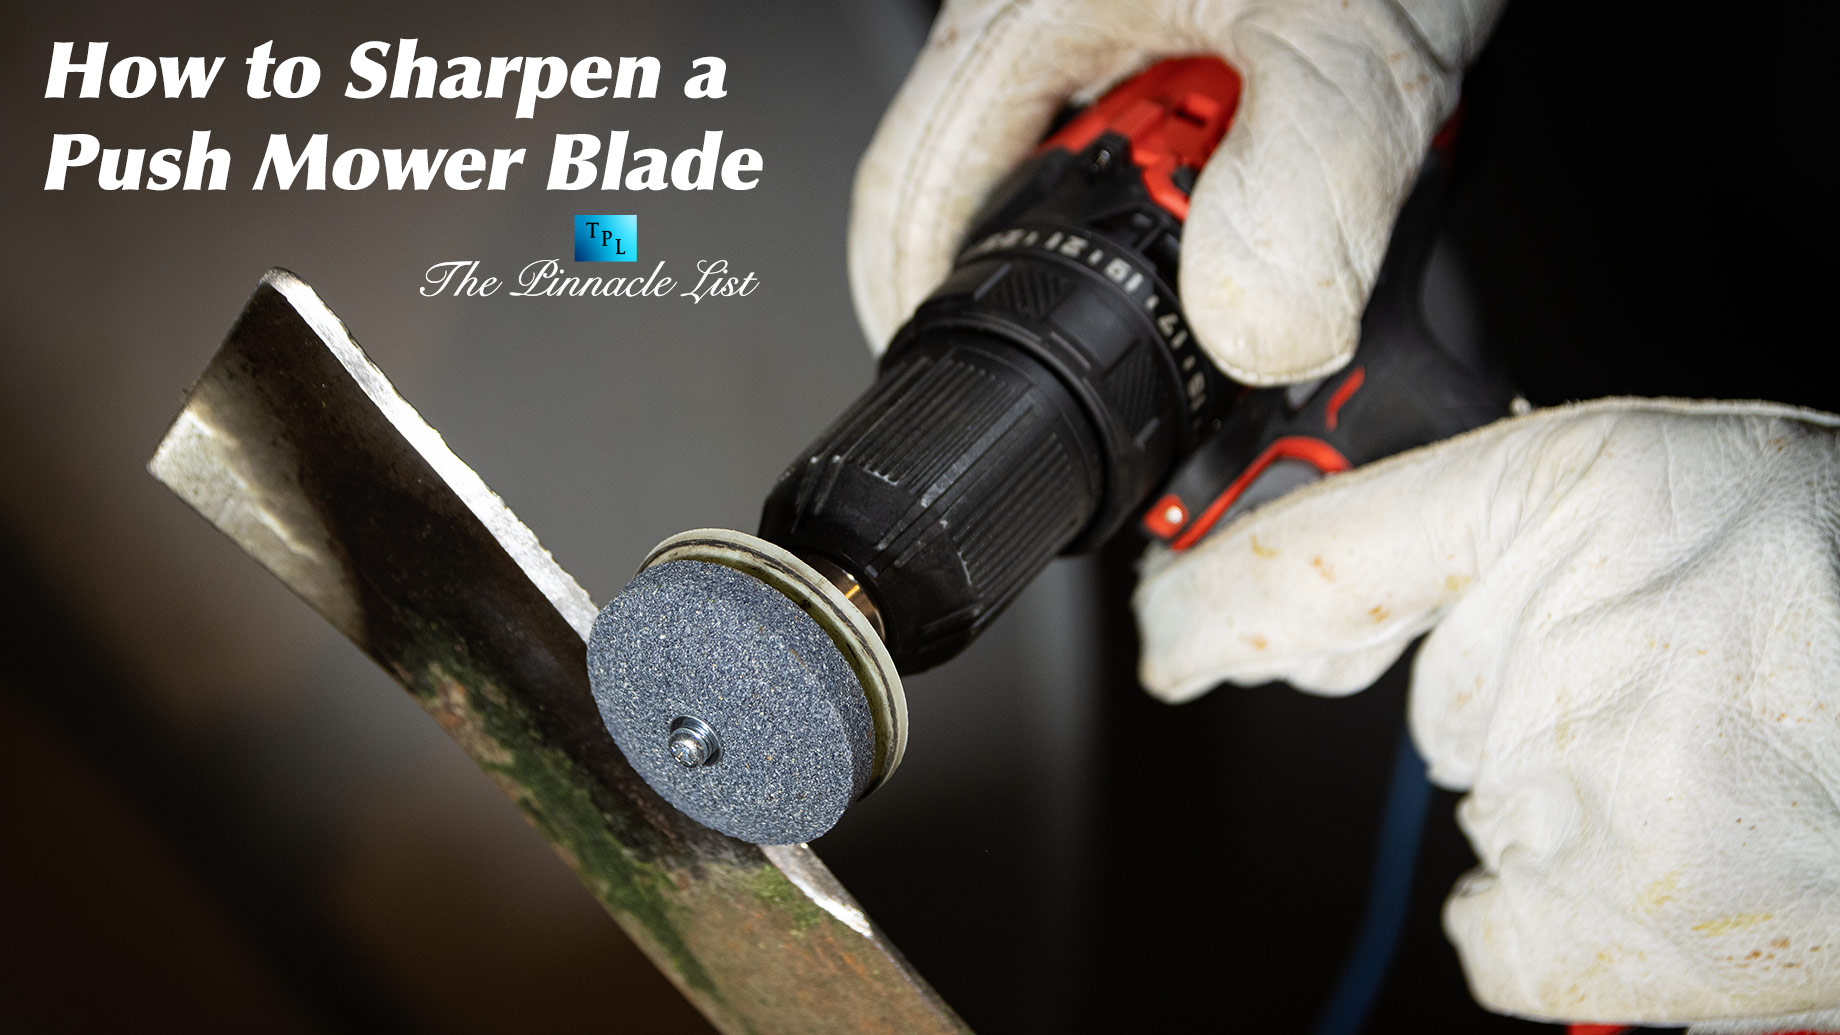
Secure the blade in a vice or clamp to keep it steady. Using a sharpening file or a bench grinder, follow the original bevel of the blade, which is usually set between 30 and 45 degrees. Make smooth, even strokes from the center outward, ensuring that you don’t remove too much metal at once. Both edges should be sharpened evenly to maintain balance.
Step 5: Check for Balance
An unbalanced blade can cause vibration and uneven mowing, leading to further damage. To check the balance, place the blade on a blade balancer or suspend it on a nail. If one side dips lower than the other, remove a small amount of metal from that side until the blade remains level.
Step 6: Reinstall the Blade
Once the blade is sharp and balanced, place it back onto the mower in the same orientation as before. Tighten the bolt securely, but avoid overtightening, as this could make removal difficult the next time you need to sharpen it.
Step 7: Test the Mower
Reconnect the spark plug and start the mower. Listen for smooth operation and check how it cuts the grass. A sharp blade should glide through the grass cleanly, making mowing quicker and more effective.
Tips for Keeping Your Blade in Top Shape
To maintain peak performance, sharpen your mower blade every 20 to 25 hours of mowing or at least once per season. Avoid mowing over rocks, sticks, or other hard objects that could damage the blade. When not in use, store your mower in a dry place to prevent rust and corrosion.
Final Thoughts
A sharp mower blade is essential for achieving a well-groomed lawn with less effort. Regular sharpening not only enhances the efficiency of your push mower but also keeps your grass healthier by providing clean, precise cuts. With a little routine maintenance, your mower will be in top condition all season long.