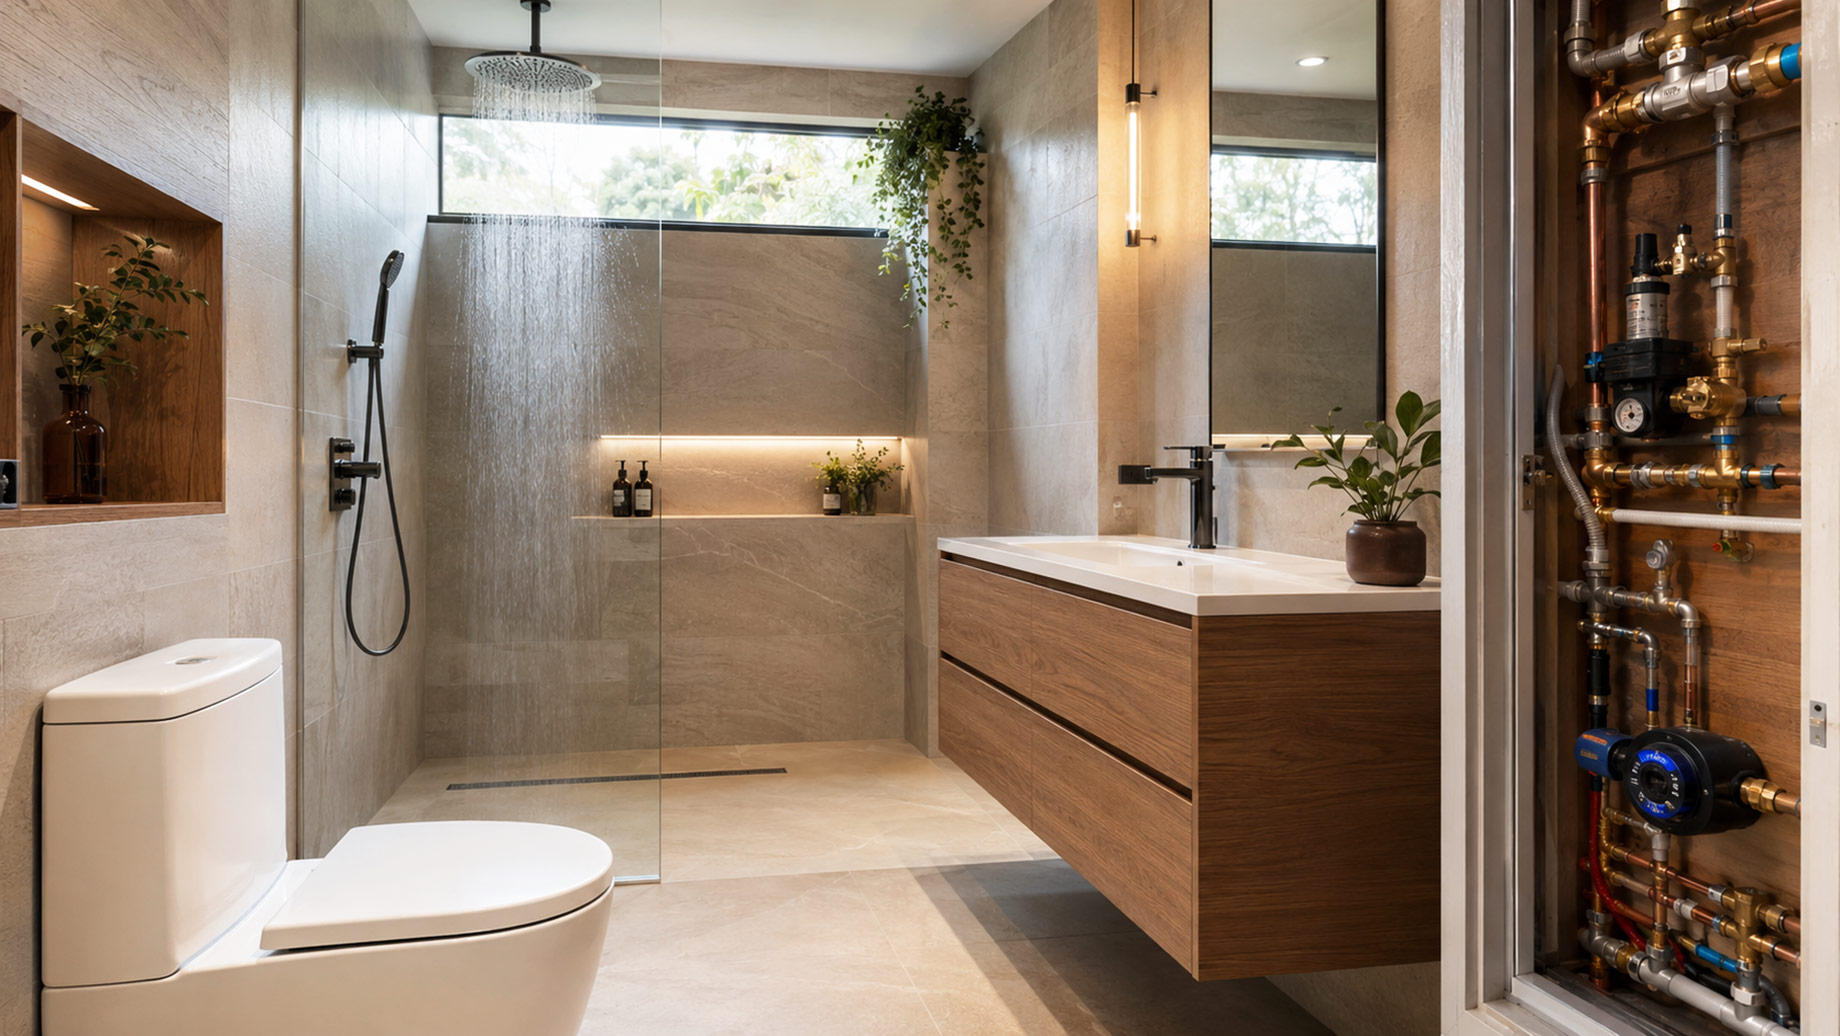
A bathroom renovation is a good time to reduce water and hot-water use. However, installing low-flow fixtures without checking pressure, pipe condition, and actual consumption can create disappointing showers.
A successful plan combines measurement, plumbing assessment, fixture trials, and post-installation verification.
Establish Current Use
Record water consumption before work begins. Where possible, separate bathroom use from irrigation, kitchens, or other large demands.
Modern smart water meter solutions can provide more frequent readings and help identify continuous flow or changes after renovation.
Use several weeks of data. Note occupancy, weekends, guests, and seasonal differences.
Check for Existing Leaks
Repair leaking toilets, taps, valves, and hidden pipes before estimating fixture savings.
Test quiet-period flow when known equipment is off. Continued use may indicate a leak.
Inspect damp walls, failed seals, and pressure that changes unexpectedly. A new shower head cannot compensate for water lost elsewhere.
Measure Pressure
Check static and working pressure at representative times. Measure while other fixtures operate.
Low pressure may come from blocked strainers, old pipework, undersized lines, or regulator settings. Excess pressure increases flow and stress on fittings.
Use a qualified plumbing professional where adjustment or pipe changes are needed.
Select Shower Performance, Not Only Flow
Guest or household satisfaction depends on spray coverage, droplet size, pressure, temperature stability, and rinsing.
A water-saving shower head may combine controlled flow with multiple spray modes or a pause function.
The correct model must still perform at the available pressure and comply with local rules.
Run a Trial
Install one or two sample fixtures before purchasing for every bathroom.
Measure actual flow and ask users about:
- Rinsing
- Coverage
- Handle comfort
- Mode changes
- Hose reach
- Noise
- Ease of cleaning
Check for leaks, blocked nozzles, or scale after several weeks.
Coordinate Hot-Water Capacity
Lower shower flow can extend available hot water, but changes in valves or heaters can affect temperature stability.
Check heater output, storage, pipe length, recirculation, and thermostatic controls.
Avoid creating long waits that waste water before it becomes hot. Insulation or recirculation improvements may be part of the renovation.
Review Other Fixtures
Taps and toilets also influence bathroom demand. Select appropriate aerators, dual-flush or efficient toilets, and valves that close reliably.
Accessibility and user needs should guide fixture height, controls, and handles.
Do not reduce flow below the level needed for hygiene and cleaning.
Check Valve and Fixture Compatibility
A new shower head does not operate alone. Mixing valves, diverters, hoses, filters, and flow controls influence performance.
Confirm that the valve can regulate temperature at the lower design flow. Older valves may need service or replacement when pressure balance is poor.
Check threads, seals, hose length, wall outlets, and mounting height before ordering. Accessible bathrooms may require different controls and reach.
Use approved backflow protection where required.
Plan Drainage and Waterproofing
Water efficiency does not remove the need for good drainage. Verify floor slope, shower enclosure, joints, and waterproofing.
A handheld shower can direct water toward areas a fixed head did not reach. Test the complete enclosure.
Keep access to valves, filters, and meters for future maintenance.
Calculate Savings
Estimate:
- Reduced liters per shower
- Average showers per day
- Water tariff
- Sewer tariff
- Hot-water energy
- Installation cost
- Maintenance
Use realistic behavior and occupancy. A longer shower can reduce expected savings.
Run conservative and expected scenarios rather than promising one exact payback.
Commission the Renovation
After installation:
- Check for leaks.
- Measure flow.
- Test pressure with simultaneous use.
- Confirm temperature stability.
- Inspect drainage.
- Verify meter readings.
- Provide cleaning guidance.
Record fixture models and spare parts.
Control Installation Quality
Provide installers with drawings, torque guidance, sealing method, and approved components. Do not use excessive thread tape or sealant that can enter the water path.
Protect decorative finishes during construction. Flush pipework before fitting small strainers or flow-control parts.
Inspect a sample of completed rooms rather than waiting for complaints. Record defects by installer and fixture model so training can be improved.
Monitor the Result
Compare water use with the baseline while adjusting for occupancy and season.
Look for abnormal continuous flow. A renovation can reveal or create problems in valves and connections.
Collect user feedback and correct pressure or maintenance issues early.
Make Efficient Use Easy
Clear controls help users reach a comfortable temperature without wasting water. A pause function should be easy to understand and should not create an unsafe temperature change when flow resumes.
Avoid signs that blame users. The renovation should deliver efficiency through good design and maintenance.
For shared buildings, give cleaning and maintenance staff simple reporting instructions for leaks, low pressure, and damaged hoses.
Maintain Performance
Clean nozzles and strainers using approved methods. Mineral scale can change spray and flow.
Keep washers, hoses, and common parts available. Replace leaking components quickly.
Review the smart meter dashboard or readings regularly instead of only during billing.
Document the Final Settings
At handover, record supply pressure, hot-water temperature, fixture model, rated flow, valve settings, and the final meter reading. Give the owner a simple schedule for cleaning aerators, checking flexible hoses, and investigating unexpected consumption. This small record provides a reliable baseline when performance changes later.
Conclusion
A water-efficient bathroom renovation works best when metering, pressure, hot-water delivery, fixtures, and drainage are planned together.
Build a baseline, repair leaks, trial shower performance, and measure the result. This approach reduces water and energy use without turning efficiency into a poor daily experience.