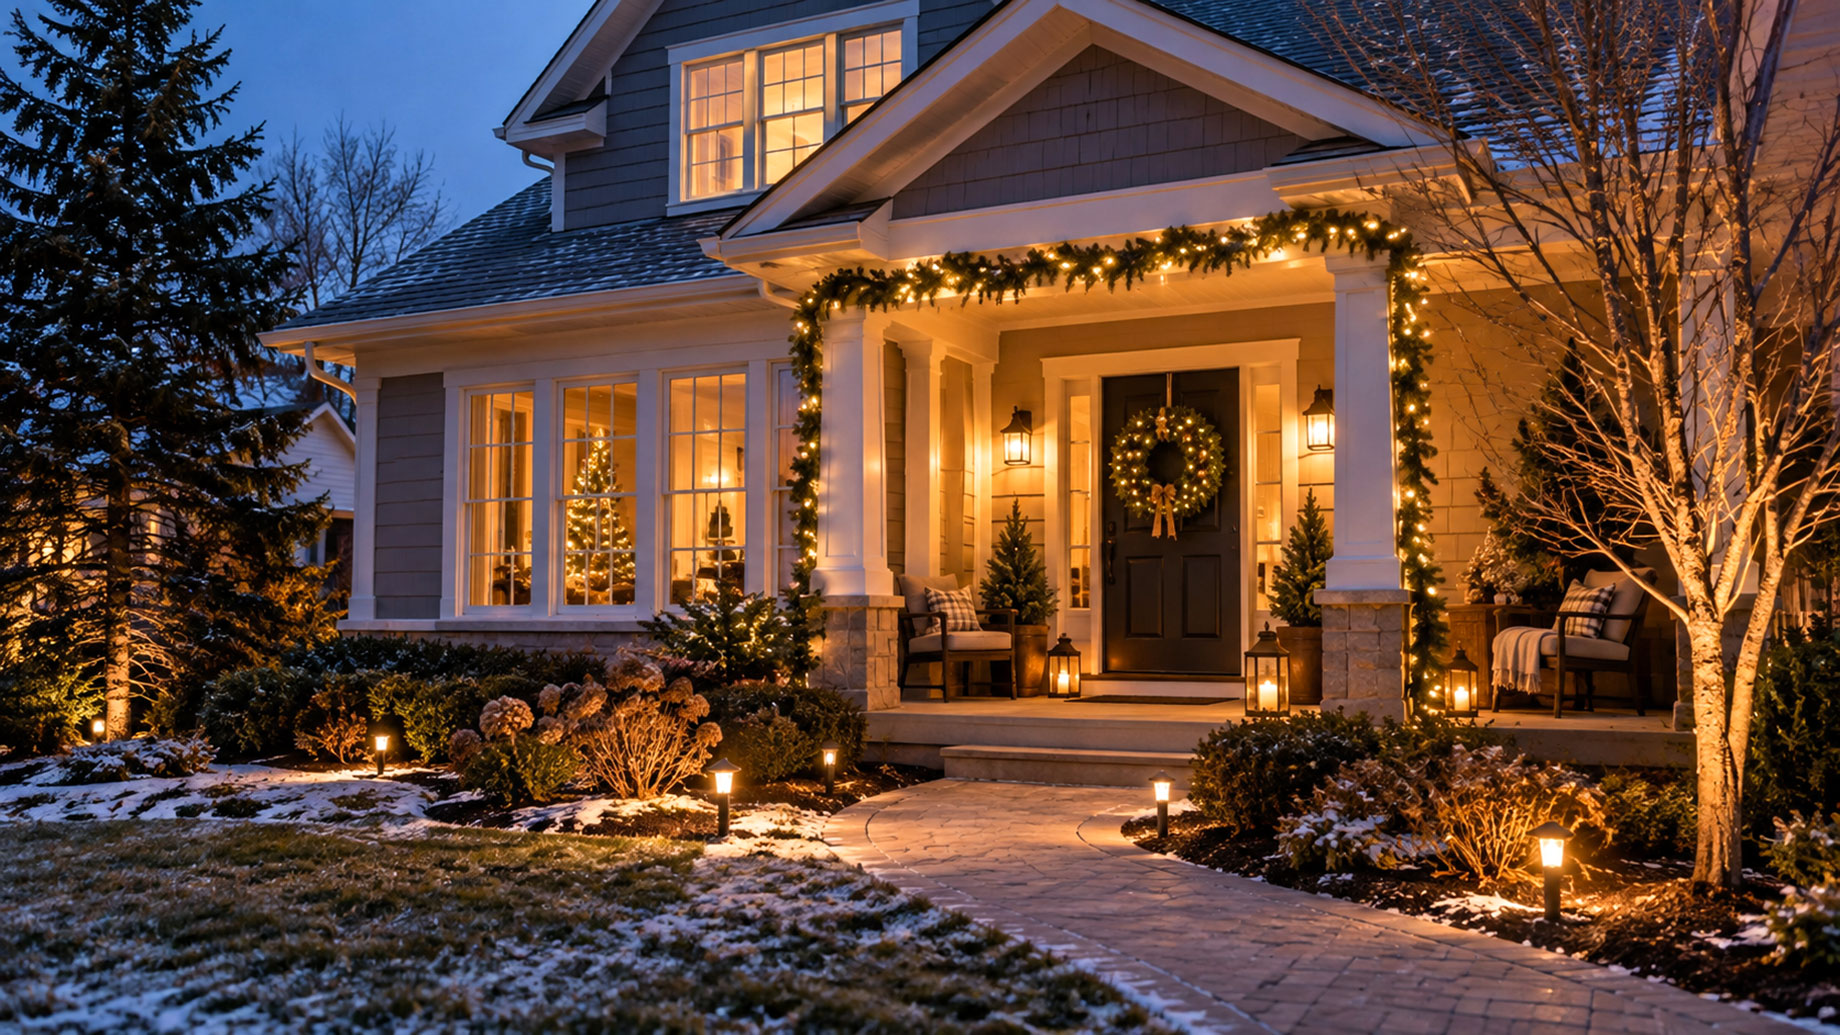
Buying a home in spring or summer feels great until the first cold snap arrives. Suddenly you’re facing your first holiday season after moving, and you realize you don’t yet know how the house behaves in December. Where do the drafts come in? Which outlets work outside? Where will everyone sit for dinner? These are normal questions, and the families who answer them before Thanksgiving week have a far easier time than those who don’t. This guide walks through practical steps, from winterizing your property to decorating the exterior for the first time, so your first holidays in the new place feel warm, welcoming, and stress-free rather than chaotic.
Learn How Your New Home Performs in Cold Weather
Your home behaves differently in winter than it did the day you toured it in July. Warm months hide drafts, weak insulation, and heating quirks that only show up once temperatures drop. Most new owners don’t discover these problems until they’re already cold.
Start with the HVAC system (heating, ventilation, and air conditioning). Locate the furnace, note its age, and replace the air filter before you run the heat daily. A clean filter improves airflow, reduces strain on the motor, and lowers energy bills. If the furnace is more than fifteen years old, ask an HVAC technician to inspect it before winter. An older system that works fine in mild weather can struggle when it runs for hours at a time.
Next, hunt for drafts. Walk each room on a cold evening and feel around windows, doors, and outlets for cool air. A stick of incense held near a frame works better than your hand because the smoke reveals airflow that skin can’t feel. Common trouble spots include:
- Older window frames and single-pane glass
- Exterior doors without proper seals or thresholds
- Attic hatches and pull-down stairs
- Recessed lighting fixtures that open into unconditioned space
- Electrical outlets on exterior walls
Apply weatherstripping to doors and windows where you feel air moving. Door sweeps seal the gap at the bottom of exterior doors and are cheap enough to put on every door in an afternoon. These are inexpensive fixes that add up to a real difference in comfort.
Consider a smart thermostat like a Nest or Ecobee. These devices learn your schedule and let you adjust the temperature from your phone, which is especially useful when you’re hosting guests or traveling during the holidays. A consistent temperature setting also prevents the stress that pipes experience when a house gets very cold overnight. Schedule a professional HVAC inspection before the first hard freeze to confirm the system is safe and efficient and to catch problems before they turn into emergencies.
Organize Storage for Your Holiday Décor
Holiday décor needs a home before the boxes ever arrive. A new house means new storage spots, and figuring them out now saves you from digging through unlabeled bins in December when time is short and patience is thinner.
Walk your garage, basement, attic, and closets to map available space. Pay attention to temperature and humidity. Cold, damp areas can damage delicate ornaments, electrical components, and fabric items, so choose the driest spots for anything fragile. An uninsulated garage in a cold climate is a poor choice for anything with moving parts or liquid-filled ornaments.
Use these steps to set up simple, lasting storage:
- Sort by category. Group lights, ornaments, wreaths, and table settings separately so you can pull one category without disturbing the rest.
- Choose sealed bins. Clear, lidded containers keep out dust and moisture and let you see the contents from across the room.
- Label every box. Write the contents on two sides so you can read the label from any angle, even when bins are stacked.
- Store lights on reels. Wrapping string lights around a plastic spool or a piece of cardboard prevents the tangles that ruin a long afternoon.
- Keep an inventory list. A quick note on your phone tells you exactly what you own before you head to the store, which stops you from buying duplicates.
This is also the right moment to decide what to keep from your old place. Décor that suited an apartment may not fit a larger home or a different layout. Measure your dining table, mantel, and front porch before you shop, then build a simple new homeowner holiday checklist that reflects the actual spaces you’re working with. A list written against real dimensions makes your first shopping trip far more efficient.
Check Exterior Outlets and Electrical Capacity
Outdoor decorating depends on power you may not have tested yet. Before you plan a single strand of lights, confirm your exterior outlets work and can handle the load you have in mind.
Locate every outdoor outlet on the property. Most homes have them near the front door, in the garage, and around the patio or deck, but placement varies and some may be tucked behind shrubs or in spots you haven’t noticed yet. Walk the perimeter of the house and check both sides. If your display needs power at a corner or a tree far from the house, plan for outdoor-rated extension cords rated for the wattage you’ll draw.
Check that outdoor outlets are GFCI outlets (ground fault circuit interrupter), the type with “Test” and “Reset” buttons built into the face. GFCI outlets cut power instantly when they detect moisture or a fault in the circuit, which protects anyone nearby from shock in wet winter conditions. Press the Test button on each one to confirm it trips, then press Reset to restore power. If a button feels stuck or the outlet doesn’t respond correctly, have it inspected before the season.
Then think about capacity. LED string lights draw far less power than older incandescent strands, sometimes as little as one-tenth the wattage, so switching to LEDs lets you run more lights on a single circuit without tripping breakers. Still, avoid overloading any single outlet by stacking multiple extension cords and power strips into one plug.
If an outlet doesn’t work, feels warm, or lacks GFCI protection, call a licensed electrician before the season starts. Adding an outlet or upgrading an existing circuit is a straightforward job for a professional, and it’s far easier to schedule in October than on December 20th. Knowing your electrical limits before you plan the display is a core part of preparing home for winter after moving.
Get to Know Your Neighborhood Holiday Traditions
Every neighborhood celebrates a little differently, and learning the local rhythm quickly helps you feel settled and connected. Some streets host luminary nights, cookie exchanges, or coordinated decorating themes that newcomers love to join once they know about them.
Start by simply asking. A friendly conversation with a neighbor while you’re checking the mail often reveals traditions you’d never find on a website. You can also check community boards, HOA newsletters, Nextdoor, and local Facebook groups for event calendars. Many neighborhoods post these well before Thanksgiving, so start looking in early fall.
Look for common holiday customs in the area:
- Neighborhood light tours or decorating contests with friendly judging
- Coordinated luminary nights where every house puts bags along the curb
- Shared drive-through or walk-through displays with a schedule
- Charity drives, food collections, and toy drops organized by neighbors
- Block parties or casual holiday open houses
Joining in, even in a small way, is one of the most effective strategies for feeling at home during your first holiday season after moving. Bringing a plate of cookies to the luminaries night or simply leaving your porch light on during a neighborhood walk builds connections faster than most social efforts.
Match your own decorating to the street’s general scale, then add your family’s personal touch. If the street runs warm white lights, an all-red display will feel out of place. If neighbors go all-out with inflatables, a single wreath may look underwhelming. Observe first, then decide where you want to land. You’ll fit into the community without losing what makes your home distinctly yours.
Prepare Your Entertaining Spaces Indoors
Holiday entertaining in a new home works best when you plan the flow of a gathering before guests arrive. A house you’ve lived in for only a few months still holds surprises: a room that seems large empties faster than you think when eight people are standing in it, and kitchens that work fine for two can feel tight for six.
Walk through a typical gathering in your head, from arrival to dessert. Where will coats go? Where will people gather while the main course finishes? Is there a clear path from the kitchen to the dining area that doesn’t require guests to squeeze past whoever is plating food? Answering these questions early prevents the crowding and bottlenecks that frustrate hosts on the actual day.
Focus your prep on the spaces guests will actually use:
- Set the dining area. Confirm your table seats everyone you’re inviting and add a leaf or a folding table if needed. Measure before you assume.
- Create a drink station. Placing drinks, glasses, and ice away from the main cooking zone keeps traffic moving and takes pressure off the kitchen.
- Add warm lighting. Lamps, string lights along a mantel, and candles feel cozier than bright overhead lighting in winter and make any room more inviting.
- Clear a coat spot. A designated closet with extra hangers, or a simple coat rack near the door, keeps entryways clear and prevents the coat-pile-on-the-bed situation.
- Test your heating balance. Rooms full of people warm up fast. Know which vents to adjust or which rooms to leave slightly cooler so guests aren’t uncomfortable by mid-evening.
Comfort details make a lasting impression. Extra seating options, a few throws on the sofa, and a working fireplace or space heater positioned safely away from foot traffic all make cold-weather gatherings feel genuinely special. Consider hosting a casual friend dinner a few weeks before your main holiday event as a low-stakes trial run. It shows you exactly what the space needs, from serving layout to parking, before you’re managing a full guest list.
Plan Your Outdoor Holiday Decorating and Christmas Lights
Outdoor holiday decorating in a new home starts with observation, not a shopping cart. Because you’re seeing the property in winter light for the first time, spend a few evenings simply looking before you plan anything.
Stand across the street after dark and study your home’s shape. Note the rooflines, columns, front door surround, walkway edges, and mature trees that would look striking with light. Think about what draws the eye and what gets lost in shadow. Then decide how far you want to go this first year. Many new homeowners keep the first season modest, learn the property, and expand their display in subsequent years as they understand what works best.
Several practical factors should shape your plan before you spend anything:
- Roof height and pitch. Steep rooflines or two-story sections make DIY installation genuinely risky, especially in cold or wet conditions.
- Power access. Match the scope of your display to the exterior outlets and circuit capacity you already confirmed.
- Light type. Commercial-grade LED string lights last longer, stay cool to the touch, and cost significantly less to run than older incandescent strands.
- Time. Installation and takedown both take longer than people expect, particularly when you’re working on a home for the first time and discovering the quirks of the roofline as you go.
Safety is the single factor that should override everything else. Ladder injuries during holiday decorating send thousands of people to emergency rooms every year, with most incidents involving rooflines, gutters, and second-story work. Many families who moved into larger homes choose professional installation specifically because the risk-to-benefit calculation changes when the roof is steep or the trees are tall. Companies that specialize in holiday lighting handle the design conversation, the installation, any mid-season bulb issues, and the takedown and storage, so the display looks exactly as planned without anyone climbing in the cold. For families in the Augusta area, residential christmas light installation Grovetown GA is a professional option worth reviewing for a first-year setup on a new property.
Whether you install yourself or work with a professional crew, keep the design consistent. Choose one color palette, secure all cords away from walkways where they could become a trip hazard, and use outdoor-rated plastic clips rather than nails or staples that can crack plastic casing and damage roofing material. Start with the front face of the house where the impact is highest, then expand to trees and landscaping once the primary display is working correctly.
Build a Simple Home Winterization Routine
Winterizing your property protects your comfort, your systems, and your investment. A short seasonal checklist run through every fall catches small problems before they become expensive emergency calls in January, which is exactly the wrong time to need a plumber or a roofer.
Cold weather stresses systems that summer and fall never tested. Pipes freeze in crawl spaces and exterior walls. Gutters clogged with leaves back up behind ice dams that push water under shingles. Roofing that looked fine in October can show its weaknesses after the first heavy frost. A new owner rarely knows a home’s weak points yet, so a methodical check is more important now than it will be in any subsequent year.
Work through these home winterization tips before the first hard freeze:
- Clean the gutters. Clogged gutters cause ice dams, and ice dams cause interior water damage. Hire a gutter service if the roof pitch makes the job unsafe.
- Insulate exposed pipes. Foam pipe sleeves are inexpensive and take an hour to install in garages, basements, crawl spaces, and any cabinet on an exterior wall.
- Seal gaps and cracks. Apply exterior caulk around window frames, door frames, and any penetration where utilities enter the house.
- Reverse ceiling fans. Running blades clockwise at low speed pushes warm air that has risen to the ceiling back down into the room, reducing heating costs.
- Locate your water shutoff. Knowing exactly where the main shutoff is and confirming it operates correctly is a detail that saves significant damage during a burst-pipe emergency.
- Test smoke and carbon monoxide detectors. Heating season raises CO risk because furnaces, fireplaces, and space heaters run more frequently. Replace batteries and test every unit.
- Inspect the fireplace. If you have a wood-burning fireplace, have the chimney swept before the first fire of the season. Creosote buildup is a fire hazard that inspectors find regularly in homes that haven’t been used for a season or two.
Keep a running log of what you check each October. After two or three cycles, you’ll know exactly where your home loses heat, which gutters fill fastest, and which pipes get coldest. That knowledge makes every subsequent winter faster to manage. Book professional inspections, whether for the furnace, chimney, or plumbing, in early fall before technicians fill their schedules with emergency work.
Conclusion
Your first holiday season after moving is genuinely an opportunity to learn your home and make it feel like yours. Start by understanding how the house handles cold weather, set up organized storage for décor, and confirm your exterior outlets and GFCI protection before a single light goes up. Get to know neighborhood traditions, prepare your indoor entertaining spaces around how guests actually move through a room, and plan outdoor decorating with both safety and your property’s real dimensions in mind. A simple winterization routine, run through before the first freeze, protects your investment and prevents the kind of emergency that ruins a holiday week. Take these steps one section at a time and your new house will feel warm, welcoming, and genuinely ready well before the season arrives.