You’ve hauled your garden chairs into the shed, but moisture still sneaks in, warping slats and rusting bolts. Before another rainy front rolls through, you might wonder how to seal gaps, tame condensation, and keep timber from turning grey.
Figuring out how to weatherproof a shed sets the groundwork, yet here you’ll focus on simple tweaks— from smart ventilation to savvy sealants— that guard both furniture and fixtures all year long.
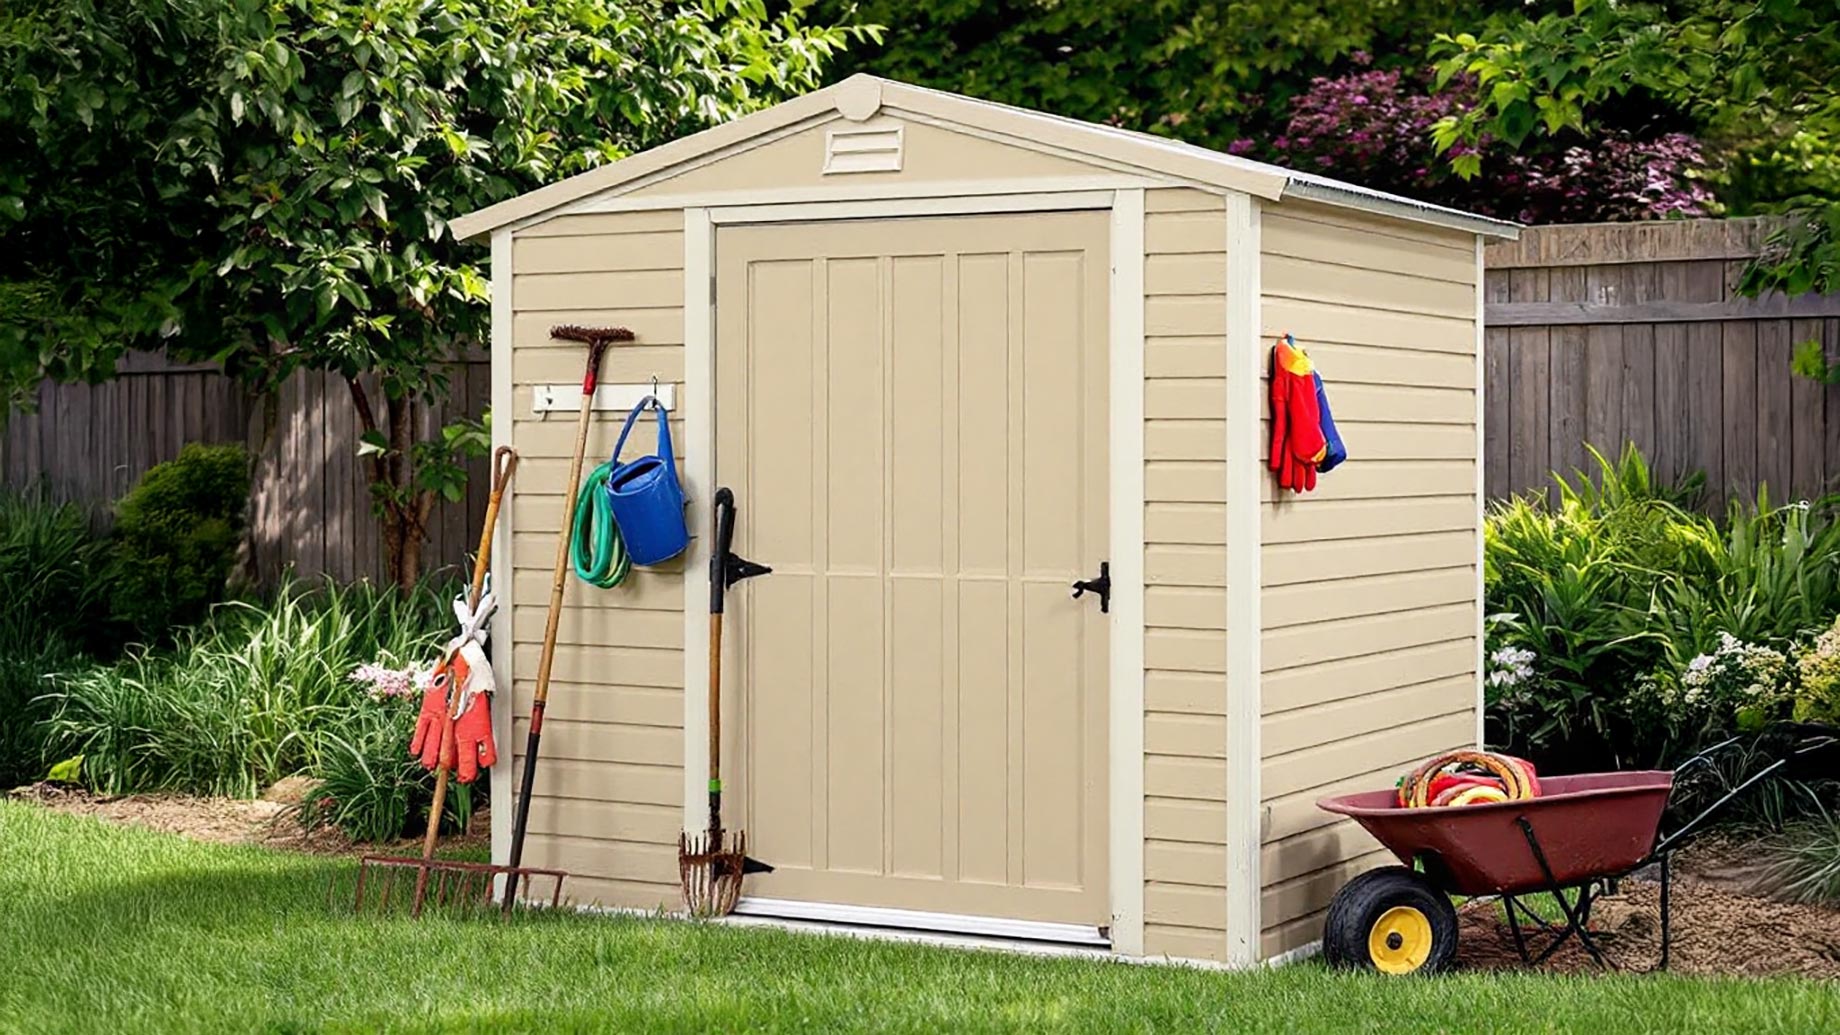
Assess Shed Vulnerabilities
Before weatherproofing begins, take fifteen quiet minutes to study the shed from roof peak to foundation, noting every crack, stain, and spot where daylight sneaks inside.
- Check structural panels for rot, rust, or warping because weakened siding invites both storms and opportunistic thieves in equal measure.
- Inspect locks and hinges by tugging hard; loose hardware is a flashing neon sign for burglars and lets gusty rain swirl indoors.
- Examine window seals for brittle caulk, cracked panes, or missing glazing that will channel water onto stored cushions and wooden benches.
- Review lighting placement since dark corners outside encourage vandalism while also masking roof leaks until costly damage appears.
Finish the walk-around by photographing every flaw; those images become a repair checklist and baseline record for next year’s comparison (source).
Selecting Insulation Materials
A snug shed begins with smart insulation choices that balance budget, climate, and planned use, whether occasional storage or a backyard studio humming through winter.
Understand R-values
Higher R-values resist heat flow better, so colder regions benefit from thicker materials like polyiso while milder zones can settle for fiberglass batts.
Compare common options
Spray foam excels at sealing gaps, fiberglass remains affordable and easy, while mineral wool adds fire resistance yet requires moisture protection behind membranes.
Factor in installation skill
Pre-cut rigid boards slot neatly for confident DIYers, whereas two-part spray foam demands goggles, coveralls, and steady technique to avoid expensive over-expansion.
Account for future wiring
Leave shallow service channels or conduit runs before insulating so additional outlets, smart sensors, or ethernet lines won’t require destructive wall surgery later.
Installing Rigid Foam Boards
Rigid foam delivers impressive R-value per inch, transforming thin shed walls into energy-saving barriers when installed tightly and sealed at every joint.
- Measure twice between studs and rafters, subtracting a hair’s width so panels press firmly without bowing structural members.
- Score and snap boards with a utility knife against a straightedge, producing clean edges that mate flush and limit air leakage paths.
- Glue or screw panels in place using foam-safe adhesive or washered screws, ensuring they remain flat while temperature shifts occur.
- Tape seams with foil-backed sheathing tape; continuous metallic surface doubles as a radiant barrier and moisture block.
When the last gap is foamed, enjoy steadier temperatures that safeguard varnished tabletops, leather cushions, and battery packs all year long.
Applying Spray Foam Coating
Closed-cell spray foam coats studs, sheathing, and tricky corners in one seamless layer, delivering insulation, air sealing, and surprising structural rigidity simultaneously.
Select the right kit
Choose closed-cell formulations rated for outdoor outbuildings, providing roughly R-6.5 per inch plus a moisture barrier that blocks wind-driven rain infiltration.
Prep like a pro
Empty the shed, mask windows with plastic, and stage ventilation fans because overspray clings aggressively to glass, tools, and unsuspecting pets.
Spray in lifts
Apply foam in one-inch passes, letting it cure before adding thickness; this prevents excessive heat buildup and ensures full expansion against studs.
Trim and finish
Once cured, shave proud foam flush with studs using a pull saw, then cover with plywood, drywall, or paintable panels for a polished workspace.
Sealing Doors And Windows
Even perfect insulation fails if door sweeps leak or window joints whistle, so create airtight boundaries that shrug off downpours and winter drafts.
- Remove tired caulk using a plastic scraper and rubbing alcohol, exposing clean surfaces ready for premium exterior silicone application.
- Backfill large gaps with low-expansion spray foam, then skin over with sealant to accommodate seasonal movement without cracking.
- Upgrade weatherstripping around jambs; choose EPDM or magnetic strips that stay flexible below freezing and compress evenly when latched.
- Add drip caps above trim to redirect roof runoff and stop wind-driven rain from soaking frame joints.
Finish by adjusting hinges so doors close squarely; compression should be even, requiring gentle effort yet locking moisture and insects firmly outside.
Moisture Barriers And Ventilation
Balance is everything: block ground and rain moisture while allowing trapped humidity to escape, preventing moldy insulation and warped plywood shelves inside.
Install ground vapor barrier
Lay reinforced polyethylene across the entire floor footprint, overlapping seams twelve inches and taping edges to posts before decking or flooring goes down.
Add soffit and ridge vents
Passive airflow rises naturally, flushing moist air out the ridge while cooler, drier air sneaks in through screened soffit slots free of pests.
Consider gable fans
Solar-powered fans kick on automatically during humid afternoons, cutting condensation on metal tool handles and protecting cardboard storage boxes.
Monitor humidity
Hang a digital hygrometer; if readings hover above sixty percent, open windows or deploy a desiccant bucket to maintain a healthy interior climate.
Protecting Outdoor Furniture
Your teak benches and wicker loungers deserve spa-level care, so shield them from UV, rain, and winter freeze to avoid annual replacement costs.
- Choose resilient materials like powder-coated aluminum or naturally oily teak that shrug off moisture and sun better than pine or untreated steel.
- Apply penetrating sealers every spring, soaking end grain and undersides where water lingers longest after a shower or morning dew.
- Elevate legs on rubber pads, preventing wicking from damp floors and reducing insect attack through capillary action into vulnerable wood fibers.
- Use breathable covers made from solution-dyed polyester; they repel water yet vent humidity, stopping mildew blooms under stagnant tarps.
Rotate cushions, brush off leaves weekly, and the patio set will remain party-ready long after neighbors haul theirs to the curb.
Treating Wooden Fixtures
Regular treatments keep fascia boards, shelving, and tool racks gleaming while resisting fungal decay, sun bleaching, and splitting during temperature swings.
Time your treatments
Plan staining or oiling sessions every twelve to eighteen months, preferably after three dry days, so preservative penetrates deeply before another storm approaches.
Select compatible products
Wax-free preservatives accept paint or stain later, while teak oil enriches dense hardwoods and water-based stains suit fast-growing softwoods like pine.
Spot early warning signs
Greyed colour, hairline cracks, or rough fibers indicate UV and moisture damage; intervene promptly to avoid costly sanding or complete board replacement.
Apply correctly
Brush with grain, flood ends, and wipe excess after fifteen minutes; multiple thin coats outperform one gloopy layer that skins over and traps moisture.
Maintenance Checks And Upgrades
Weatherproofing isn’t one-and-done; establish an annual ritual that catches minor issues early, extends shed lifespan, and protects everything stored inside.
Create a calendar
Mark spring for roof inspections, summer for ventilation tweaks, autumn for door seal checks, and winter for snow load monitoring plus interior decluttering.
Record findings
Log humidity averages, leak locations, and part numbers for replacement hardware so next season’s shopping trip becomes quick, accurate, and inexpensive.
Upgrade strategically
Add guttering, solar lighting, or a smart sensor that pings your phone when temperatures drop below freezing, reminding you to drain water lines.
Celebrate successes
Each maintenance round prevents emergencies, saving weekends for barbecues rather than frantic repairs, and preserving your investment for future outdoor adventures.
Weatherproof Wisdom
Consistent vigilance keeps your shed and its contents safe. Inspect seals after storms, clear vents quarterly, and recoat exposed timber whenever water no longer beads. Store cushions off the floor and dry them fast to deter mildew. If rugs line the aisle, rug cleaning prevents dirt trapping dampness.