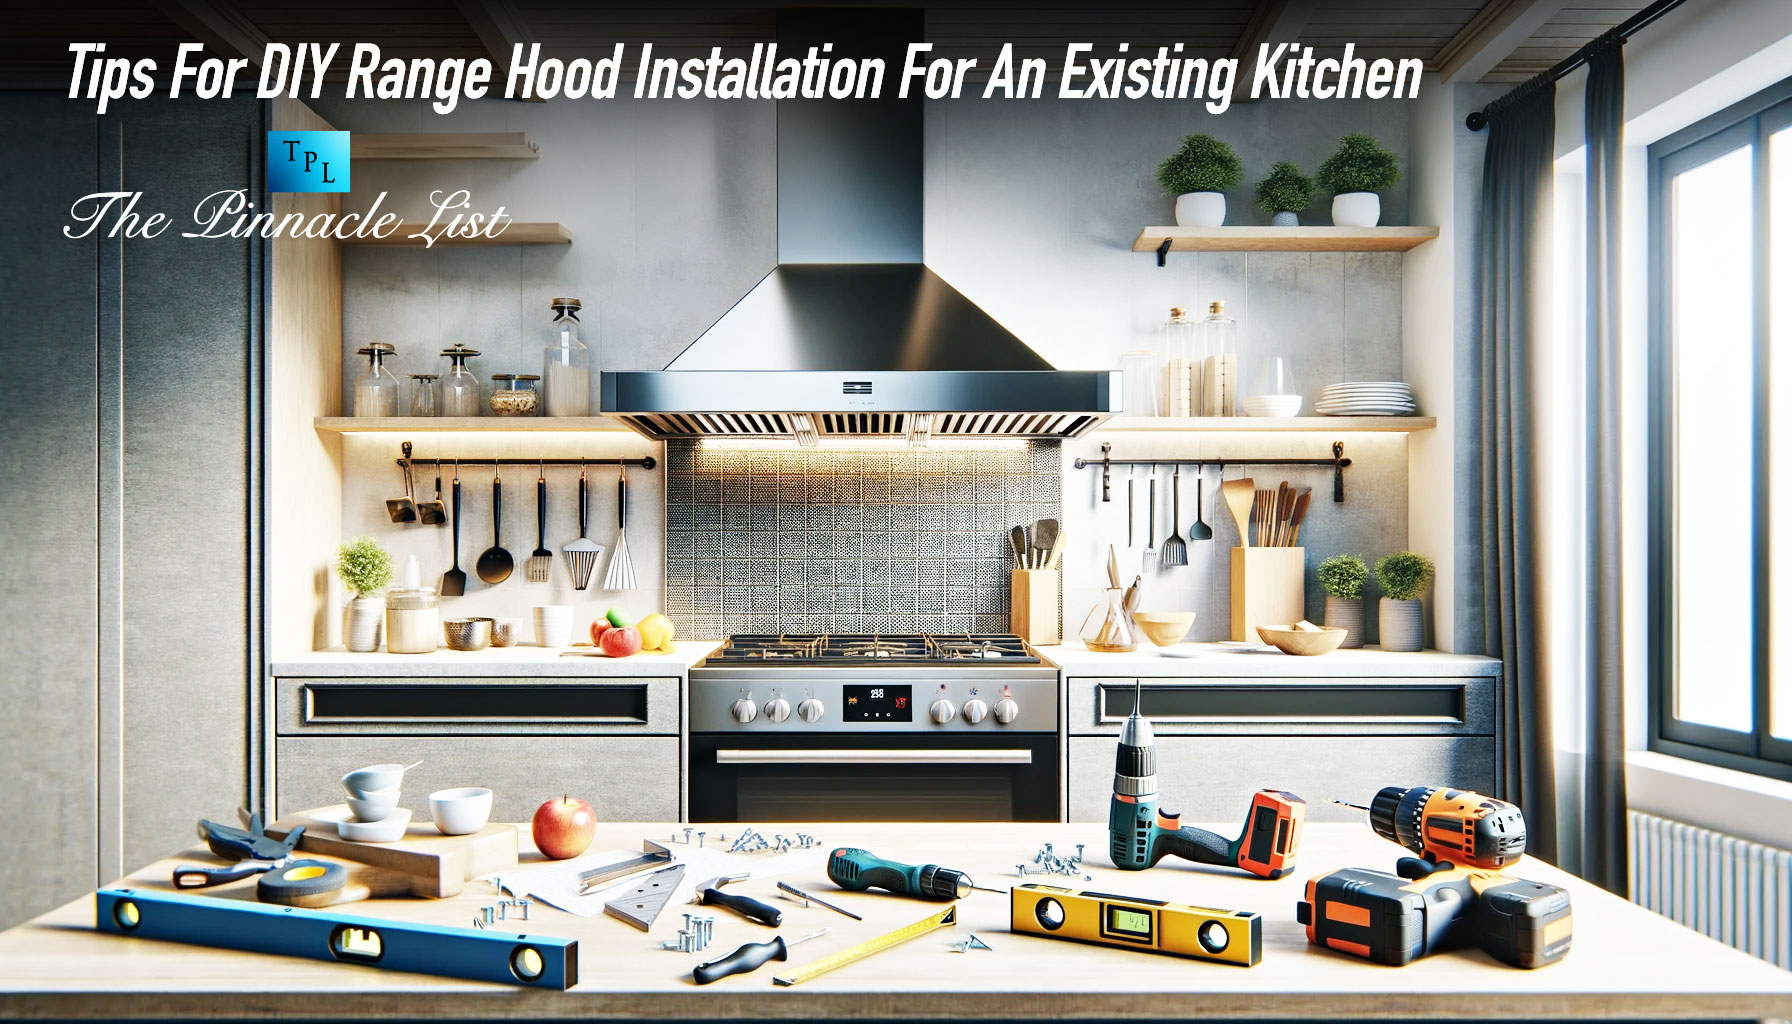
Adding a range hood to your existing kitchen can not only enhance its functionality but also give it a stylish and modern look. A range hood helps eliminate cooking odors, smoke, and grease, making your kitchen a more comfortable and inviting space. If you’re considering a DIY range hood installation for your kitchen, this comprehensive guide will provide you with valuable tips and step-by-step instructions to ensure a successful project.
Why Install a Range Hood?
Before we delve into the installation process, let’s delve deeper into the benefits of adding a range hood to your kitchen:
- Improved Air Quality: Range hoods efficiently remove airborne particles, such as smoke, cooking odors, and grease, improving the overall air quality in your kitchen. This is especially important during and after cooking when the kitchen environment can become laden with unwanted odors and fumes.
- Grease Removal: One of the primary functions of a range hood is to prevent the buildup of grease on kitchen surfaces. Over time, cooking without proper ventilation can lead to a sticky residue on cabinets, countertops, and walls. A range hood helps keep your kitchen cleaner and reduces the need for frequent, labor-intensive cleaning.
- Enhanced Safety: A properly functioning range hood eliminates potentially harmful fumes and gases produced during cooking. This contributes to a safer cooking environment for you and your family by preventing exposure to carbon monoxide and other combustion byproducts.
- Aesthetic Appeal: Beyond its functional benefits, a range hood can also be a design element in your kitchen. With a variety of designs and finishes available, you can choose a range hood that complements your kitchen’s style. Whether you prefer a sleek stainless steel model for a modern look or a more traditional design that blends seamlessly with classic kitchen aesthetics, there’s a range hood to suit your preferences.
Now, let’s get started with the DIY range hood installation process.
1. Choosing the Right Range Hood
The first step in your DIY range hood installation is selecting the appropriate range hood model. This decision will depend on various factors:
- Kitchen Layout: Consider the layout of your kitchen and the location of your cooktop. Depending on whether your cooktop is against a wall, under a cabinet, or on an island, you’ll need to choose between wall-mounted, under-cabinet, or island range hoods, respectively.
- Size and Capacity: Ensure that the range hood you choose is the right size for your cooktop. It should cover the cooking area adequately to effectively capture smoke and odors.
- Style and Finish: Consider the aesthetics of your kitchen and select a range hood that complements the overall design. Range hoods come in various finishes, from stainless steel to custom panels that match your cabinetry.
- Budget: Determine your budget for the project, including the cost of the range hood itself, installation materials, and any additional features you may want, such as built-in lighting or a variable-speed fan.
Choosing the right range hood ensures that it not only serves its functional purpose effectively but also complements your kitchen’s overall aesthetics. It’s an opportunity to add a statement piece to your kitchen while enjoying the benefits of improved ventilation.
2. Gather Your Tools and Materials
Now that you’ve selected your range hood, it’s time to gather all the tools and materials needed for the installation. Having everything prepared before you begin will streamline the process and prevent unnecessary interruptions.
Here’s a checklist of the tools and materials you’ll typically need:
- Range hood
- Vent duct and duct connectors
- Screwdriver and screws
- Measuring tape
- Pencil
- Wire stripper and wire nuts:
- Drill and hole saw
- Level
- Ladder
- Safety goggles and gloves
Ensuring you have the right tools and materials on hand from the beginning of the project will save you time and prevent interruptions during the installation process. You can typically find these items at your local hardware store or online.
3. Measure and Mark
With your range hood selected and tools ready, it’s time to measure and mark the installation location. This step is crucial for proper placement and alignment. Here’s how to do it:
- Measure the height and width of your range hood.
- Using a measuring tape and pencil, mark the installation location on the wall or ceiling. Ensure that it is centered over your cooktop for optimal effectiveness.
Proper measurement and marking are vital for the success of your installation. Accurate measurements ensure that your range hood is centered and positioned correctly, allowing it to function efficiently in removing cooking byproducts.
4. Prepare for Ventilation
For proper ventilation, you’ll need to create an opening in the wall or ceiling to connect the range hood to the ductwork. Here’s how to prepare for ventilation:
- Use a drill and a hole saw to create the necessary hole for venting. Make sure the hole aligns with the range hood’s exhaust port.
Proper ventilation preparation is a critical step in the installation process. It ensures that the range hood can effectively remove cooking odors, smoke, and airborne particles from your kitchen. Proper alignment with the exhaust port prevents air leakage and maximizes the unit’s efficiency.
5. Install the Ductwork
The next step is to attach the vent duct to the range hood’s exhaust port and secure it with duct connectors. Here’s how to do it:
- Attach the vent duct to the range hood’s exhaust port according to the manufacturer’s instructions.
- Secure the ductwork with duct connectors.
- Extend the ductwork through the hole you created in the previous step and connect it to the exterior of your home. This step is crucial for directing cooking fumes outside.
Proper installation of the ductwork is essential to ensure that the range hood functions as intended. It prevents cooking byproducts from being recirculated back into your kitchen, improving air quality and safety.
6. Secure the Range Hood
With the vent duct in place, follow the manufacturer’s instructions to mount the range hood securely to the wall or ceiling. Use a level to ensure it is perfectly straight. Most range hoods come with a mounting bracket and screws for this purpose.
Securing the range hood correctly is vital to prevent it from shifting or falling. A securely mounted range hood not only looks better but also functions more effectively and safely.
7. Connect the Wiring
If your range hood has a fan and lighting, you’ll need to connect the wiring. Here’s how to do it:
- Follow the wiring diagram provided in the manufacturer’s instructions.
- Typically, you’ll need to strip the wire ends, connect them using wire nuts, and secure the wiring inside the range hood.
Proper wiring ensures that your range hood’s fan and lights operate safely and efficiently. It’s essential to follow the manufacturer’s instructions and, if necessary, consult an electrician for guidance.
8. Test and Adjust
Before completing the installation, turn on the range hood to test its functionality. Ensure the fan and lights work correctly, and there are no unusual noises. Make any necessary adjustments to the fan speed or lighting as per your preference.
Testing the range hood allows you to identify and address any potential issues before finalizing the installation. It ensures that the unit is working optimally and meets your expectations in terms of noise level and lighting quality.
9. Finish and Clean Up
Once you’re satisfied with the installation and everything is working correctly, finish any remaining cosmetic work, such as painting or covering holes. Clean up the workspace and enjoy your newly installed range hood.
Completing the finishing touches and cleaning up after the installation ensures that your kitchen not only functions better but also looks aesthetically pleasing. It’s the final step in transforming your kitchen into a more comfortable and inviting space.
Conclusion
Adding a range hood to your existing kitchen is a DIY project that can greatly enhance your kitchen’s functionality and appearance. With the right tools, materials, and careful planning, you can successfully install a range hood that provides improved air quality, removes grease, and adds a touch of style to your kitchen. Follow these tips and step-by-step instructions, and soon, you’ll be enjoying a cleaner, safer, and more inviting kitchen space.