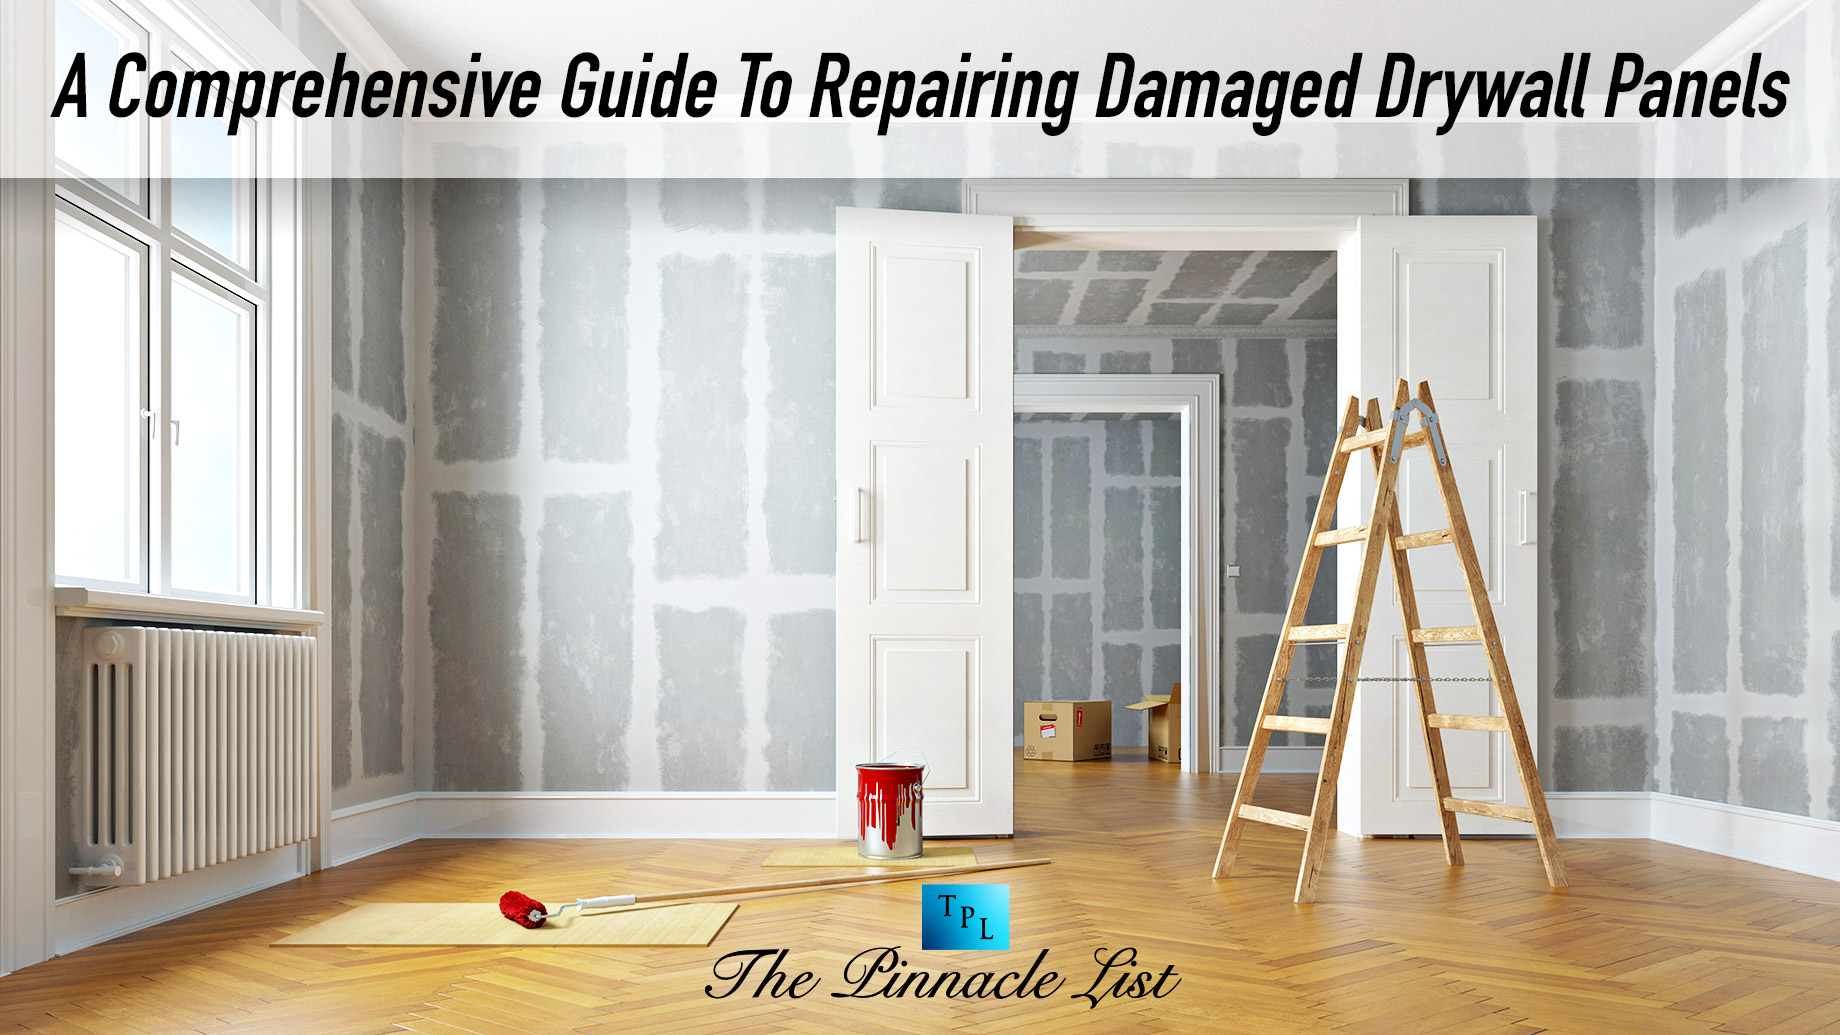
Drywall is a standard construction material used by residential and commercial buildings as a cover for interior walls and ceilings. Although they’re more affordable than regular wood, they’re not durable enough. Fortunately, you can quickly fix the dents and damages and make your drywall look new with this guide to repairing your old or damaged drywall panels.
Step 1: Assess the damage
You must assess the damage to see how much work your drywall needs. You can quickly fix the problem with traditional materials and standard patching techniques if the problem is a minor crack, hole, or dent and damages. Otherwise, you may need to buy and install a new drywall panel on your walls and ceilings.
Step 2: Prepare the necessary materials and tools
Now that you have an overview of what you must do, you must prepare the materials to fix the damage. Repairing requires simple materials and tools you can buy over the counter at any construction supply store.
Here’s a sample list of what you might need during the process.
- Drywall joint compound
- Drywall tape
- Sandpaper
- Putty knife
- Utility knife
- Paint
Note: Depending on the severity of the damage, you may need additional materials and tools besides those listed above.
Step 3: Clean the drywall’s damaged area
Cleaning the spot you must fix is crucial to create professional and brand-new-looking drywall panels. Use the utility knife to remove dust particles, debris, loose drywall paper, and any unwanted things that may prevent the new patch from adhering entirely to the drywall surface.
Step 4: Sand the affected area and its surrounding
Sanding the area and its surroundings will smoothen and flatten any rough or protruding edges that may be highly visible after fixing and painting the drywall panels. Sanding also helps the new patch adhere to the surface efficiently.
Step 5: Apply the patch
Before applying the drywall patch:
- Cut the patch you need using a utility knife, or drywall saw.
- Ensure the patch’s size is slightly larger than the hole or crack you are fixing.
- Place the patch over the hole, break, or damaged area and make sure and ensure it fits well.
In this step, you may need to use drywall screws to ensure the patch securely adheres to the drywall. However, you need to carefully screw it to about 1-2 inches from the patch’s edge to prevent damaging the patch or the surrounding of the affected drywall area from breaking. Ensure the screws are not protruding and blend well with the patch’s surface.
Step 6: Reinforce the patch
After fitting and securing the patch, cover the seams around it using drywall tape to prevent it from cracking, which may cause moisture to seep into the wall cavity, leading to mold growth and severe structural damage. It may also cause air leaks, affecting the inside room temperature to fluctuate, raising energy consumption, and decreasing overall comfort.
Step 7: Apply joint compound
Applying joint compound over the patch is necessary to prevent gaps and uneven edges. It reinforces the patch to reduce its risk of cracking, wear and tear or shifting over time. It also smoothens the cover to blend seamlessly with its surroundings.
Step 8: Sand and finish the patch
Start sanding the joint compound once it is dry. Use the coarse grit sandpaper to smooth out any bumps or uneven surfaces. Once it is even to the surface, use a finer grit sandpaper to achieve a smooth finish for the patch.
After you achieve the desired smoothness, clean the patch with a cloth or vacuum to remove any dust or debris from sanding to prevent it from ruining the patch’s coat and finish.
Using a taping knife, gently apply a thin coat of joint compound over the patch, feather the edges, and blend the patch with the surrounding area. Let it dry before sanding it with coarse and fine sandpaper. Repeat until the joint compound blends with the surrounding wall or ceiling.
Add a beautiful finish to the patch by using the surface’s paint color. Apply the paint in the repaired area in thin, even coats to create a seamless and professional-looking repair.
Final Thoughts
This simple repair process lets you fix the damaged drywall panels without a professional. It will enable you to quickly assess the damages and decide whether to repair it or buy a new one.
If you choose to repair your drywall, you must ensure you have the materials and the tools handy for a quick and efficient repair process. Also, remember to sand the patch and its surrounding before putting the compound. Ensure the mixture is dry before filing and putting the best coast for its finish to create a seamless and professional-looking repair.