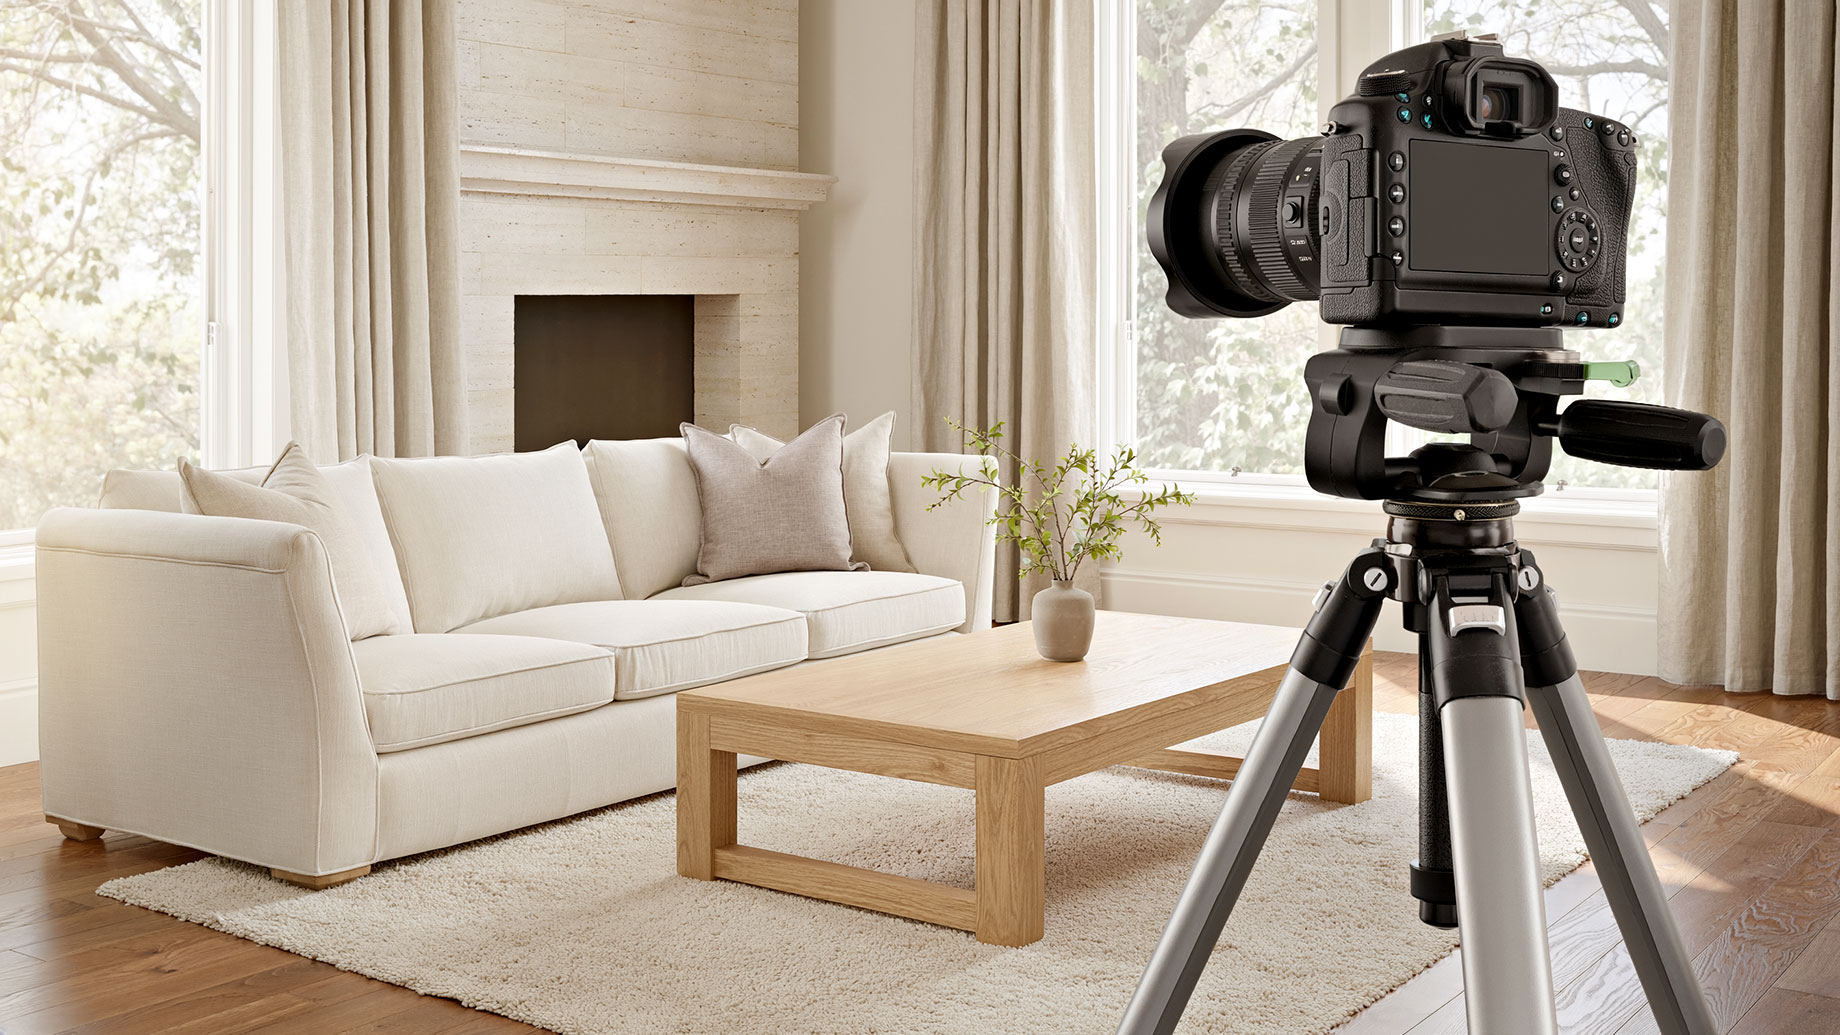
Long before a buyer walks through your front door, they’ve already toured your home on a phone screen. They’ve scrolled through the kitchen, zoomed in on the bathroom, and decided in a few seconds whether your place is worth a showing. Your listing photos are your first open house, and most buyers attend it from the couch.
That makes the day of the photo shoot one of the most important days in the entire sale. The good news is that most of what separates an average listing from a great one comes down to preparation you can do yourself. This guide walks you through it, room by room, so your home looks its best when the camera comes out.
Start a Week Out: The Big Three
The best shoots start well before shoot day. Give yourself at least a week to tackle three jobs that make every room photograph better.
- Declutter ruthlessly. A camera exaggerates clutter. A few items on a counter that look normal in person read as mess in a wide-angle photo. Clear surfaces, thin out bookshelves, and pack away anything you won’t need before you move. If you’re unsure whether something should stay, it probably shouldn’t.
- Depersonalize. Buyers want to picture their own life in the space, and that’s harder when they’re looking at yours. Put away family photos, kids’ artwork, diplomas, religious items and collections. You’re not erasing your personality; you’re making room for theirs.
- Fix the small stuff. Burned-out bulbs, a dripping faucet, a scuffed baseboard, a cabinet door hanging crooked. These details are easy to ignore when you live with them, but high-resolution photos catch everything. A weekend with a screwdriver, touch-up paint and a box of matching bulbs pays off in every shot.
One tip on bulbs: replace them all with the same color temperature, ideally a soft daylight tone. Mixed bulbs create patches of yellow and blue light that make rooms look uneven, even after editing.
Room by Room
Kitchen
The kitchen is often the photo buyers linger on longest, so give it extra attention. Clear the counters almost completely: put away the toaster, the knife block, the mail pile and the dish rack. Leave one or two simple touches, like a bowl of green apples or a single cutting board. Remove magnets and papers from the fridge, hide dish towels and sponges, and wipe down stainless steel so it doesn’t show fingerprints.
Living Room
Aim for an open, inviting space. Pull furniture slightly away from the walls if it helps the room breathe, fluff and straighten pillows, and fold throws neatly. Hide remotes, game controllers and charging cables. If you have a fireplace, clean it out; a lit fire or a simple arrangement of logs reads warmer than an empty, sooty box.
Bedrooms
Make the beds like a hotel would: crisp, neutral bedding, pillows plumped and standing up, no visible wrinkles. Clear nightstands down to a lamp and maybe a book. Nothing should be stored under the bed where a low camera angle might catch it, and closet doors should be closed unless the closet itself is a selling point.
Bathrooms
Bathrooms photograph best when they look unused. Remove every toiletry from the counter and shower, including shampoo bottles, razors and toothbrushes. Put out fresh, matching towels, close the toilet lid, and clear the floor of mats, scales and trash cans. Polish mirrors and fixtures last, right before the shoot.
Home Office and Extra Rooms
Tidy the desk, hide cables, and make the room’s purpose obvious. A spare room that has turned into storage should be cleared out so buyers see a usable bedroom, office or gym, not a pile of boxes.
Outside and From Above
The exterior shot is usually the first image in the listing, the thumbnail buyers see while scrolling. It deserves as much prep as any room inside.
Mow the lawn a day or two before the shoot, edge the walkways, and pull weeds from beds. Fresh mulch and a couple of potted plants by the front door add color for very little money. Move cars out of the driveway and off the street in front of the house, and put away garbage bins, hoses, kids’ toys and yard tools.
Power-wash the front steps and walkway if they’re stained, and make sure the house number is clean and visible. If your front door looks tired, a fresh coat of paint is one of the highest-impact upgrades you can make before listing.
If your agent is booking drone photography, think about the view from above too. Aerial shots show the lot, the roofline, the backyard and the surrounding neighborhood, so clean the gutters, cover or tidy the pool, and clear the patio and deck. Anything sitting on the roof or in the yard will show up clearly from 100 feet up.
Why a Professional Makes the Difference
Modern phones take impressive pictures, so it’s tempting to skip the photographer. But real estate photography is its own discipline. A professional knows how to balance a bright window against a darker interior so you can see both the room and the view. They shoot from the height and angle that makes a room feel true to size, and they keep vertical lines straight so walls don’t lean.
They also bring tools most sellers don’t have: wide-angle lenses, lighting, editing software, and often drones, floor plans, video and 3D tours. A listing with a complete media package gives buyers a much clearer sense of the home before they ever book a showing.
If you’re selling north of New York City, a specialist in Westchester real estate photography like At Home Media can handle photography, video, drone, floor plans, virtual staging and Matterport tours in a single visit. Working with someone who knows the local housing stock, from center-hall colonials to waterfront homes, means the shoot is planned around what makes your particular property stand out.
Whoever you hire, ask to see their portfolio and check that they’re licensed for commercial drone flights, which in the U.S. means FAA Part 107 certification.
Shoot Day: Timing and Logistics
- Pick the right time. Light changes everything. Your photographer will often suggest a time based on which way the house faces, so the front isn’t in deep shadow. Some sellers also add twilight exterior shots, which make a home glow in the listing and stand out in search results.
- Open everything up. Before the photographer arrives, open all blinds and curtains, turn on every light, including lamps and under-cabinet lights, and turn off ceiling fans so they don’t blur. Switch off TVs and computer screens.
- Do a final sweep. Walk through each room and look at it as if through a camera. Check for stray shoes, pet bowls, a forgotten phone charger, a towel hanging over a shower door. It helps to keep a laundry basket handy so you can move things from room to room as the shoot progresses.
- Plan for pets and people. Arrange for pets to be out of the house or contained, and hide their beds, toys and litter boxes. Family members should plan to be out, or at least out of the way, so the photographer can work quickly.
- Let the photographer work. Most residential shoots take one to two hours. Trust their eye on angles and composition, but do speak up about features you love, like a built-in bookshelf or a view from the primary bedroom. You know the home’s best moments better than anyone.
The Bottom Line
Your listing photos will be seen by far more people than will ever walk through your door, and they shape what buyers expect before they arrive. A week of decluttering, a weekend of small repairs and a careful final walkthrough cost little, but they show up in every image.
Pair that preparation with a skilled photographer, and your home gets what it deserves: a first impression that makes buyers want to see it in person. In a market where the best listings get the most attention, that first impression can be the difference between a home that sits and one that sells.