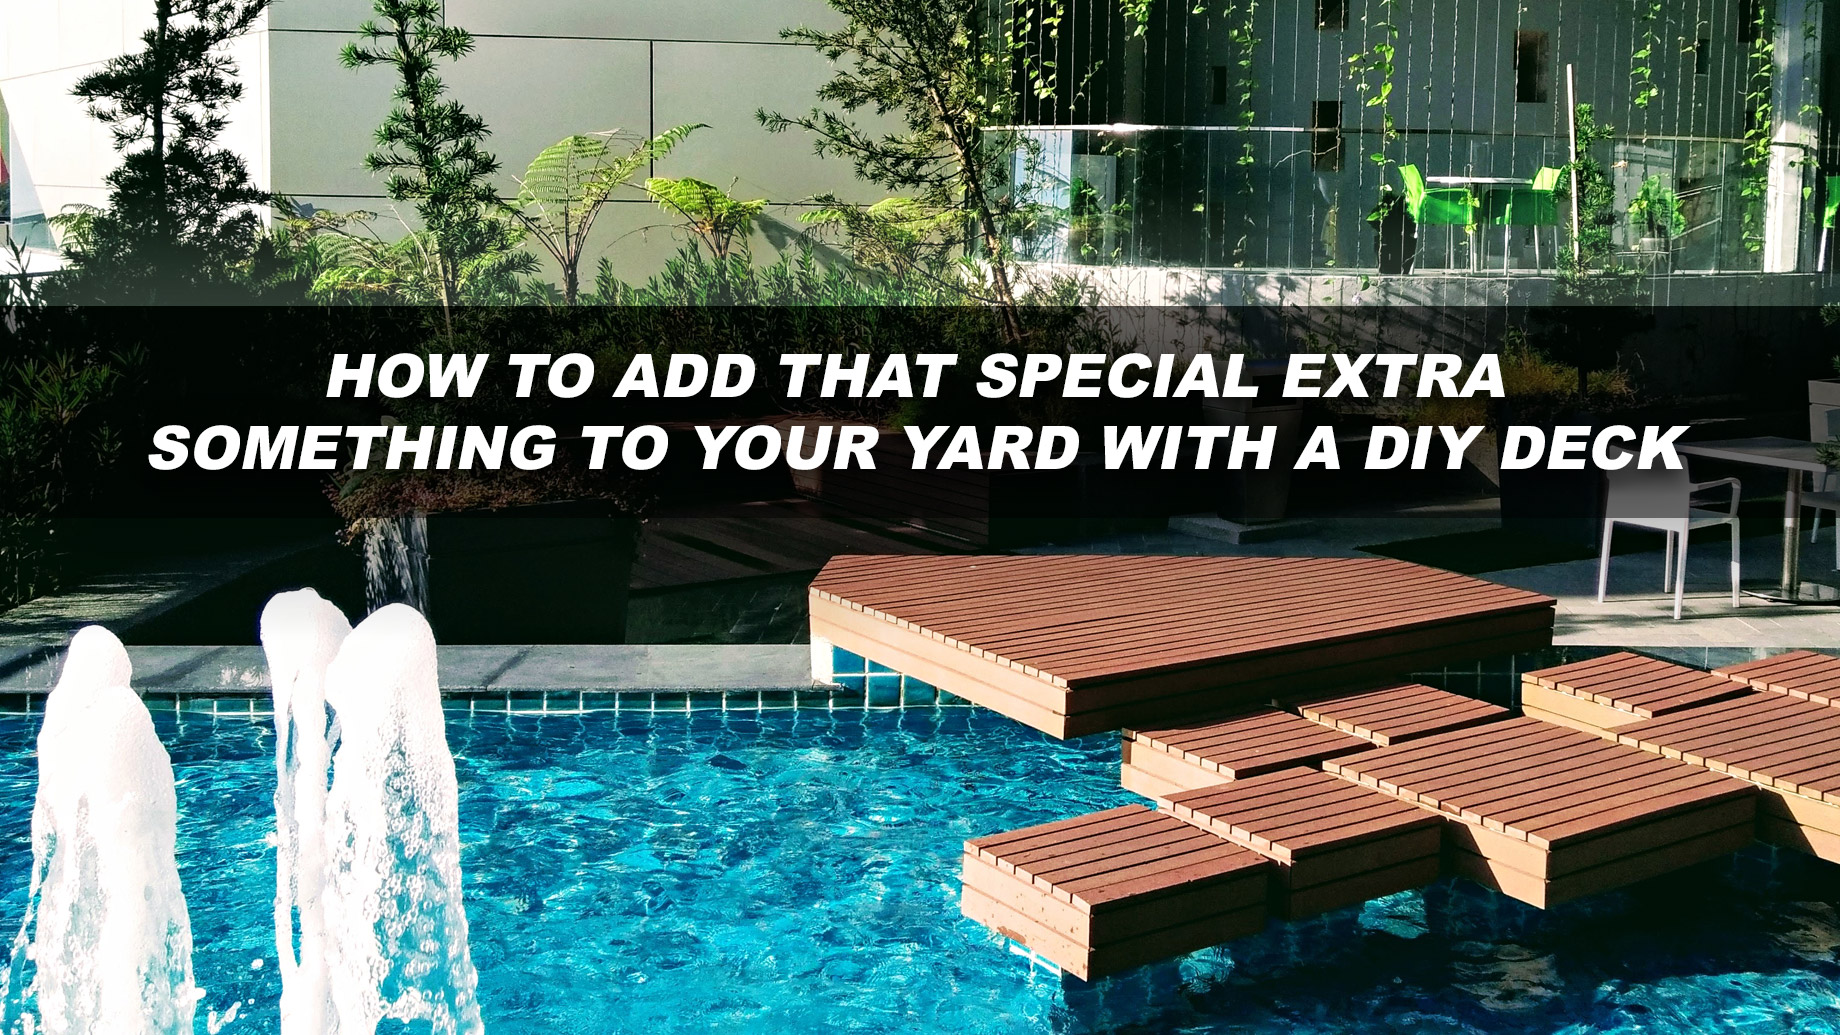
Spending time outdoors is one of life’s greatest pleasures. It’s even better if you have a beautiful yard, and don’t even need to leave your own property line to enjoy it!
One of the best ways to make sure you can enjoy your garden, rain or shine, is to install a deck. That way, even if your lawn or paving is wet, you can stay out of the mud and relax in the fresh air. You may be concerned about the cost of installing decking, but trust us, it’s worth it.
You can reduce the cost of your deck by doing the installation yourself. It may sound like a huge undertaking, but like most things in life, it’s easy if you know how! Take a look at our handy guide below.
Preparation is key
Once you’ve considered where in the garden your decking will be, you need to prepare the ground to make sure your deck stays problem-free for longer.
One of the key things you’ll need to get right is drainage. Your deck must be situated in an area that can drain freely, or you may end up with stagnant water or flooding under your deck. You can further improve drainage by using grooved boards that run down, rather than across the deck. This will help water drain away naturally and prevent water from collecting on the boards.
Once you’re satisfied and think your drainage is good to go, you can go ahead and start marking out the perimeter of your deck. Pegs and string should do the job just fine. You’ll then need to clear the area of any debris, twigs, rocks, and weeds, so your deck has a pristine surface to sit on. Cover the entire area with weed barrier spray and a sheet if needed (remember to wear gloves and goggles while spraying), and you’re ready to build.
If you’re planning to attach your decking to the back/side of your house or outbuildings, you’ll need to start with a perfectly straight piece of the ledger board. Use this to measure where you’ll need to drill holes in the wall. Drill holes first into the board, checking them against the height of your frame, and then draw through those holes with a pencil to mark the right spot on the wall. You need to use very secure, heavy-duty screws and fixings when attaching the frame to the building, but be careful not to tighten screws and bolts too much. This can cause the ledger board to splinter and could actually leave your deck unsafe.
Joists
Now, it’s time to fit the joists. These are a key element of your decking, as they provide the majority of support for the boards.
A joist is a long piece of timber attached to the frame. Running from one section of the frame to another, they ‘brace’ the deck and prevent it from collapsing or buckling when weight is placed on it. The joists should be close enough to each other that no one joist is bearing too much weight and fixed using appropriately strong nails. Make sure when fitting your joists that they sit perfectly flush with the frame. Otherwise, your finished deck may be uneven.
If you fit the balustrade to your deck (and you may be required to, depending on its height), you’ll need to add the posts for the balustrade before you can move on to laying boards.
Laying the boards
That’s the frame completed. Now, it’s time to move on to installing the boards, which will form the flat surface of your deck.
If you’re constructing your deck from wood, ideally, you should let it ‘dry out’ before installing. This is because wood purchased from DIY stores has often been left out in warehouses or storage spaces where it absorbs water and expands. You need to shrink the boards before fitting them, so you have a real idea of their size. Installing them while they’re swollen could leave you with huge gaps once they’re dry. Be sure to leave enough space between the boards for them to expand again when it rains. About 5 mm should be more than enough.
You need to ensure that each and every board you place is securely fixed at all four corners. This ensures that all the pieces stay flat and bear weight evenly. You should also fix decking boards at any non-corner points where they intersect with supporting joists; again, to help the structure bear weight and add durability.
How you go about this process will be determined by which material you’re making the decking from. If it’s PVC, composite, or hardwood, you’ll need to pre-drill every hole. Hammering nails directly into these materials, if they haven’t been pre-drilled, can cause splitting or damage.
The best way to make sure your boards are perfect is to lay them all flat on the frame before you start fixing them in place. That way, you can identify errors without having to try and take the decking apart to fix them. Once you have them all down, you can make any adjustments or trim any edges. If you’re happy, you can go ahead and start nailing them in with your landscaping tools.
Finishing touches
Once you’ve affixed all your boards securely to the frame, you’ll need to ‘edge’ the deck. This process just involves covering any exposed frame with decking boards to prevent it from becoming weathered or damaged. Measure the outside edge of your frame and fit boards along the outside, trimming them flush if needed. You certainly don’t want to be creating trip hazards at this late stage!
Depending on the height of your deck, you may need to install steps so you can access it comfortably. First, you’ll need to measure the exact height of your deck and use that to calculate how many steps you’ll need. You can then assemble your frame based on these measurements.
To build the steps, you’ll need to lay the surface that will sit underneath the steps. Whether this is paving slabs or grass is entirely up to you. You should then attach the step frame to either the ground or to the edge of the deck itself. Be sure to use appropriate fixings! Once you’re satisfied, and the frame is secure, attach your steps – risers first, then treads. Then, you’re done!
You can add your personal style to your deck with furniture, accessories, and perhaps, a cover. For furniture, choose pieces that are size-appropriate for the space, coordinate well with your decking material, and are weather-resistant. If you’re adding cushions, blankets, or other accessories, you’ll need to either add a storage chest for them or try and remember to take them indoors in bad weather!
If you live in a state where the weather is varied, you can protect your deck and furniture (and yourself) from sun, wind, and rain by adding a cover to your deck and patio area. As with decking, there are a number of fantastic, innovative materials available. Check out alumawood for more.
Choosing the perfect decking material
There’s a range of materials available for decking projects, and which works best for you will depend on several factors. Let’s take a look at some of the most popular below.
Redwood
Redwood is a stable, rot-resistant wood that’s most widely available in the Western US. If working with redwood, you’ll absolutely need to pre-drill holes, as it’s highly susceptible to splitting when nails are driven in with a hammer. It’s also susceptible to staining, with stains that can show through even if you cover them with paint.
Plastic composite
Wood/plastic composites are the only decking materials that will never rot. Any straightforward wood material will, even if it takes many years, begin to degrade eventually. If you don’t ever want to replace your deck, composite is the way to go.
However, being unable to rot doesn’t mean that composites are the ideal material for everyone. Because they aren’t real wood, they don’t have the ‘natural’ look that wood gives and tend to be less rigid. They’re also more prone to expanding and contracting when wet (though they do generally have a better grip in the rain) and can’t be painted or stained because the plastic can’t absorb the color.
Ipe
One of the most expensive and challenging to obtain woods is ipe or ironwood. It’s an incredibly strong material and dense to boot. Unlike most wood, it’s only just able to float. Sourced from countries in Central and South America, it’s incredibly durable and long-lasting.
White oak
Sometimes referred to as ‘whiskey barrel,’ white oak is one of the most beautiful woods on the market. It’s strong, too, rot-resistant, and much less porous than other woods you can buy. However, like redwood, it tends to split, so you’ll need to pre-drill holes before fastening.